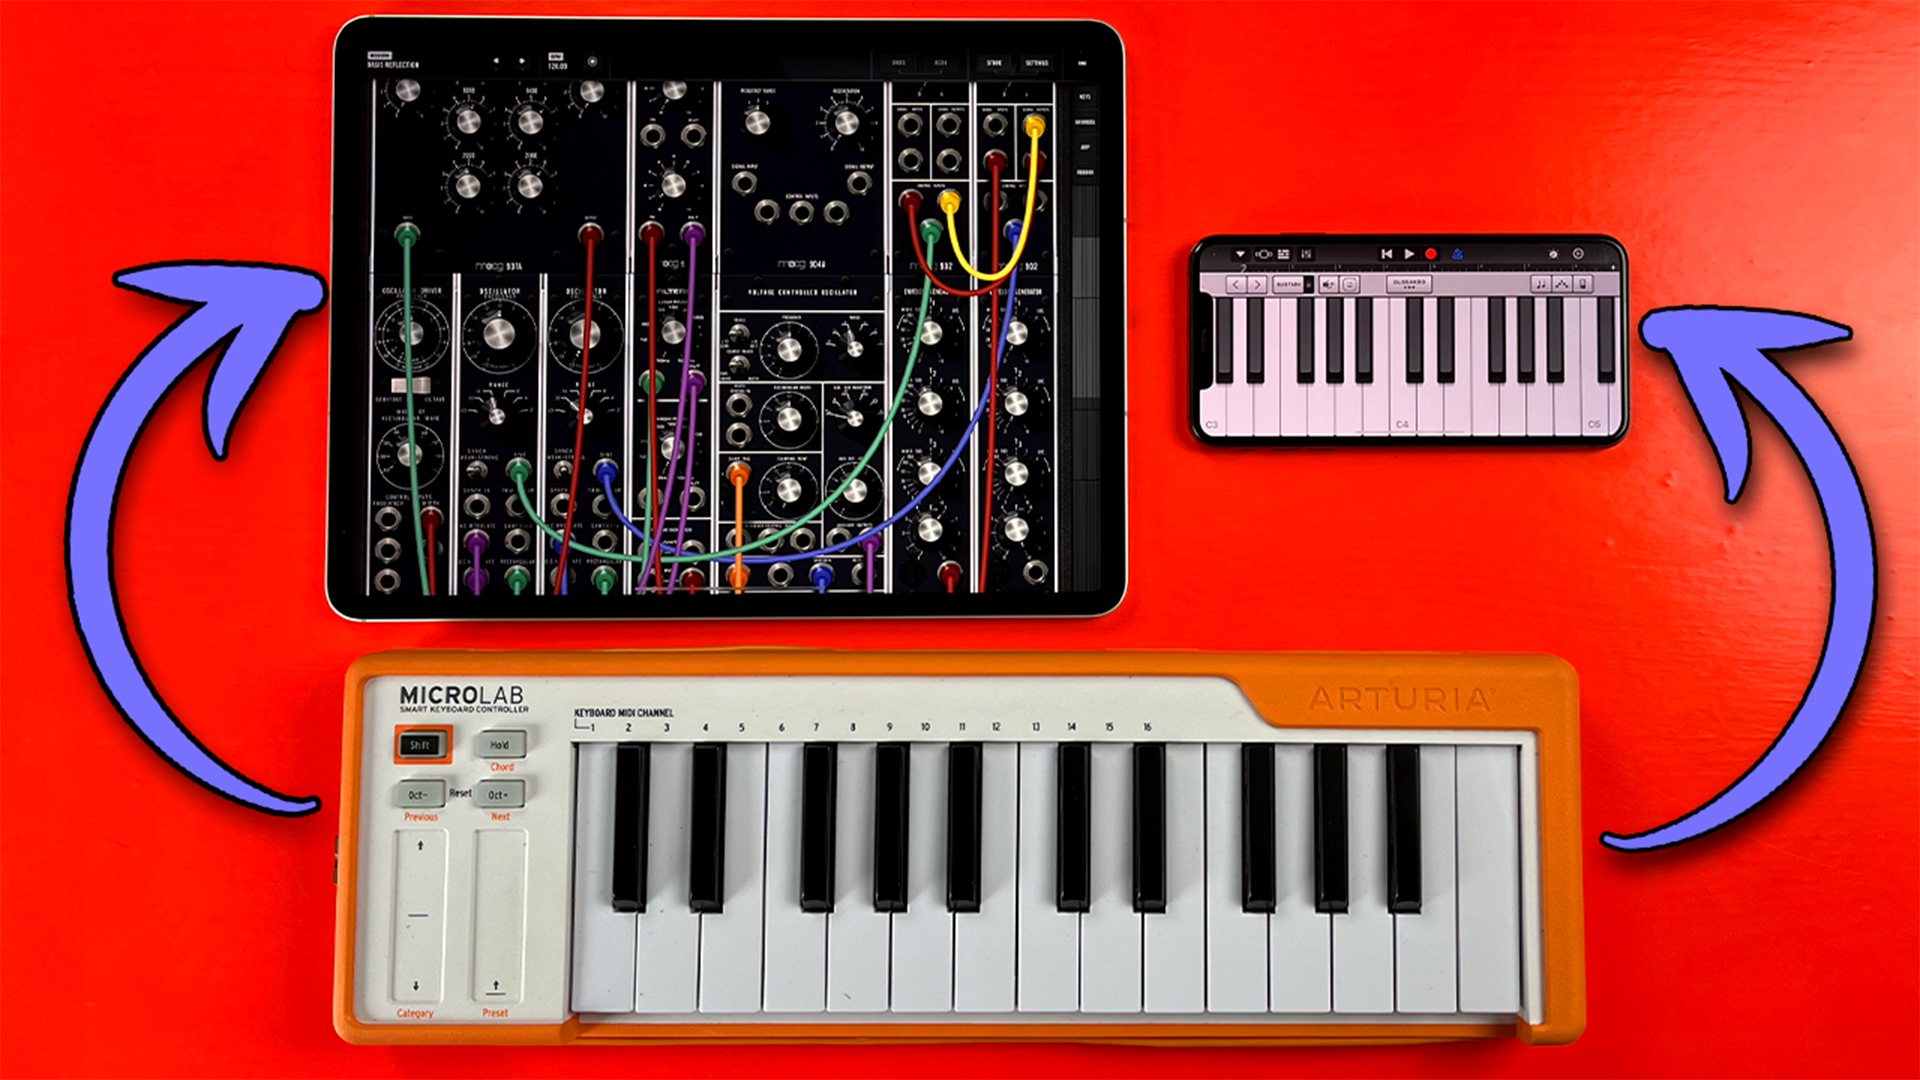
Want to connect a MIDI keyboard to your iPad or iPhone? Read on for straightforward instructions for both Lighting and USB C based iPad models.
Lightning
If your iPad or iPhone has a lightning port, you’re going to need an adapter.
I always recommend Apple’s official USB adapters as some cheaper third party lightning dongles have a tendency to mysteriously stop working after iOS updates, or just not work properly at all. It is quite pricey though.
- Attach the adapter to your iPad or iPhone.
- Attache your midi keyboard’s USB connection to the other one of the adapter.
- Open your iOS DAW of choice.
- Start playing and/or recording.
USB C
If you’re iPad or iPhone has a USB C port, you’ll still need an adapter, though you don’t need to worry about the longevity of it as much as you would with a Lightning port adapter.
If you want something cheap and cheerful, an adapter as simple as this USB C to USB one will absolutely do the trick. Alternatively you can push the boat out and get something that will let you attach audio interfaces, memory cards and charge your iPad while it’s in use like this one.
- Attach your chosen adapter to your iPad’s USBC port
- Attache your midi keyboard’s USB connection to the other one of the adapter.
- Open your iOS DAW of choice and Start playing and/or recording.