How to Screen Record on iPad and iPhone (and Share It Like a Pro)
Capturing your iPhone or iPad screen is easier than you might think. Whether you’re recording a GarageBand session, showing off a Logic Pro for iPad project, or simply sharing a quick tip with your followers, screen recording is a powerful tool, and it’s built right into iOS and iPadOS.
In this guide, you’ll learn how to enable and start screen recordings on both iPad and iPhone, and how to quickly trim and share those recordings on social media platforms like Facebook, Reddit, and more.
Step 1: Add Screen Recording to Control Centre
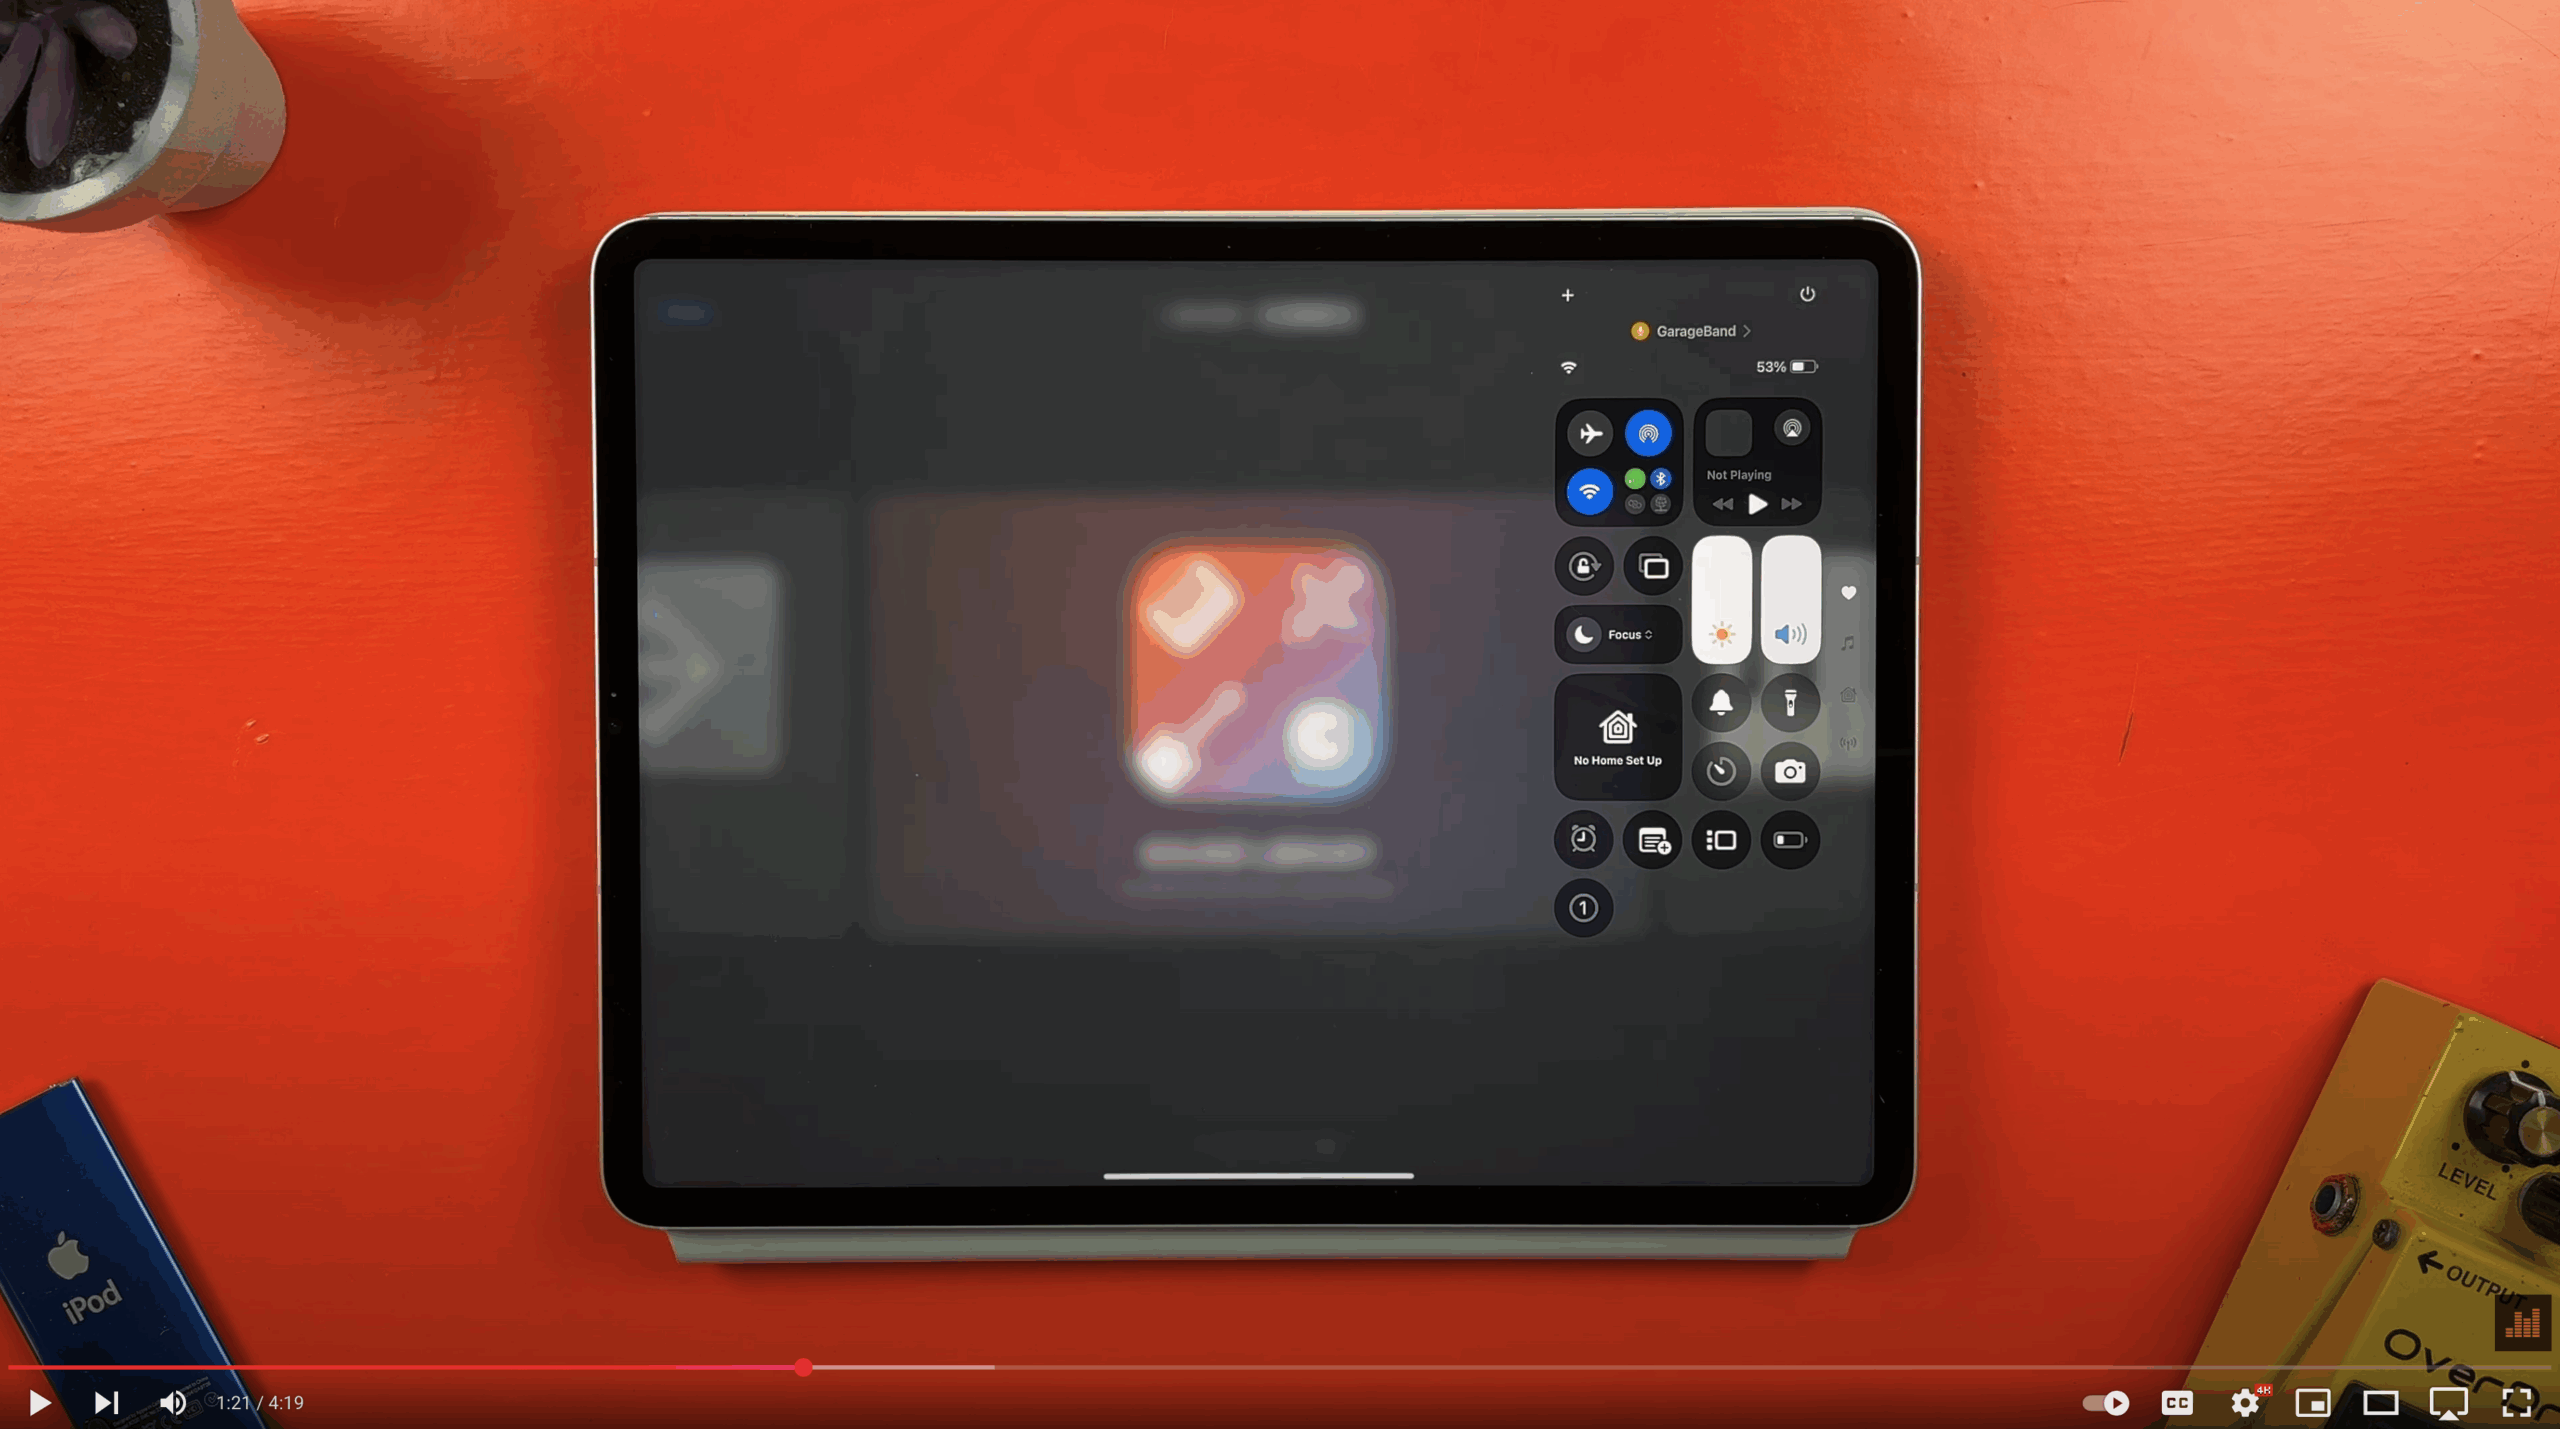
First, you’ll want to make sure the screen recording option is easily accessible. You do this by adding it to Control Centre – that’s the panel that appears when you swipe down from the top-right corner of your screen.
On iPad:
- Swipe down from the top-right to open Control Centre.
- Tap the + icon to add a control.
- Scroll to find Screen Recording or use the search bar.
- Tap it to add it to your Control Centre.
- You can also move or resize the control from this menu by tapping and dragging.
On iPhone:
The process is identical:
- Open Control Centre.
- Tap the + icon.
- Select Add a Control, then choose Screen Recording.
- Adjust its position if needed.
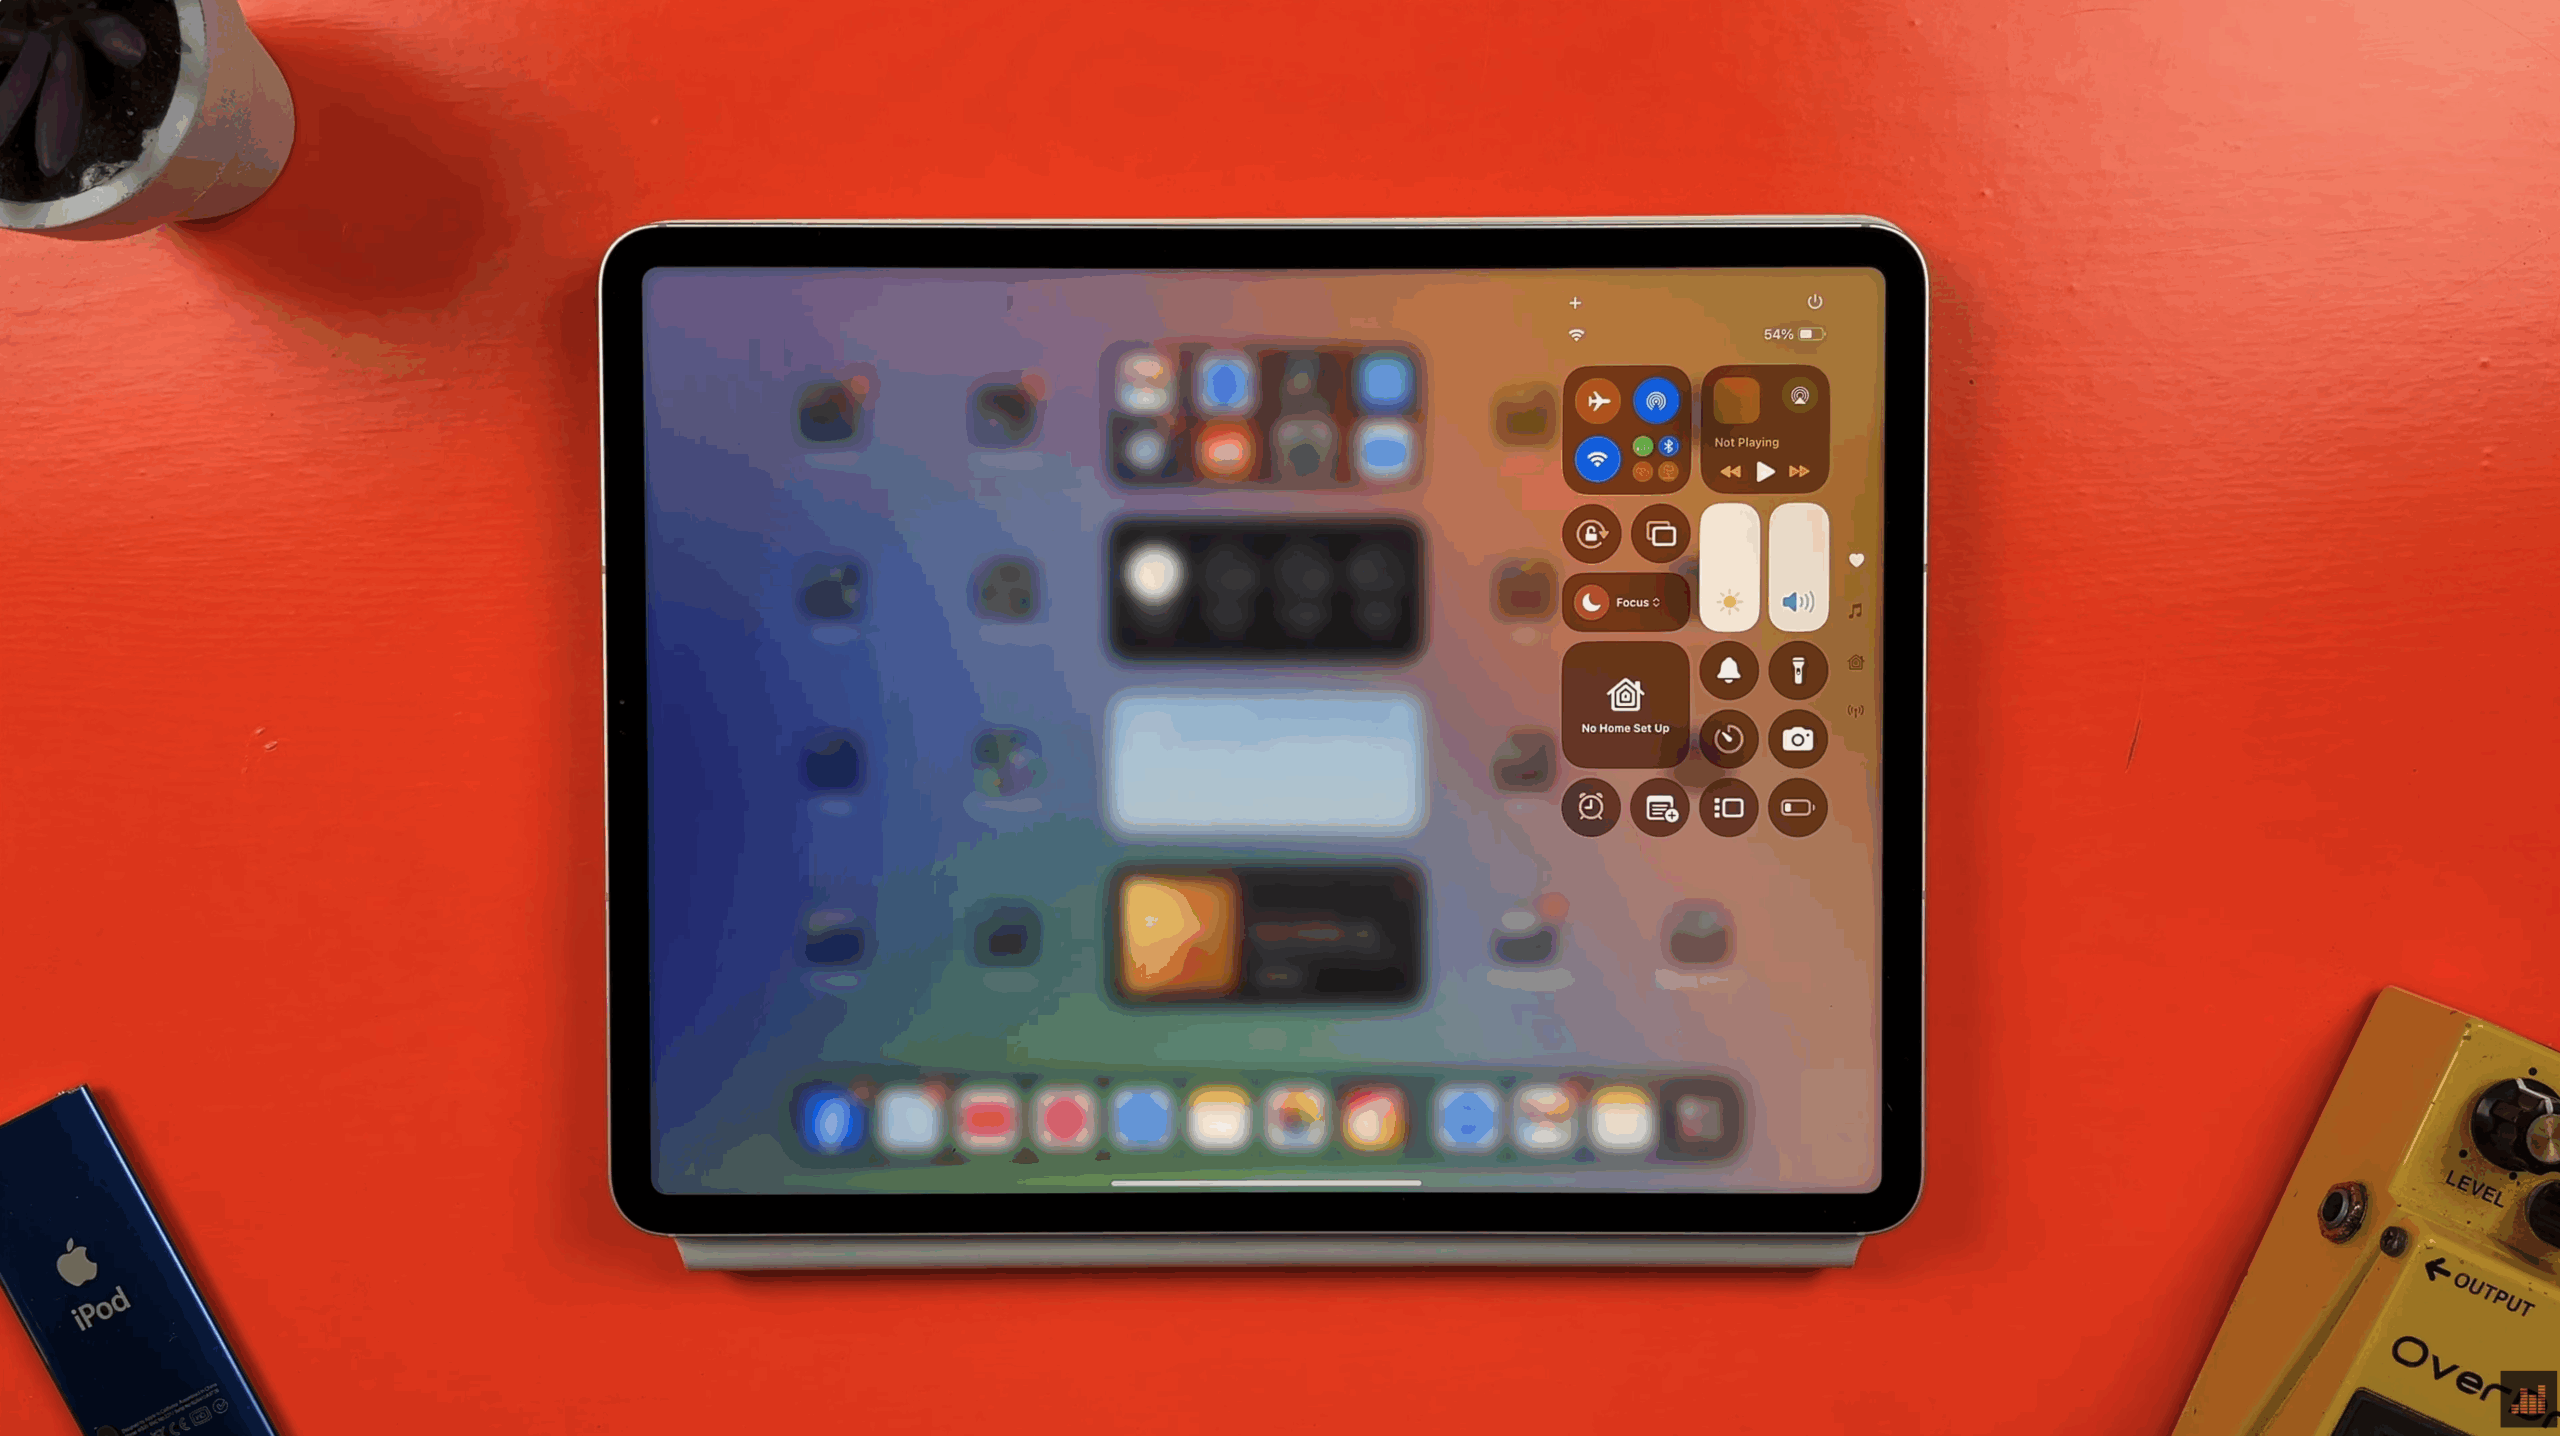
Step 2: Start and Stop a Screen Recording
Now that Screen Recording is in your Control Centre, here’s how to use it:
- Swipe down from the top-right corner.
- Tap the Screen Record icon.
- You’ll see a three-second countdown, and then recording begins.
- To stop, swipe down again and tap the icon a second time.
Your recording is automatically saved to the Photos app.
Step 3: Trim Your Recording (Optional)
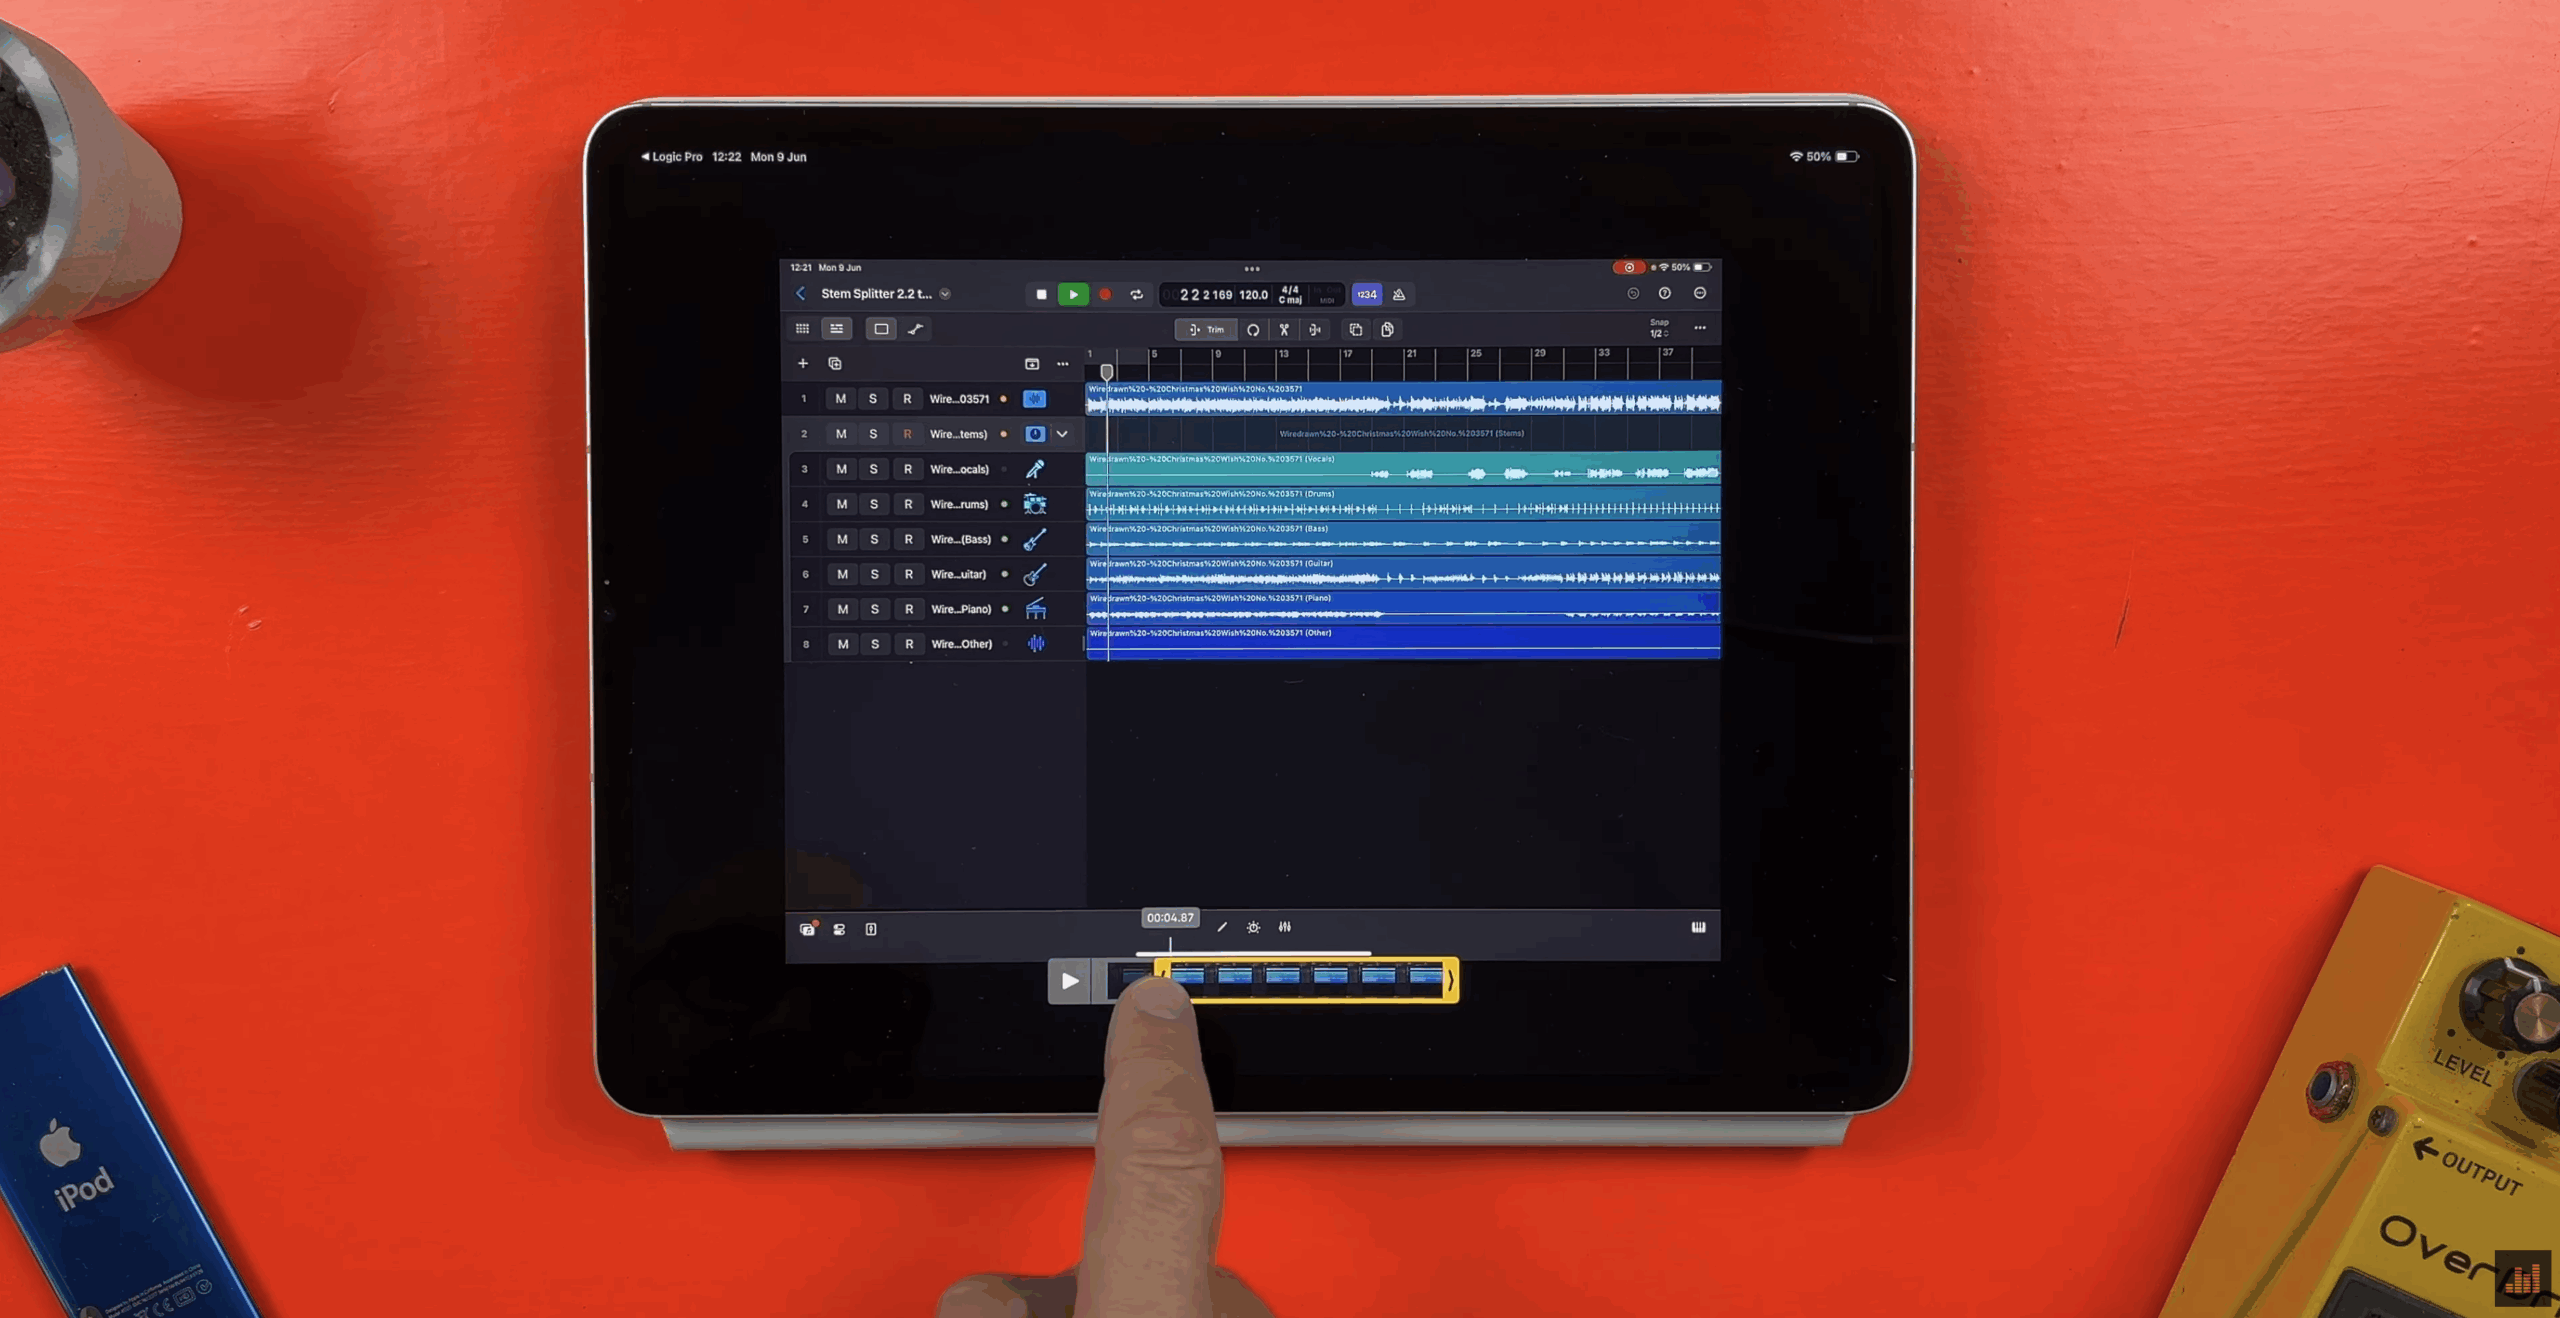
Before sharing your video, you may want to clean it up by trimming out the bits where you start or stop the recording, or anything you don’t want included.
- Open the Photos app and tap on your screen recording.
- Tap Edit.
- Drag the video handles to trim the start and end.
- Tap Done to save the changes.
This is especially useful if your recording includes the Control Centre overlay or unnecessary pre-roll.
Step 4: Share Your Screen Recording
Whether you’re uploading to Facebook, Reddit, BlueSky, or anywhere else, the process is largely the same. We’ll use Facebook as an example here, since it hosts some of the best GarageBand and Logic Pro user groups online.
To share your trimmed screen recording:
- Open the Facebook app or site.
- Navigate to the group or page where you want to post.
- Tap the photo/video upload icon.
- Select your screen recording from the Photos app (you may need to grant access).
- Write a short caption or post to accompany the video.
- Tap Post. Your screen recording is now live.
Recording your screen is not only a quicker alternative to exporting full mixes, but it’s also more engaging on social media. Platforms tend to favour video content, and fellow music producers often appreciate being able to see what plugins, instruments, or settings you’re using.
Final Thoughts
Whether you’re sharing a Logic Pro session, teaching a tutorial, or posting a GarageBand jam, screen recording is a simple way to create shareable, useful content. It takes just a few taps to enable, and once it’s part of your Control Centre, you’ll always have it on hand.
Planning to use screen recording for your own music projects or tutorials? Let me know in the comments. I’d love to see how you’re using it.