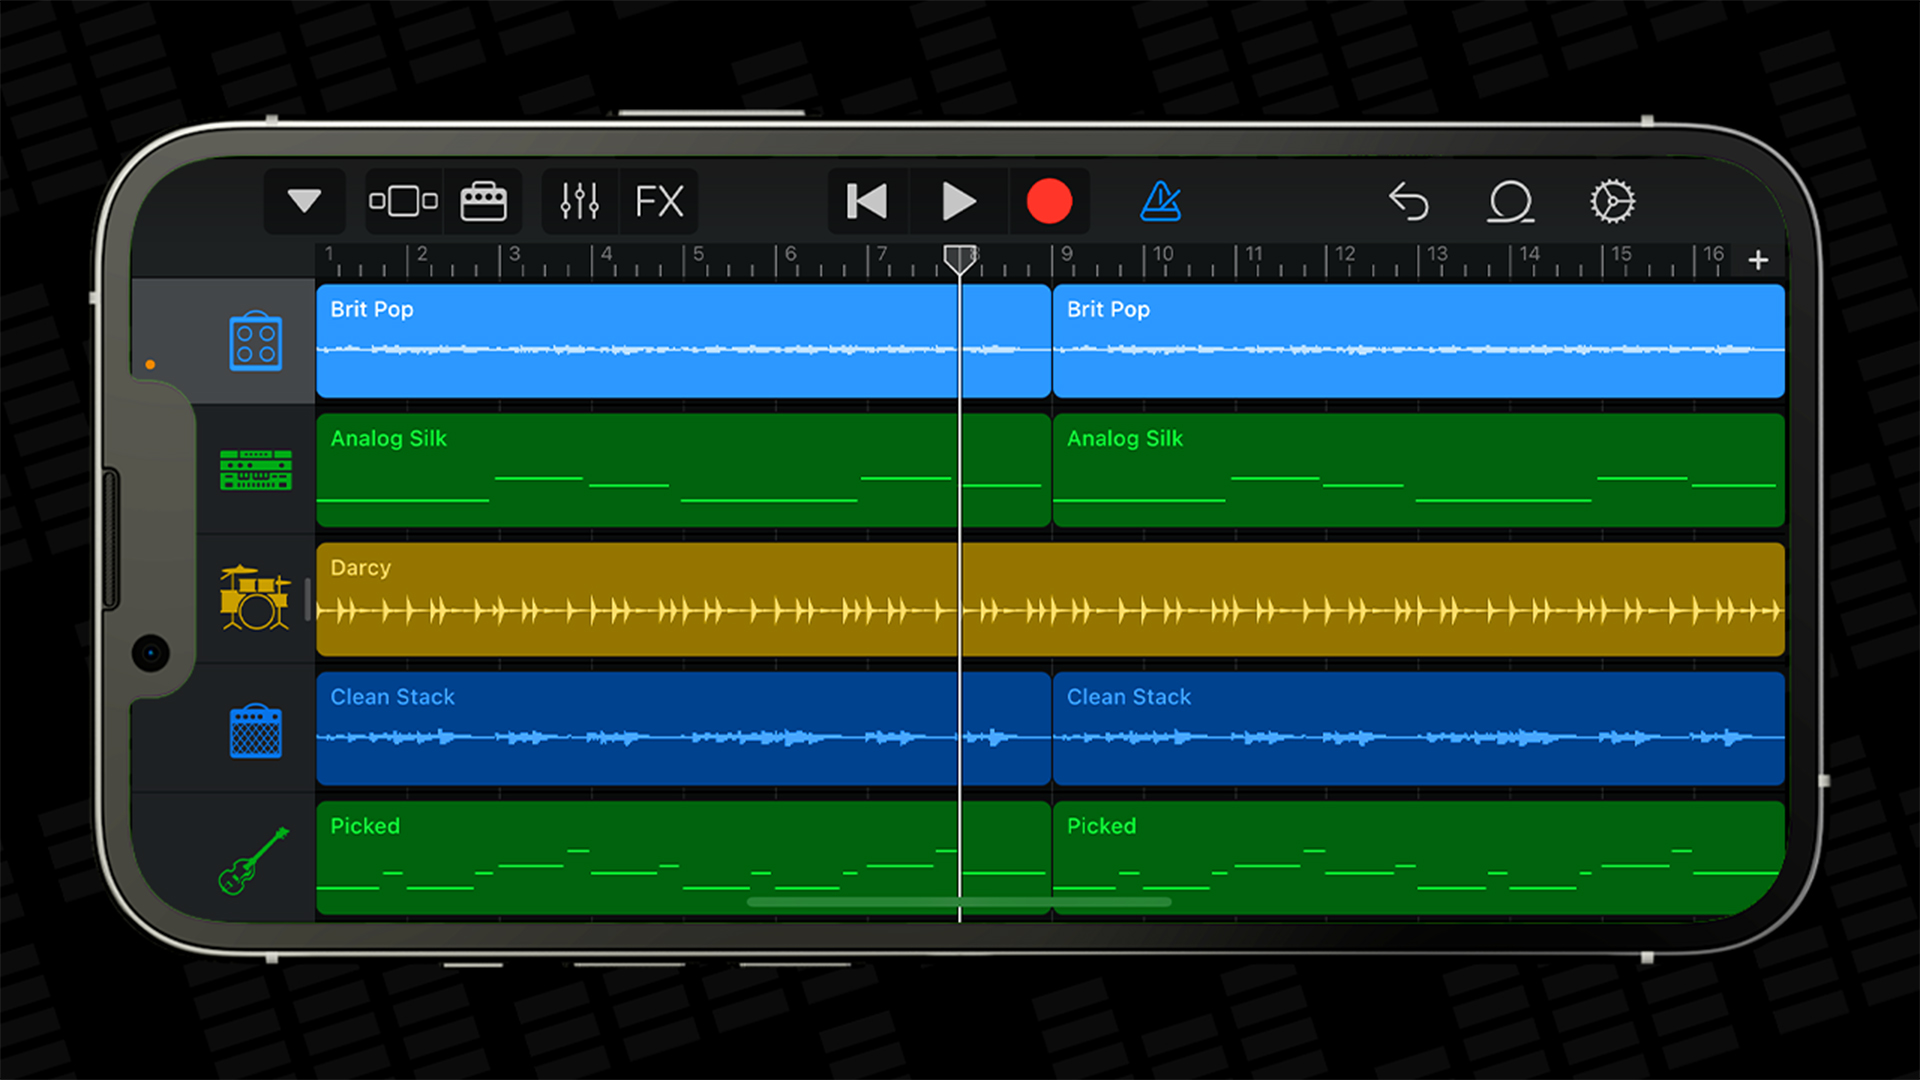
New to GarageBand for iPhone?
In this feature I’ll share what I think you should be doing first when you download the App!
Download The App
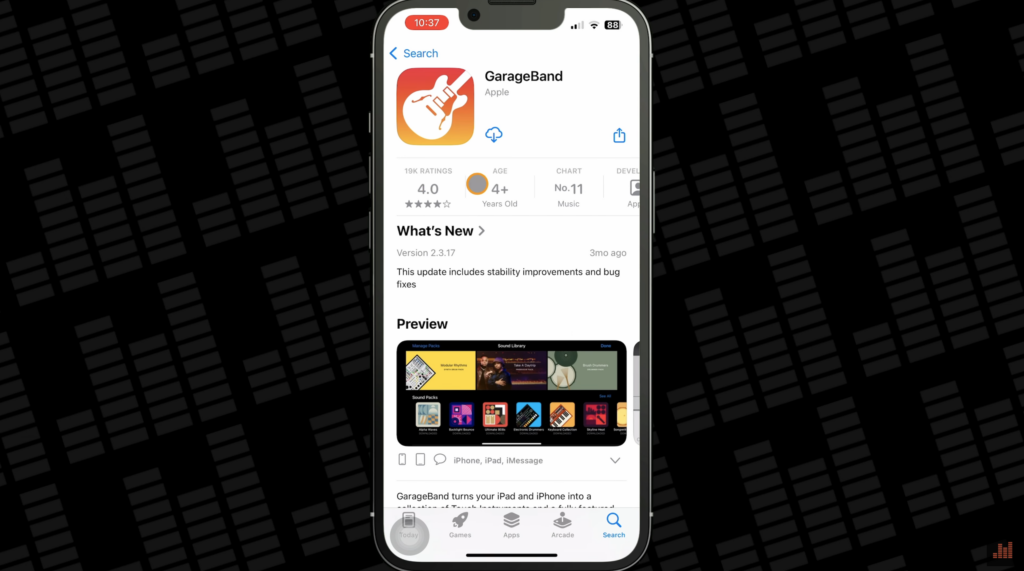
if you’ve yet to install GarageBand on your iPhone here’s a quick run through on how to grab it.
Open the App Store, tap on the search, then type in GarageBand. GarageBand will pop up in the search results. Hit GET and it will start downloading to your device.
Once it’s downloaded, hit open and you’ll be taken to the welcome screen. GarageBand will ask for permission to access your device’s microphone, which you’ll likely want to allow. On the next page you’ll be asked if GarageBand can send notifications when new downloadable content is available.
Whether or not you want to allow notifications is completely up to you. I would say that GarageBand doesn’t spam you with daily notifications or anything like that. You’ll only really get one when a new sound pack is released or an update is available.
After that you’ll get access to the sound browser.
Explore the Sound Browser
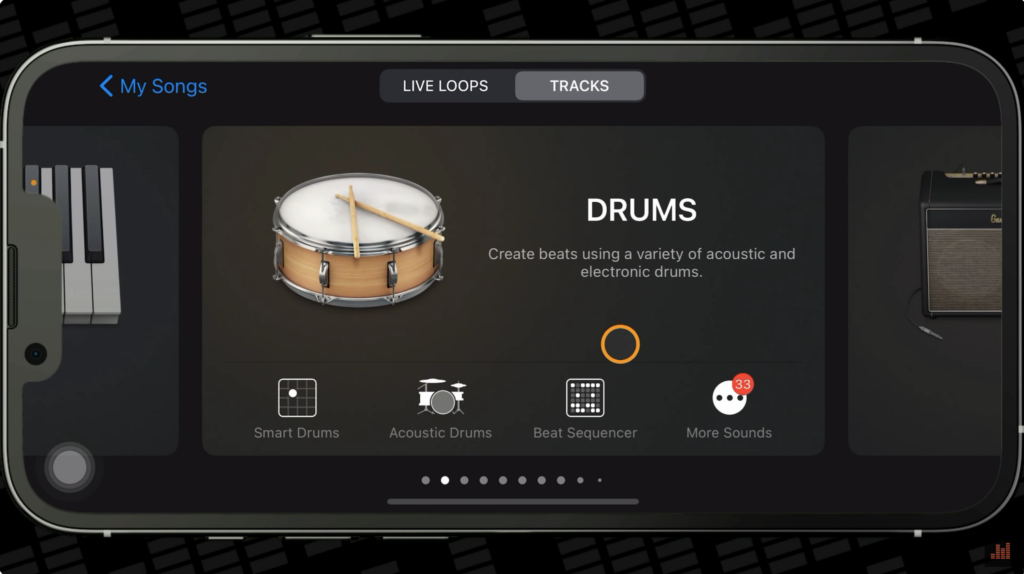
The Sound Browser is where you’ll find all of GarageBand’s Instruments, the Audio Recorder, Guitar Amp, the Sampler, the Sound Library and the External Apps function.
Swipe left or right to view the different instruments available then tap the one that you want to play
The options in the lower part of these cards take you directly to things like chord strips, notes view, or scales on touch instruments. They give you different rythm input options on drum and drummer cards and allow you to jump straight into certain presets on Amp and audio recorder cards.
Note that you can’t access the Tracks view at all until you’ve added at least one track to a project.
Most of GarageBand’s Touch Instruments work in the same way. There’s a play area where you’ll use on screen keyboards, strings or drums to “play” the instrument. You can change the sound of the instrument using the knobs buttons and other controls in the controls area, accessible by tapping on the controls button.
Adjust Your Settings
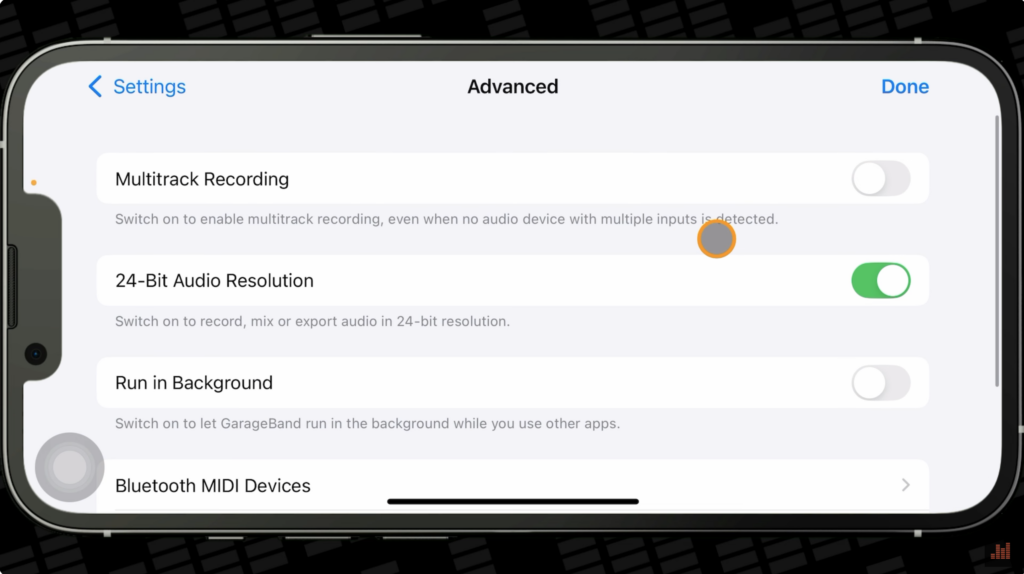
Projects default to a BPM of 120 and the key signature C major. You can change these settings and more by tapping on the cog icon in the top right of the screen
Other options worth noting here are the ability to change time signature, metronome and count in options and in the advanced section, the ability to turn on 24-bit audio resolution.
I’d actually recommend turning this on and leaving it on ASAP.
To get back to your touch instrument from the tracks view, tap on the instrument icon in the top left of the screen.
Record Some Audio
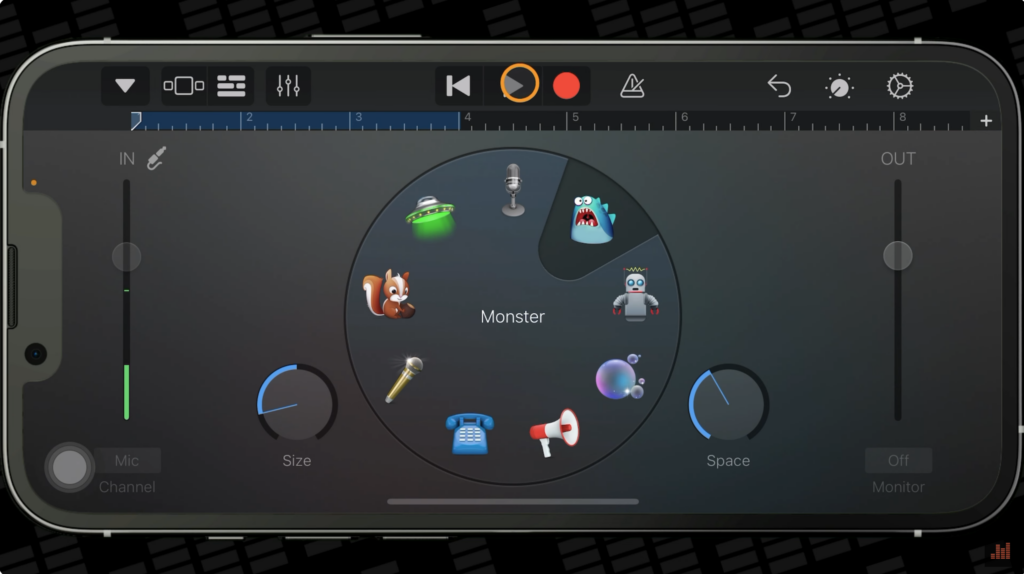
If you want to record audio (like your own voice or an acoustic instrument like a guitar for example) you’ll need to use GarageBand’s Audio recorder.
You can head back to the Sound Library by tapping on the icon with three squares on it in the top left of the screen. After that swipe until you see the audio recorder and tap on it to open.
As the on screen prompt says, capturing your recording is as easy as pointing your iPhone towards the sound you want to capture and hitting record.
Obviously, knowing where the built in microphone is located on your iPhone will be helpful. To find where the mic is located on your model, just go to Apple.com, look up your iPhone model and select Tech Specs at the top. Then just scroll down till you find the buttons and connectors settings. The vast majority of iPhone models have built in microhones on the bottom edge.
The input meter on the left of the screen will tell you if you’re too quiet or loud. You’re aiming for maybe just over half way for optimum recording volume. If the meter goes into the red your recording will sound distorted (this is called clipping) and there’s not much you can do about it, so take some time to get your levels right before hitting record.
When you’re ready to go, just hit record!
Once you’re finished recording, you can add some fun effects in the Fun tab, or you can tap on the controls button for some more sensible and more usable controls.
Add Apple Loops
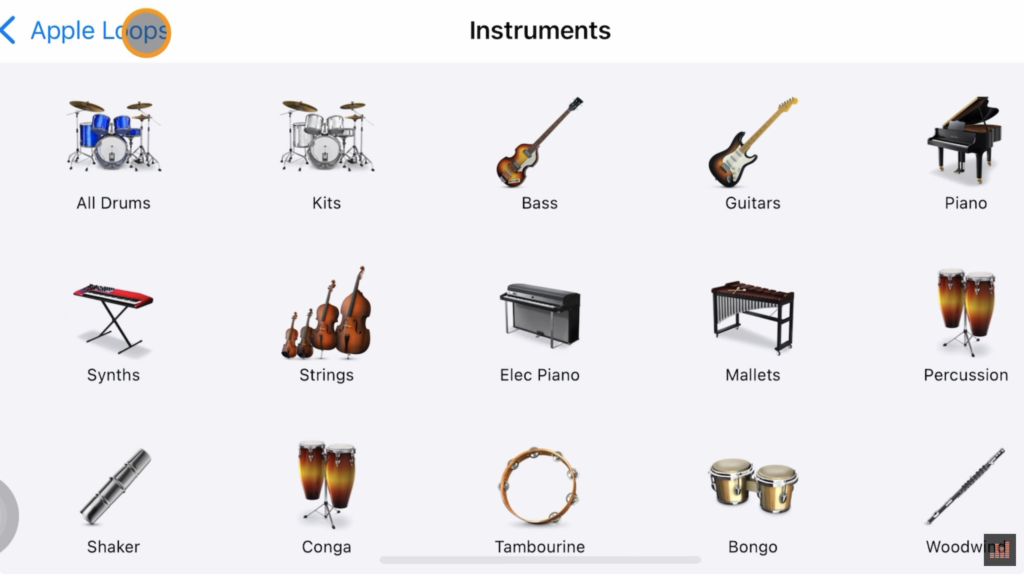
GarageBand includes a set of royalty free Apple made audio, and MIDI samples that you can use to easily add drum beats, bass lines, rhythm parts, synth leads and other sound to your project.
Loops contain musical patterns that can be seamlessly repeated or looped over and over. You can quickly find loops in the loop browser and preview them to find the ones that you want to use in your song.
The first time you open the Loop Browser it shows the instrument grid now here you can search by instrument, genre or description. The results list shows loops that match your search criteria.
Drag a loop from the results list to an empty part of the tracks view screen and then align the left edge of the loop with the bar or bit where you want it to start playing. Note that blue audio loops will adjust to the BPM of your project, so may sound different than when you auditioned them in the browser.
Add New Sounds
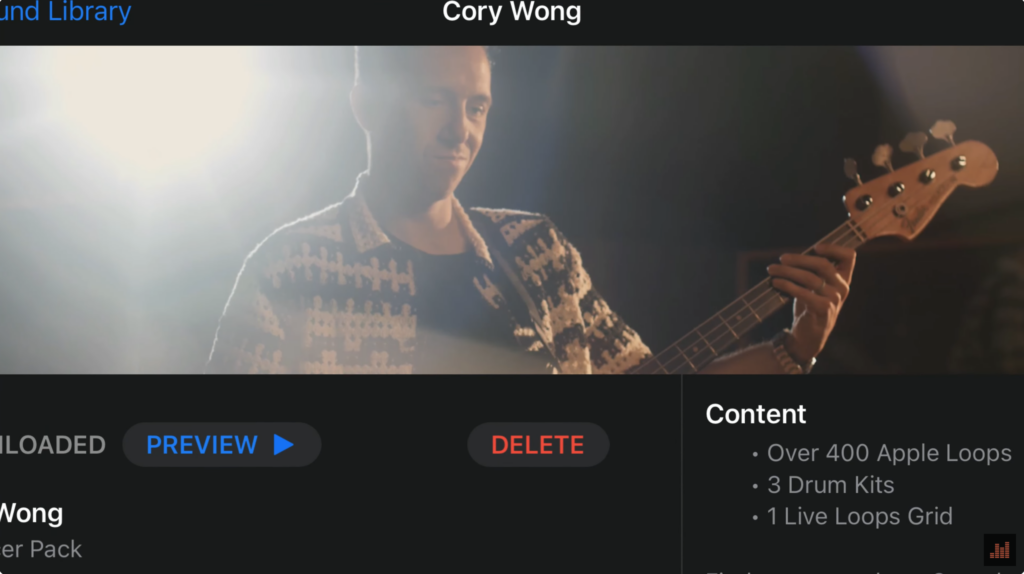
Apple regularly add new instrument patches, loops, drum kits and more to GarageBand in the form of Content and Remix packs.
At the time of this feature there are 30 Content packs and 12 Remix packs available and they are all absolutely free. You can peruse and download these additional packs in the Sound Library.
You can find the Sound Library in GarageBand’s Sound browser, or by tapping the ‘more sounds’ icon found next to many of GarageBand’s different touch istrument icons. When you open the Sound Library, you’ll be greeted with a selection of differenrt packs that you can download. Each of these packs has a different name and icon – you can find out more about a pack by tapping on it.
You’ll get an in depth description of the pack, a list of what’s included with the pack and the ability to preview some purpose built music that make use of the contained sounds.
The 8-bit legends pack for example contains 70 new alchemy synth sounds, 7 drum kits over 250 Apple Loops and an additional Live Loops grid.
GarageBand for iPhone is a really powerful mobile music studio. One of its best features that you’ll definitely want to get to grips with is the sampler. More on how that works here.
