
GarageBand for iPad is a surprisingly powerful tool for recording vocals, instruments, or anything else you can throw a mic at. But getting set up properly makes all the difference between a rough demo and a polished recording.
In this guide, I’ll show you three easy ways to record audio into GarageBand on your iPad, along with some essential project setup tips to get the best results.
Set Up Your Project Correctly
When you launch a new project in GarageBand on iPad, you’ll land straight on the Instrument selection screen. To start recording audio, swipe through the instrument options and choose Audio Recorder.
GarageBand will automatically load a default vocal chain, complete with effects like compression and EQ. This is ideal for quickly laying down a vocal or acoustic track.
Tip: If you’d rather start clean, open the preset menu and hit Reset. This gives you a dry track with no effects added.
By default, GarageBand projects are limited to 8 bars. To change that:
- Tap the + icon in the top-right corner
- Select Section A
- Toggle Automatic on
This removes the 8-bar loop and lets your recording run freely.
You can also toggle the metronome and enable a count-in (for a bar or two of lead-in) from the top toolbar. Both are helpful when recording with external mics or instruments.
Option 1: Use Your iPad’s Built-In Microphone
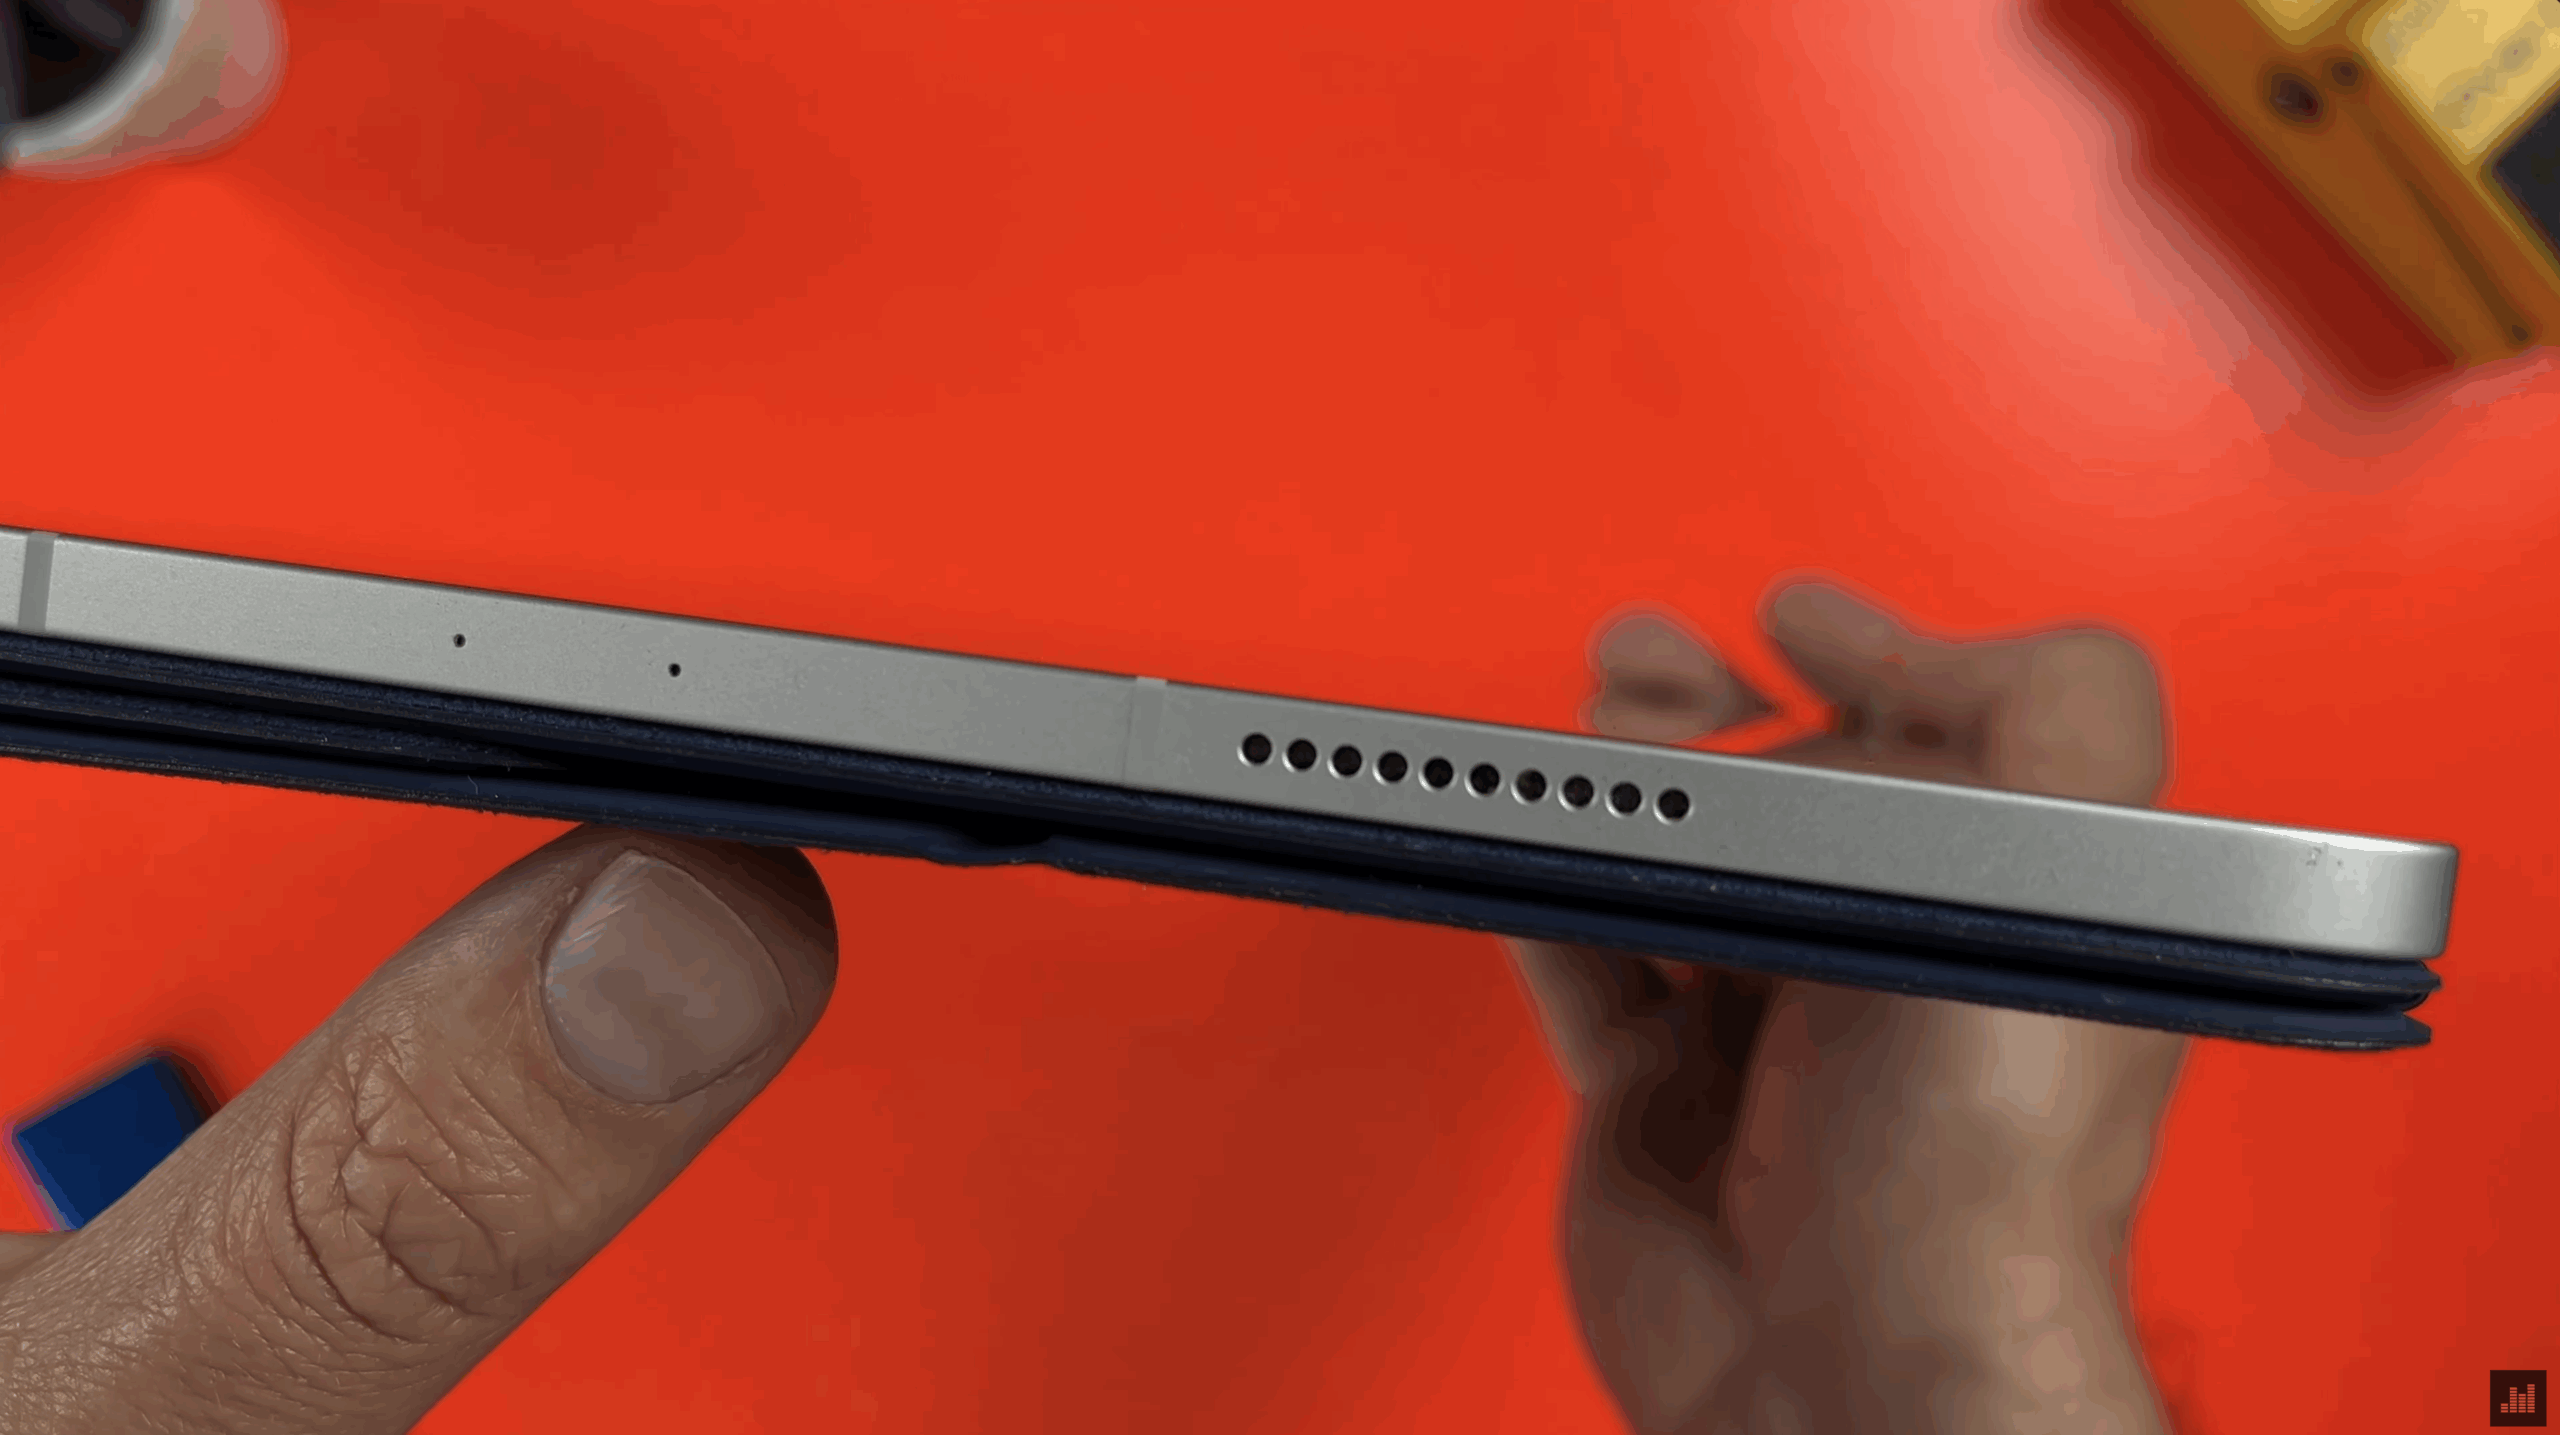
The fastest way to record is by using your iPad’s built-in mic. Every iPad has at least one mic. Newer models like the iPad Pro feature multiple noise-cancelling mics and what Apple calls “studio-quality” recording.
In real-world terms:
- Older iPads sound boxy and thin
- Newer iPads, especially Pro models, sound noticeably better
- None of them will replace a proper mic setup
Still, if you’re capturing ideas on the go, voice notes, or acoustic sketches, the built-in mic will absolutely do the job.
You can enhance built-in mic recordings with:
- Noise Gate
- EQ
- Light compression
All of these are available in the Track Controls section by tapping the mixer icon.
Option 2: Connect a USB Microphone
If you’re looking for a step up in audio quality, a USB microphone is a great middle ground.
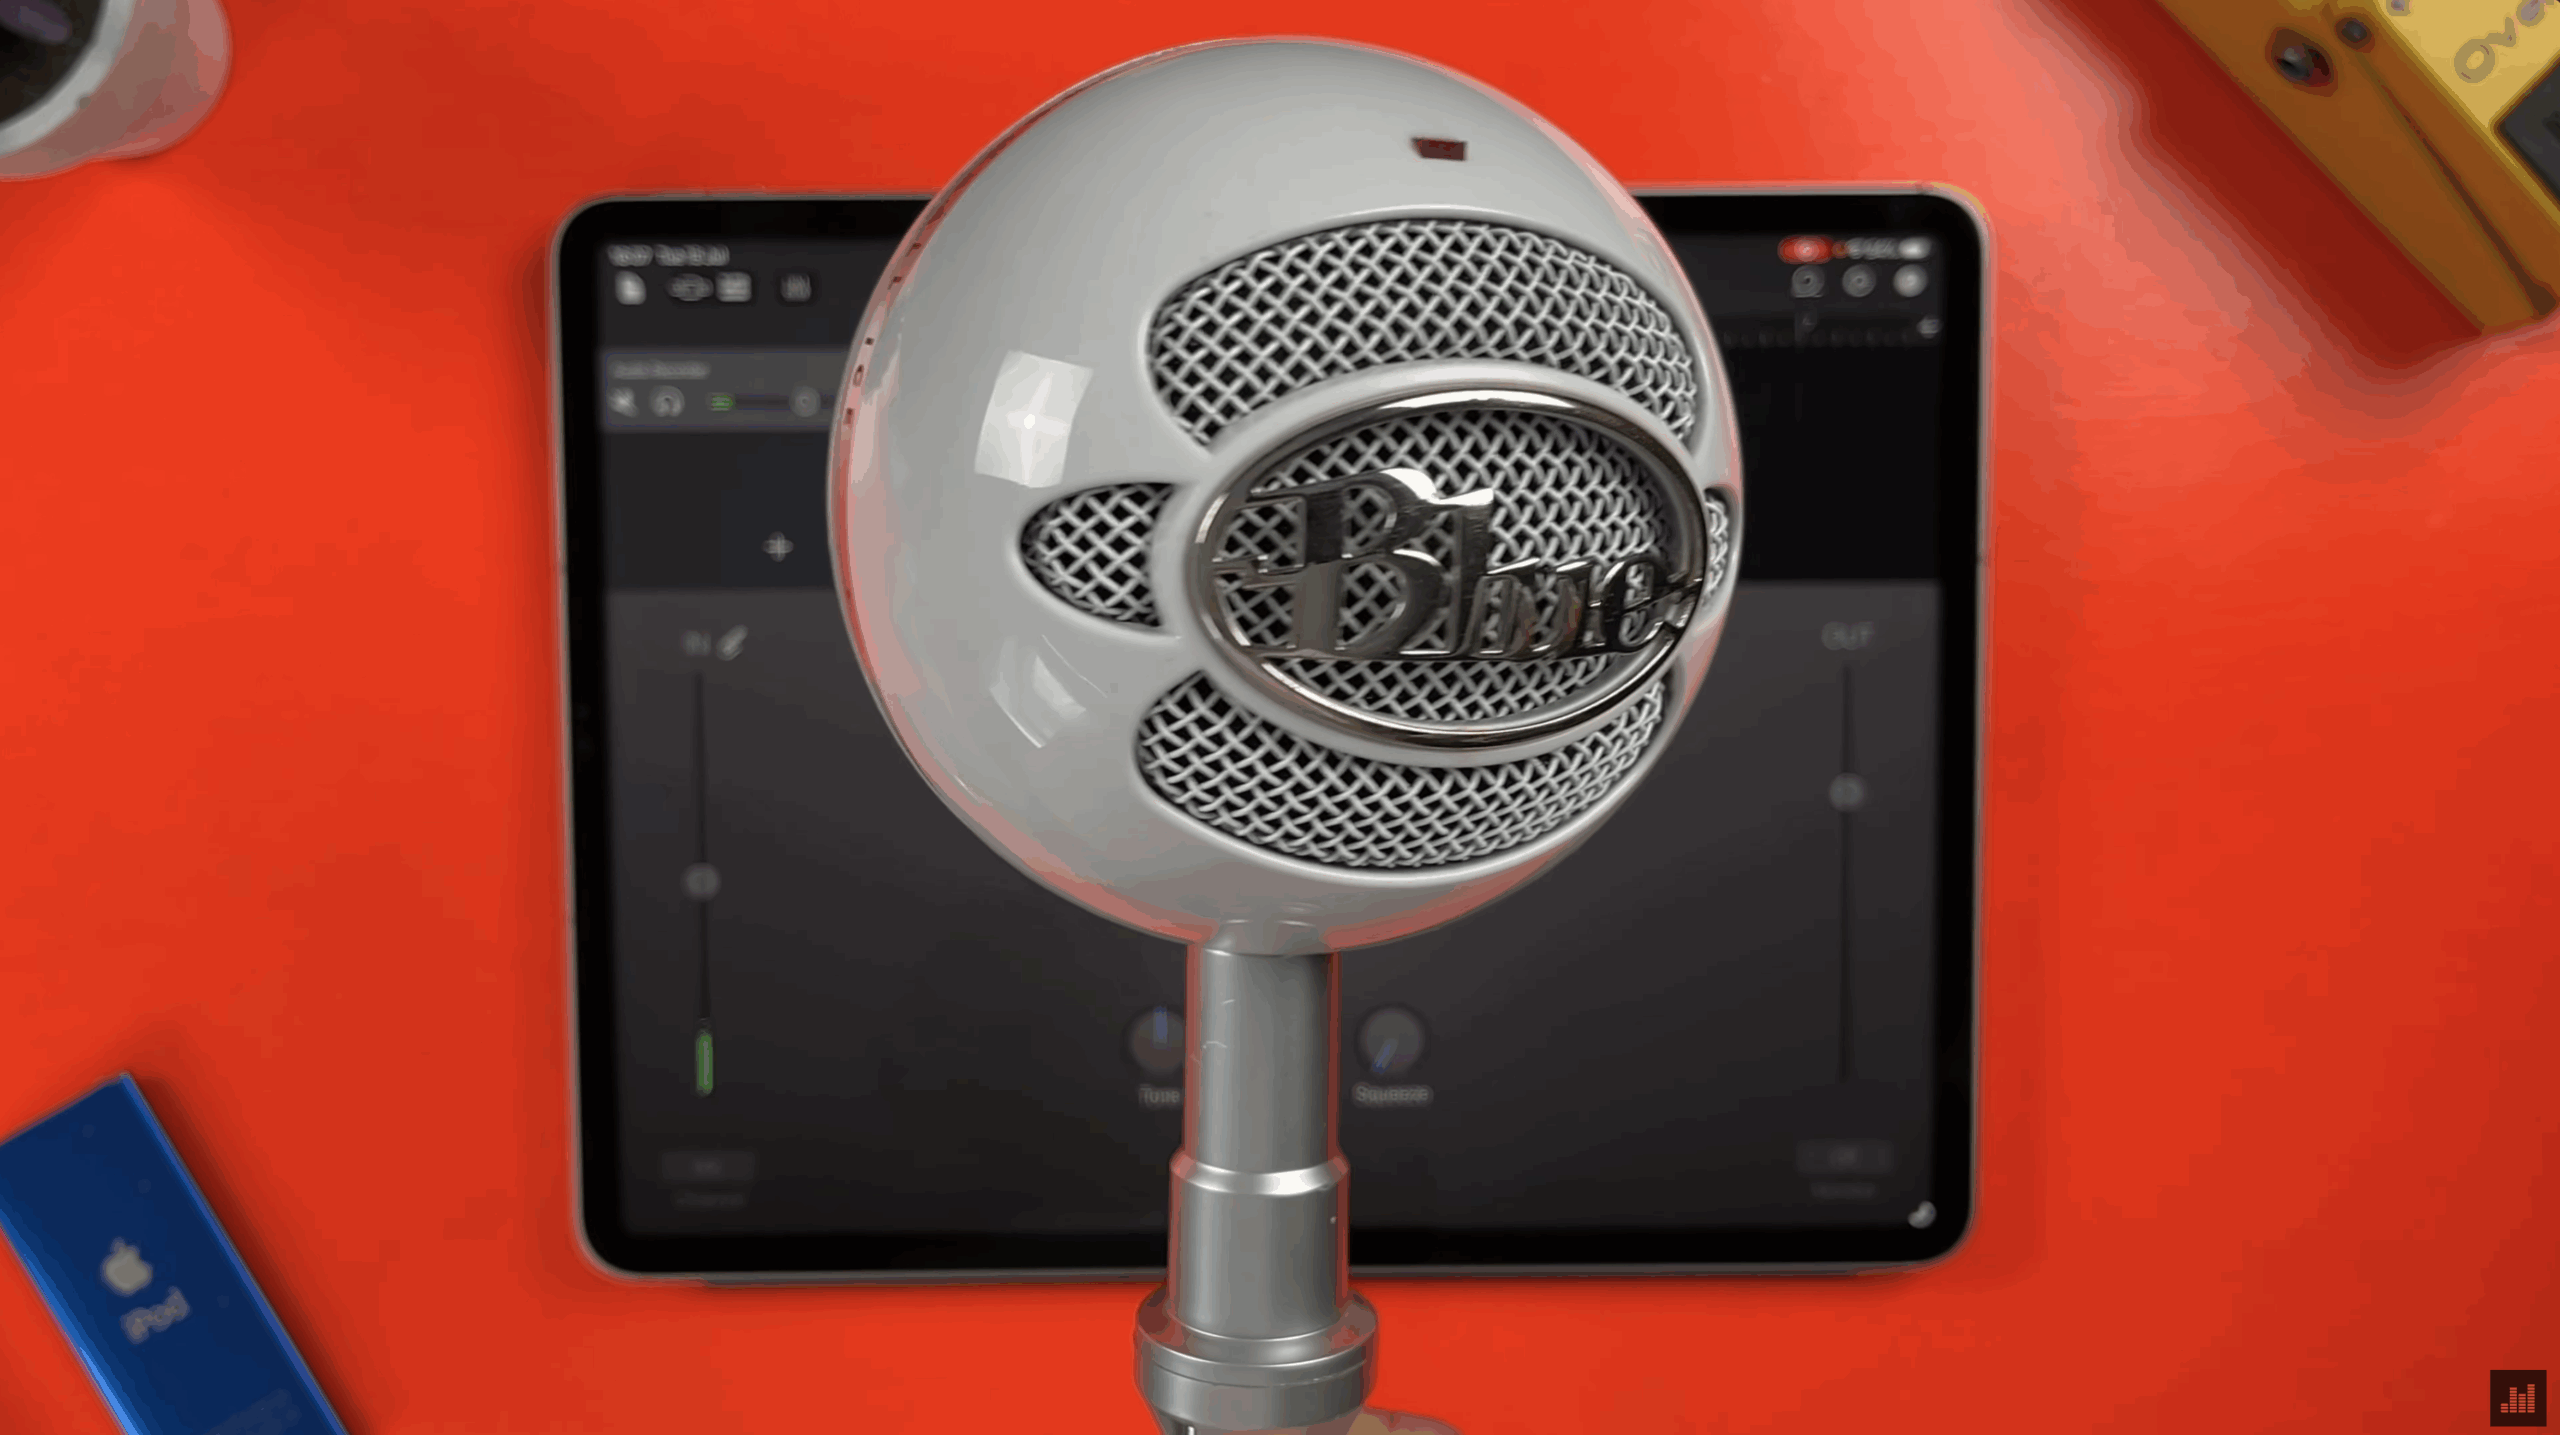
USB mics offer better clarity, less background noise, and more control than your iPad’s built-in mic and most are plug-and-play compatible with iOS.
What You’ll Need:
- If your iPad has Lightning, you’ll need Apple’s Camera Connection Kit
- If your iPad has USB-C, a simple USB-C adapter or hub will work (I like this one from Anker)
GarageBand will usually detect the USB mic automatically.
⚠️ Note: Some USB mics draw more power than your iPad can supply, especially on Lightning models. You may need a powered hub.
Option 3: Use an Audio Interface + XLR Microphone
If you want true studio-quality recordings on iPad, this is the way to go.
GarageBand works brilliantly with most class-compliant USB audio interfaces, and pairing one with a solid XLR microphone gives you the best possible results.
My Recommendation: Audient iD4
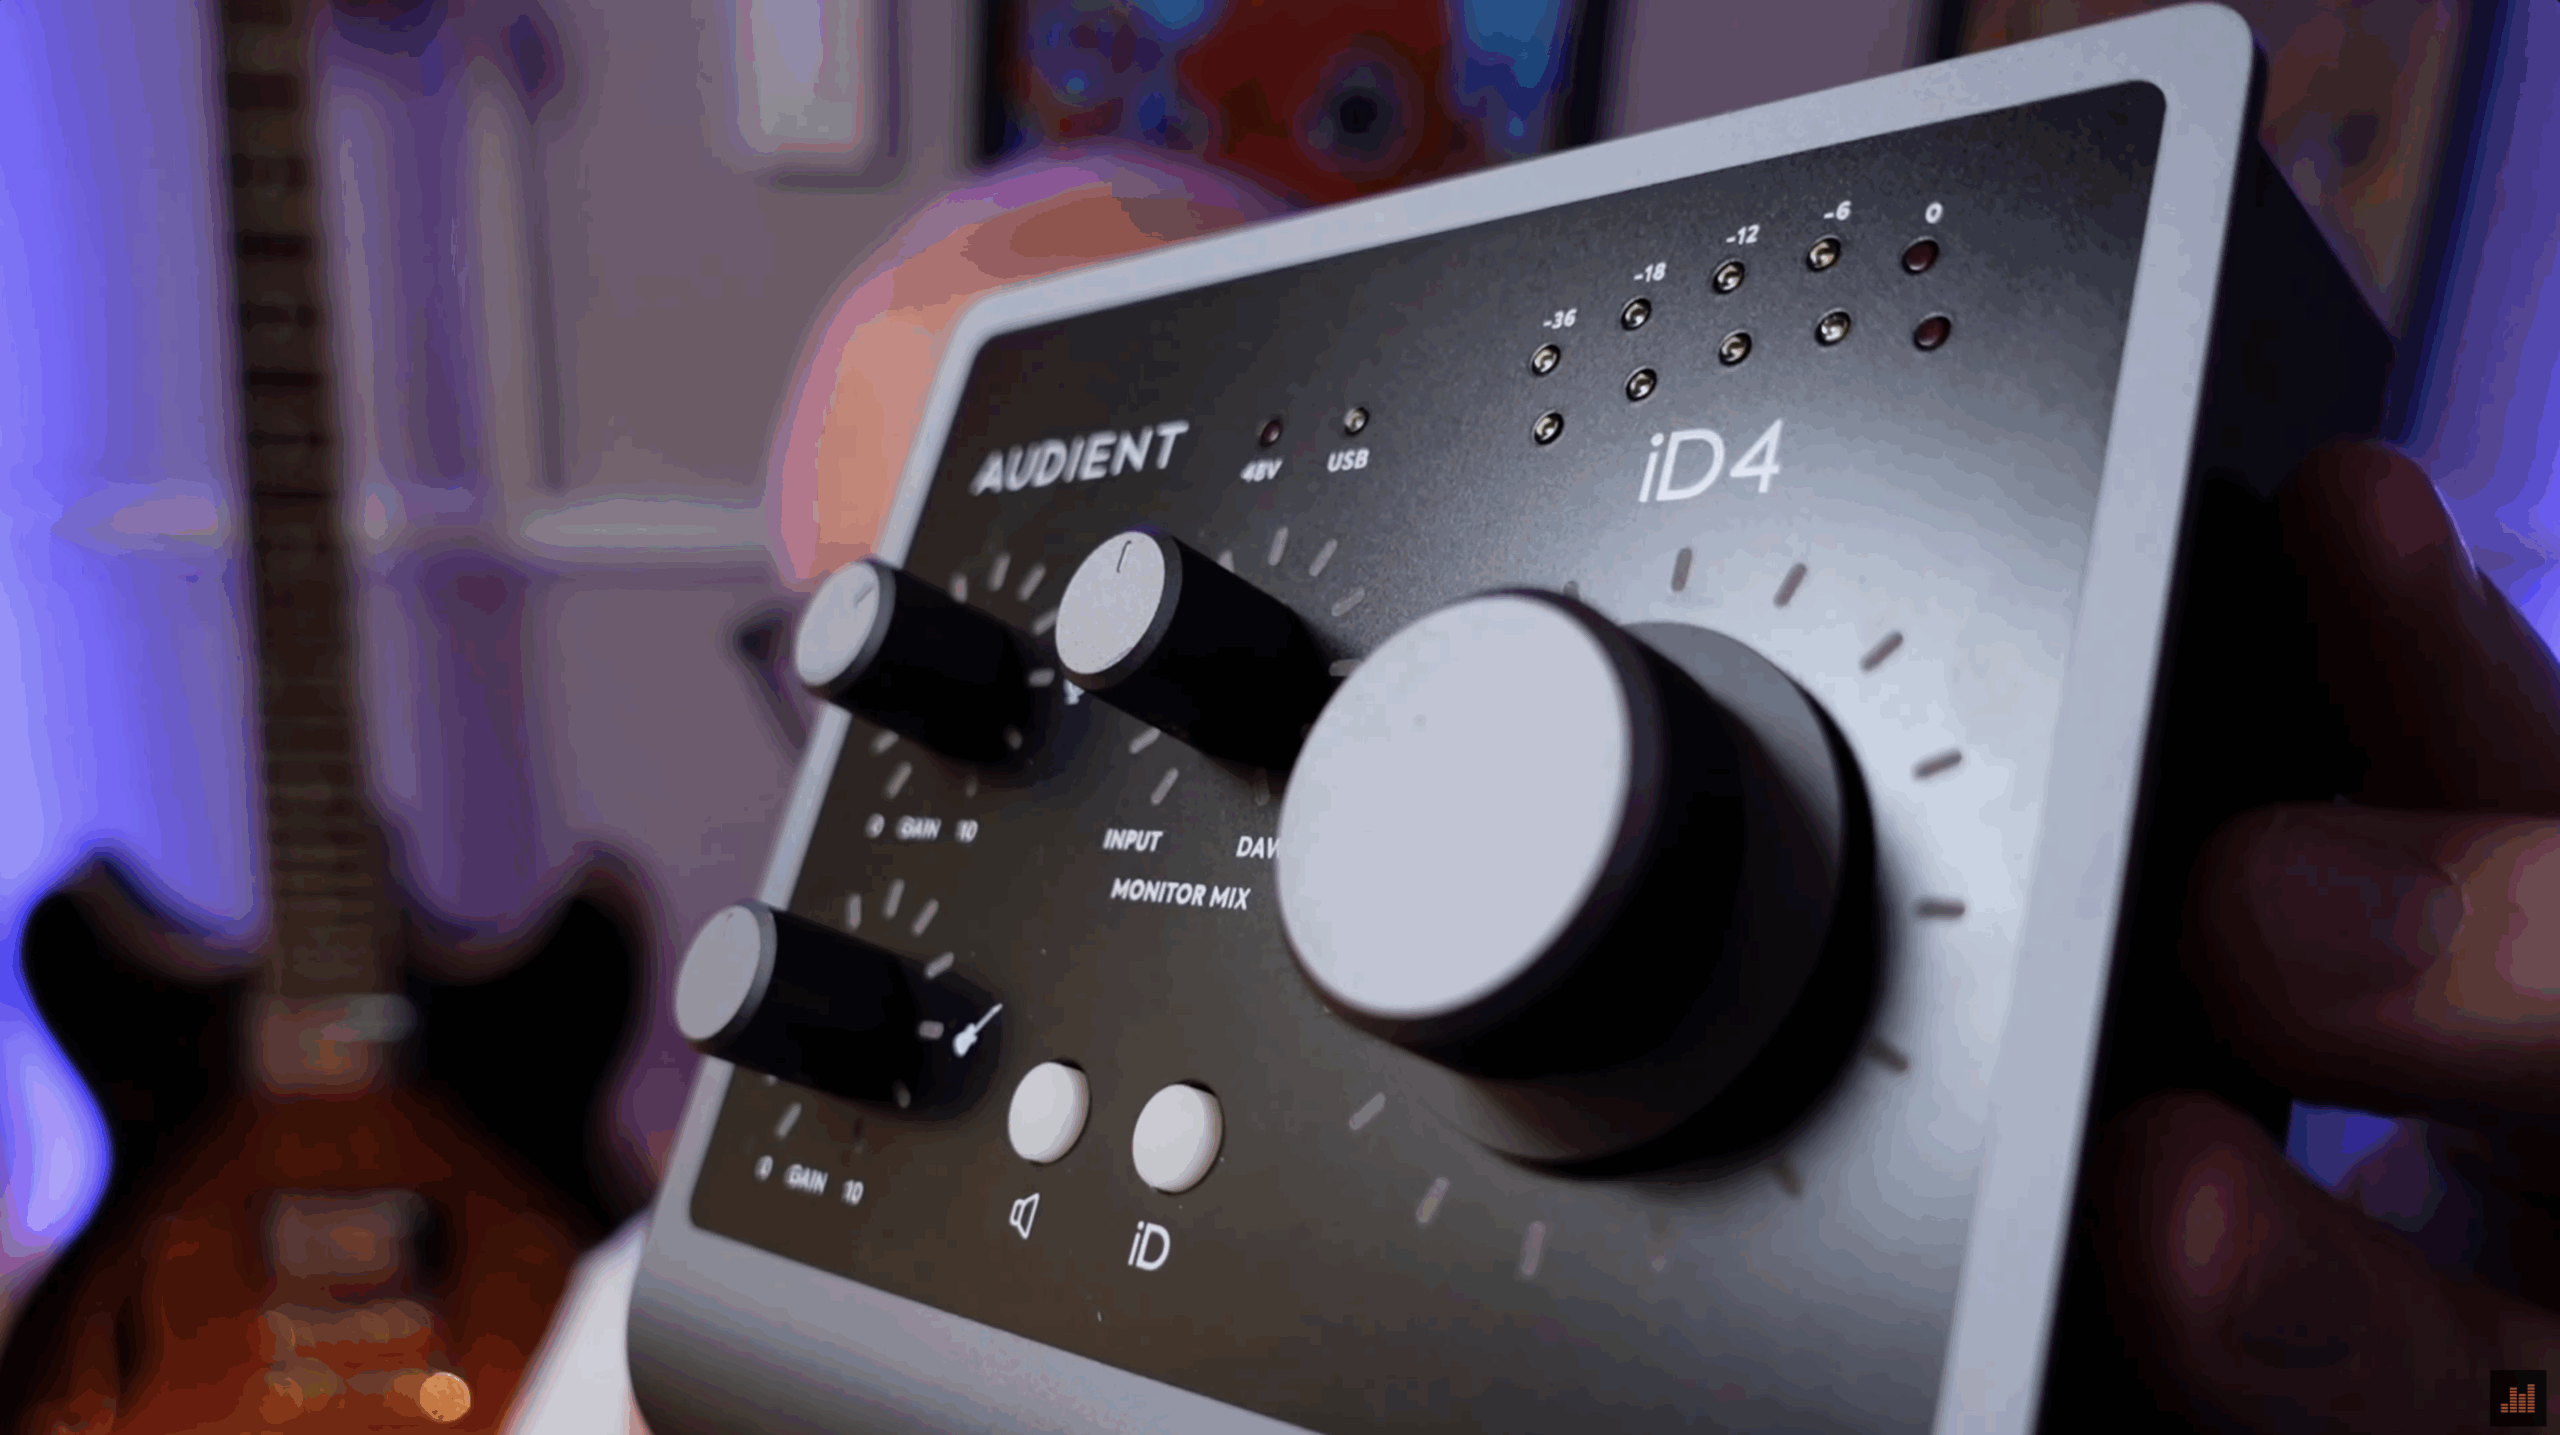
The Audient iD4 is affordable, iOS-compatible, and built like a tank. You don’t see full metal chassis at this price point very often.
Key Features:
- Studio-grade mic preamp from Audient’s flagship consoles
- Pristine 32-bit audio conversion
- Low-latency monitoring
- Fully bus-powered
- Works with iPads via USB-C or powered hub + Camera Kit on Lightning
With the iD4, you can plug in a condenser mic like the Rode NT1, or a dynamic mic like the Shure SM58, and record vocals, guitar amps, and more with zero fuss.
To adjust levels:
- Tap the jack icon
- Go to Input Settings
- Tweak your gain, enable monitoring, or turn on the noise gate or automatic level control
Check out the Audient ID4 audio interface here