If you’ve never used an audio interface to record your voice, or your guitar or other instrument in GarageBand, it can be difficult to know where to start.
In this feature i’ll show how to connect and record with your audio interface on iPad and demo what you need to do on the software side to get up and running.
Lightning
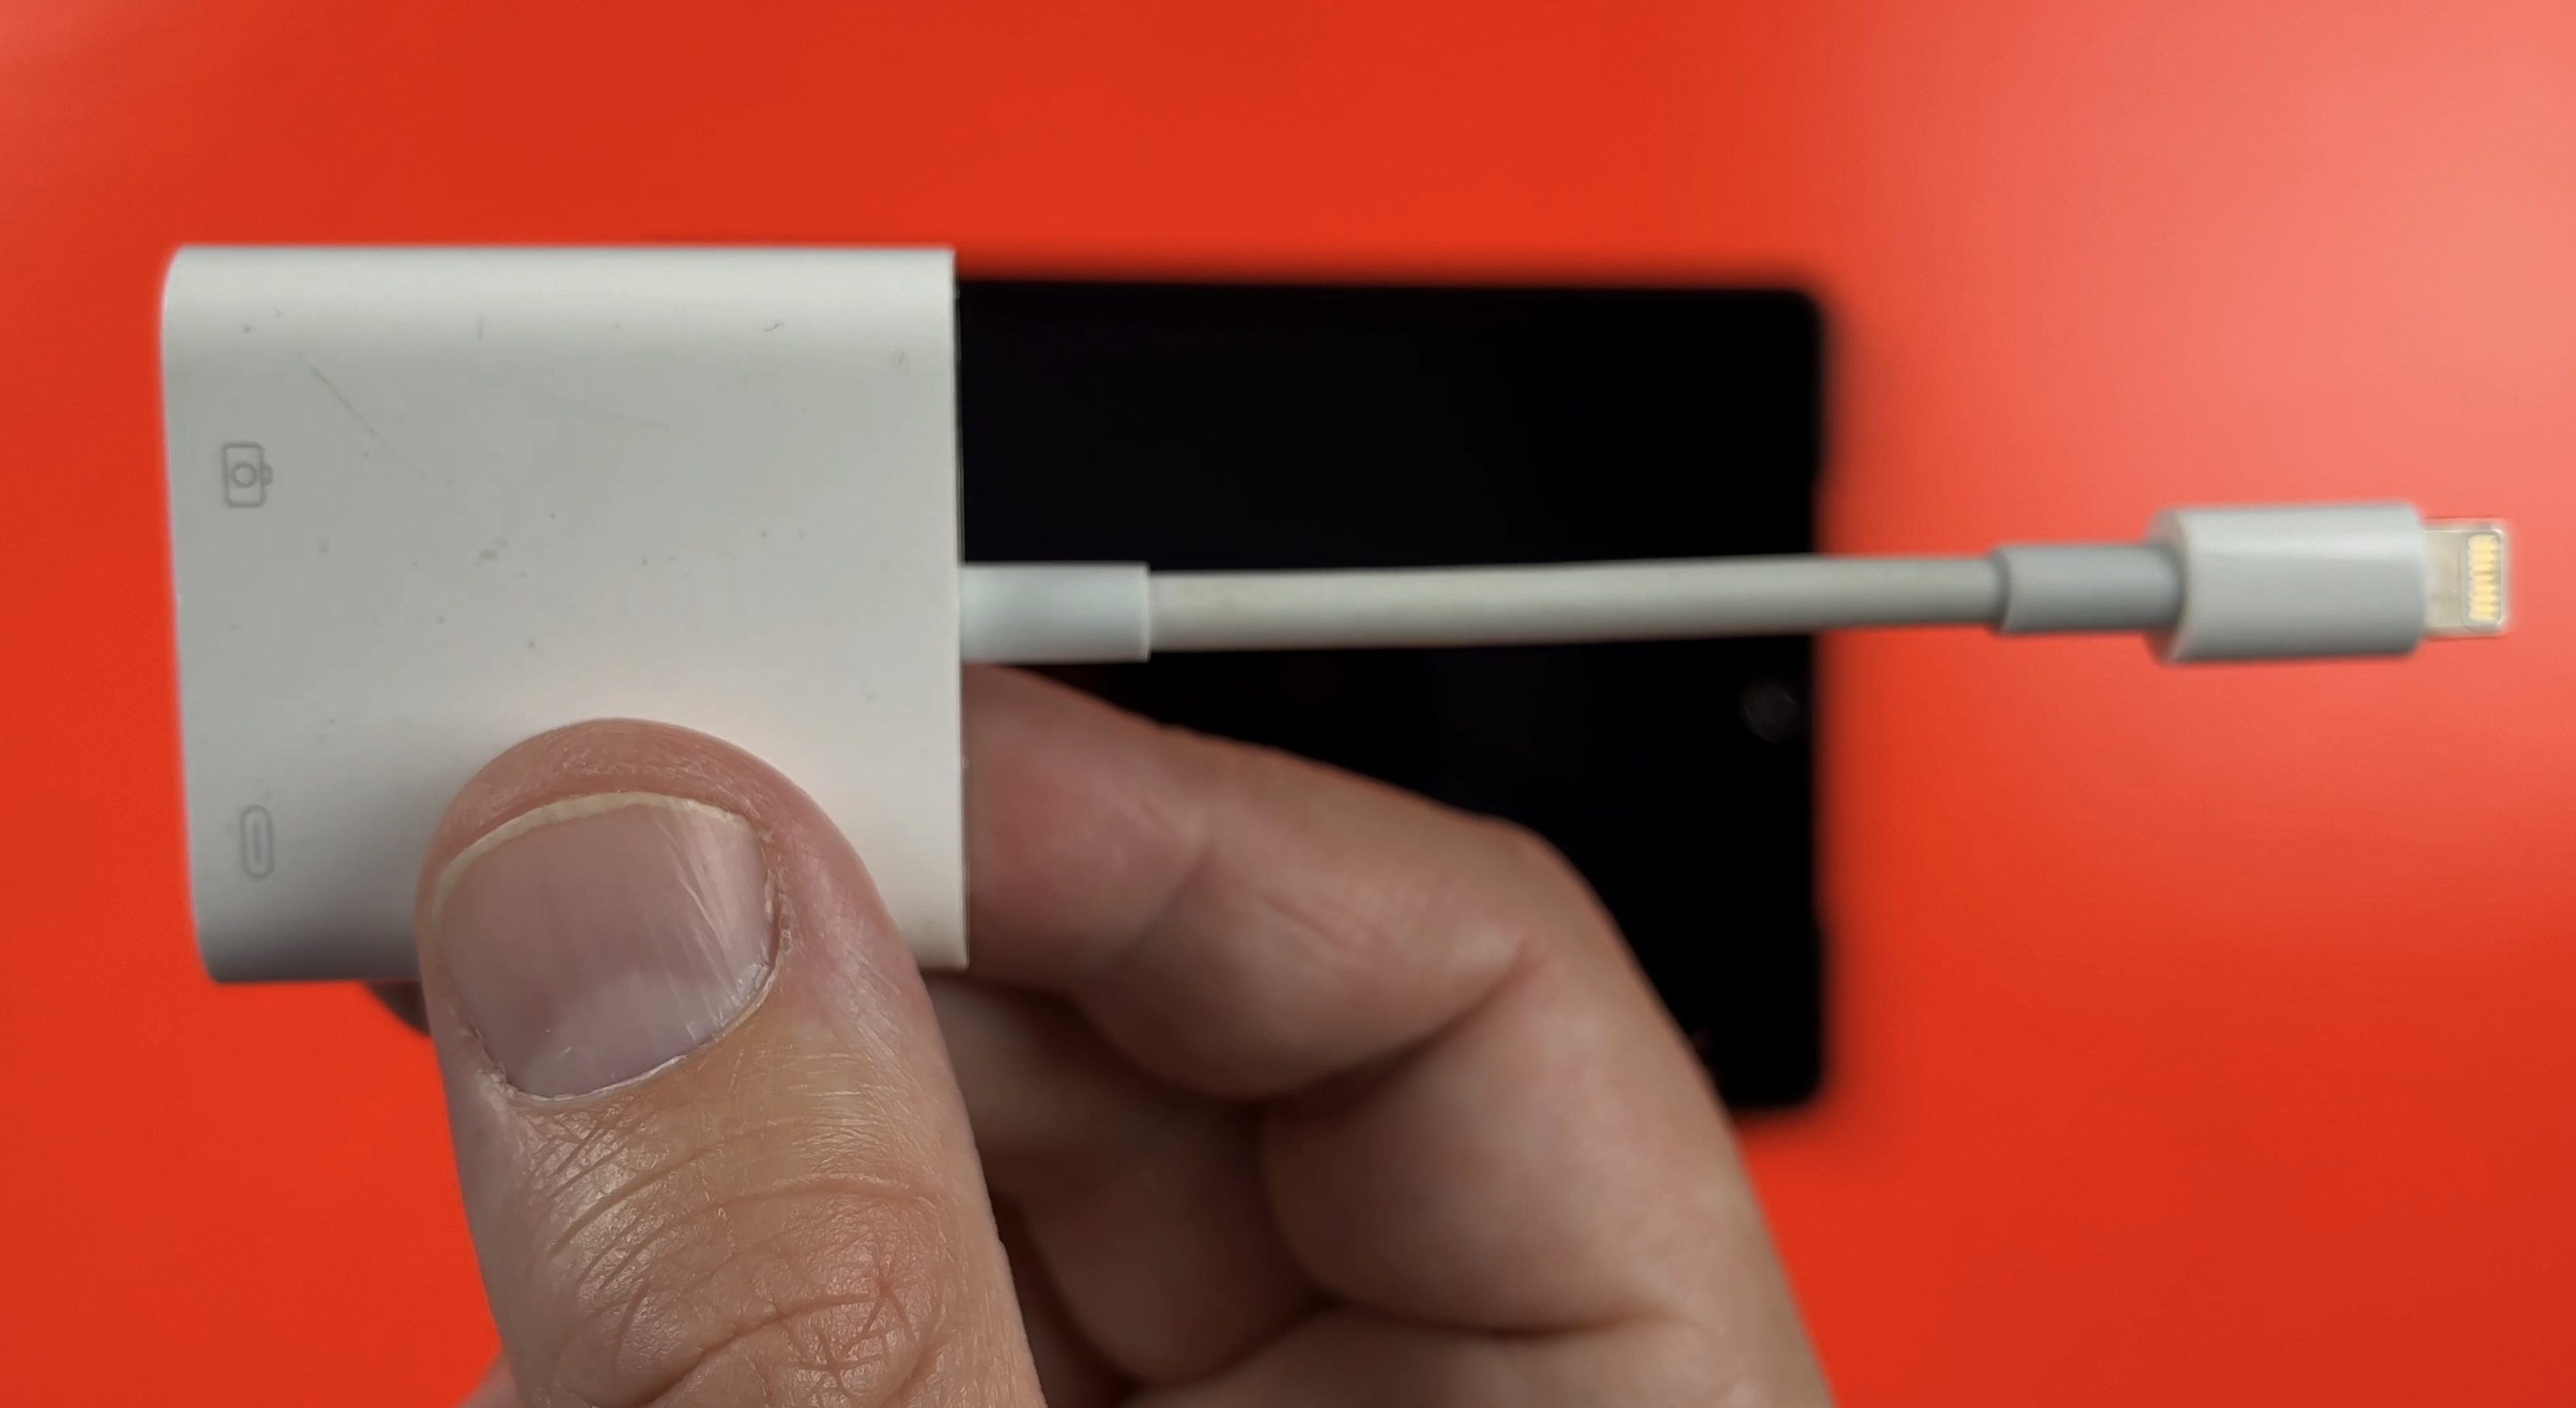
If you have an 9th generation iPad or older, 5th generation iPad Mini or older – or basically any iPad model that you charge via a lighting port – you’ll need the official Apple Lightning to USB adapter.
It has a lightning plug at the end of a short cable and a USB A and lightning ports at the other end.
Yes you can grab much cheaper third party clones of this wee gadget from eBay and Amazon, but I would definitely recommend against it. Apple are notorious for pushing out regular updates that can make unofficial lightning based periphirals and cables obsolete, if they work at all. So my advice regarding these adaptors is to pay a bit more and get the real deal from Apple.
You’ll save yourself some headaches further down the line, trust me.
First, plug the adapter’s Lightning connection into the Lightning port of your iPad.
Next, connect your audio interface’s USB plug to the adapter’s USB port. Here is where you’ll likely hit a bit of trouble
Lightning based iPad and iPhones don’t generate enough juice on their own to power an audio interface.
This is where the Lightning port on the adapter comes in. By attaching a Lightning cable attached to your device’s plugged in charger, you’re providing enough power for the audio interface to work and record your audio into your chosen iOS app.
Note that you will need to use a higher 20W charger to power your attached audio interface, as the 5w charging brick that used to come with iPhones for example won’t provide enough power.
USB-C
Every other supported iPad model has a USB -C port and getting set up is a much easier process.
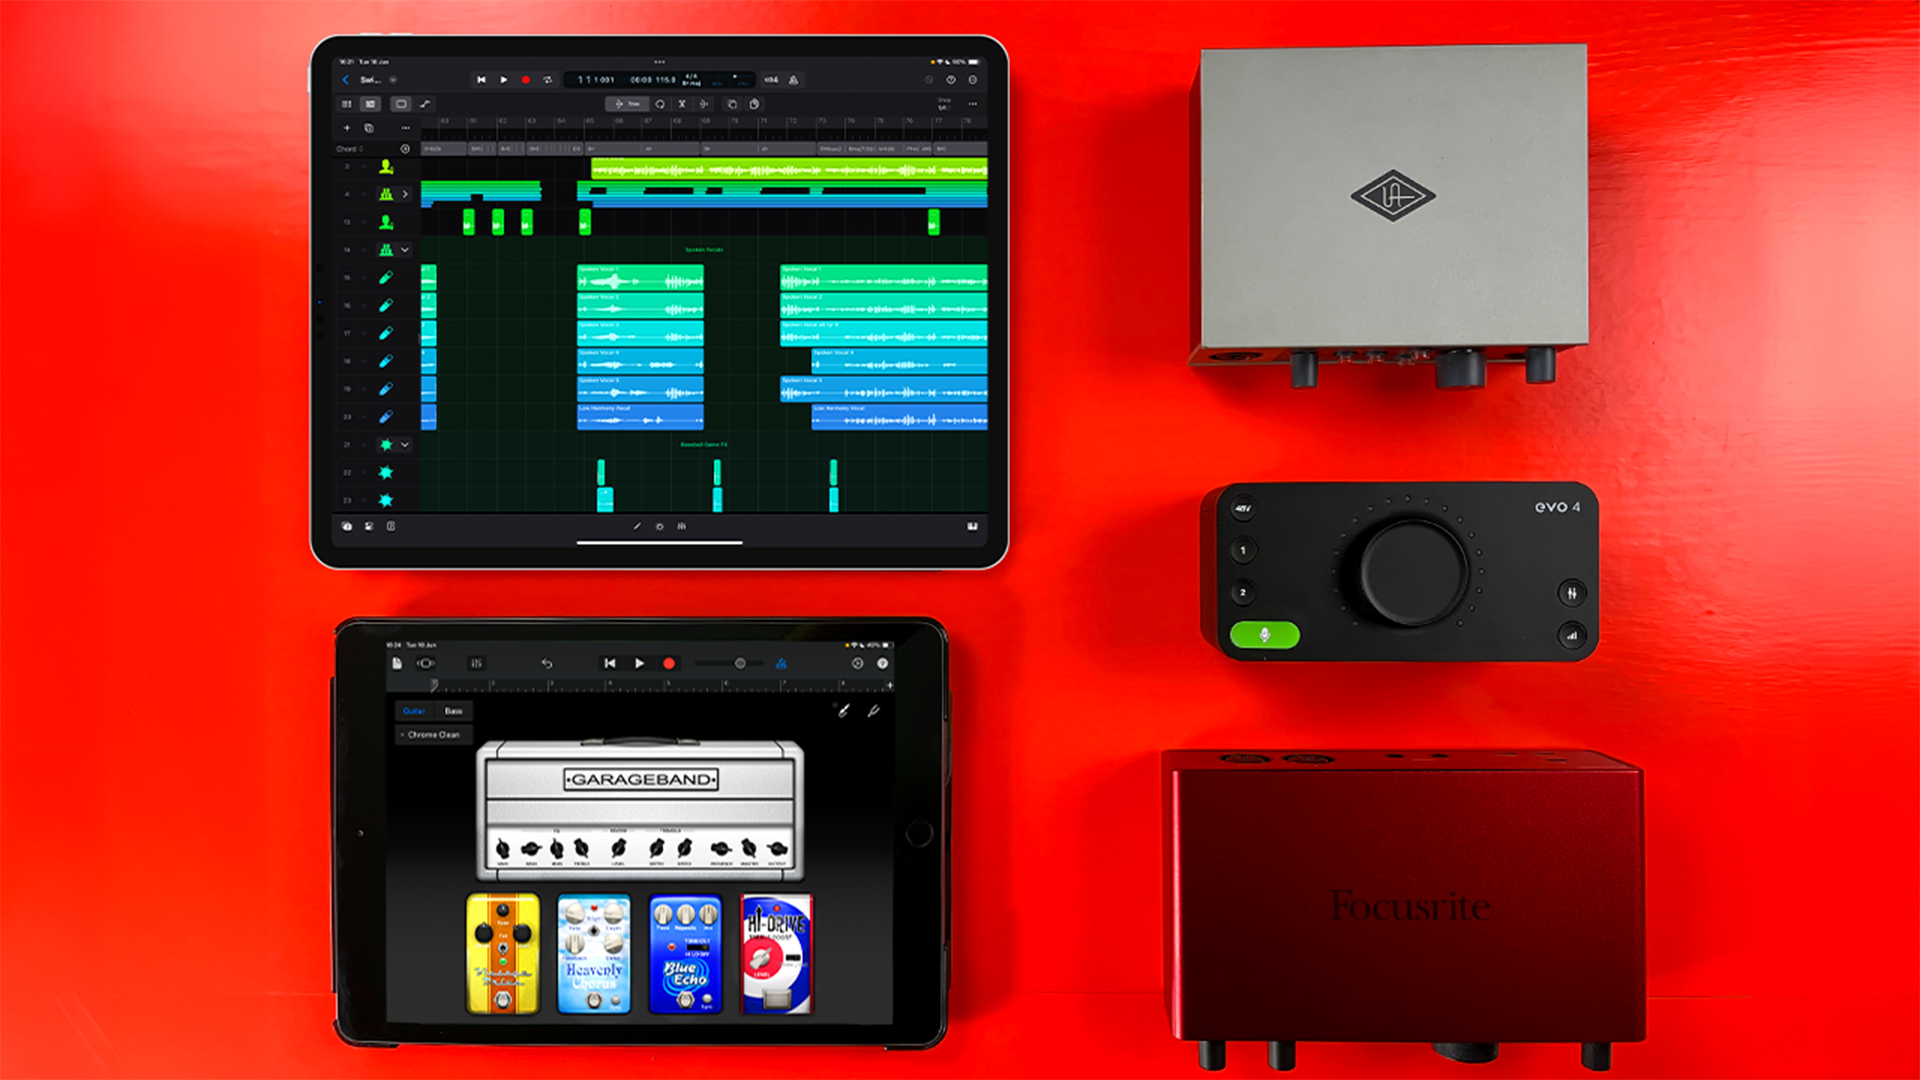
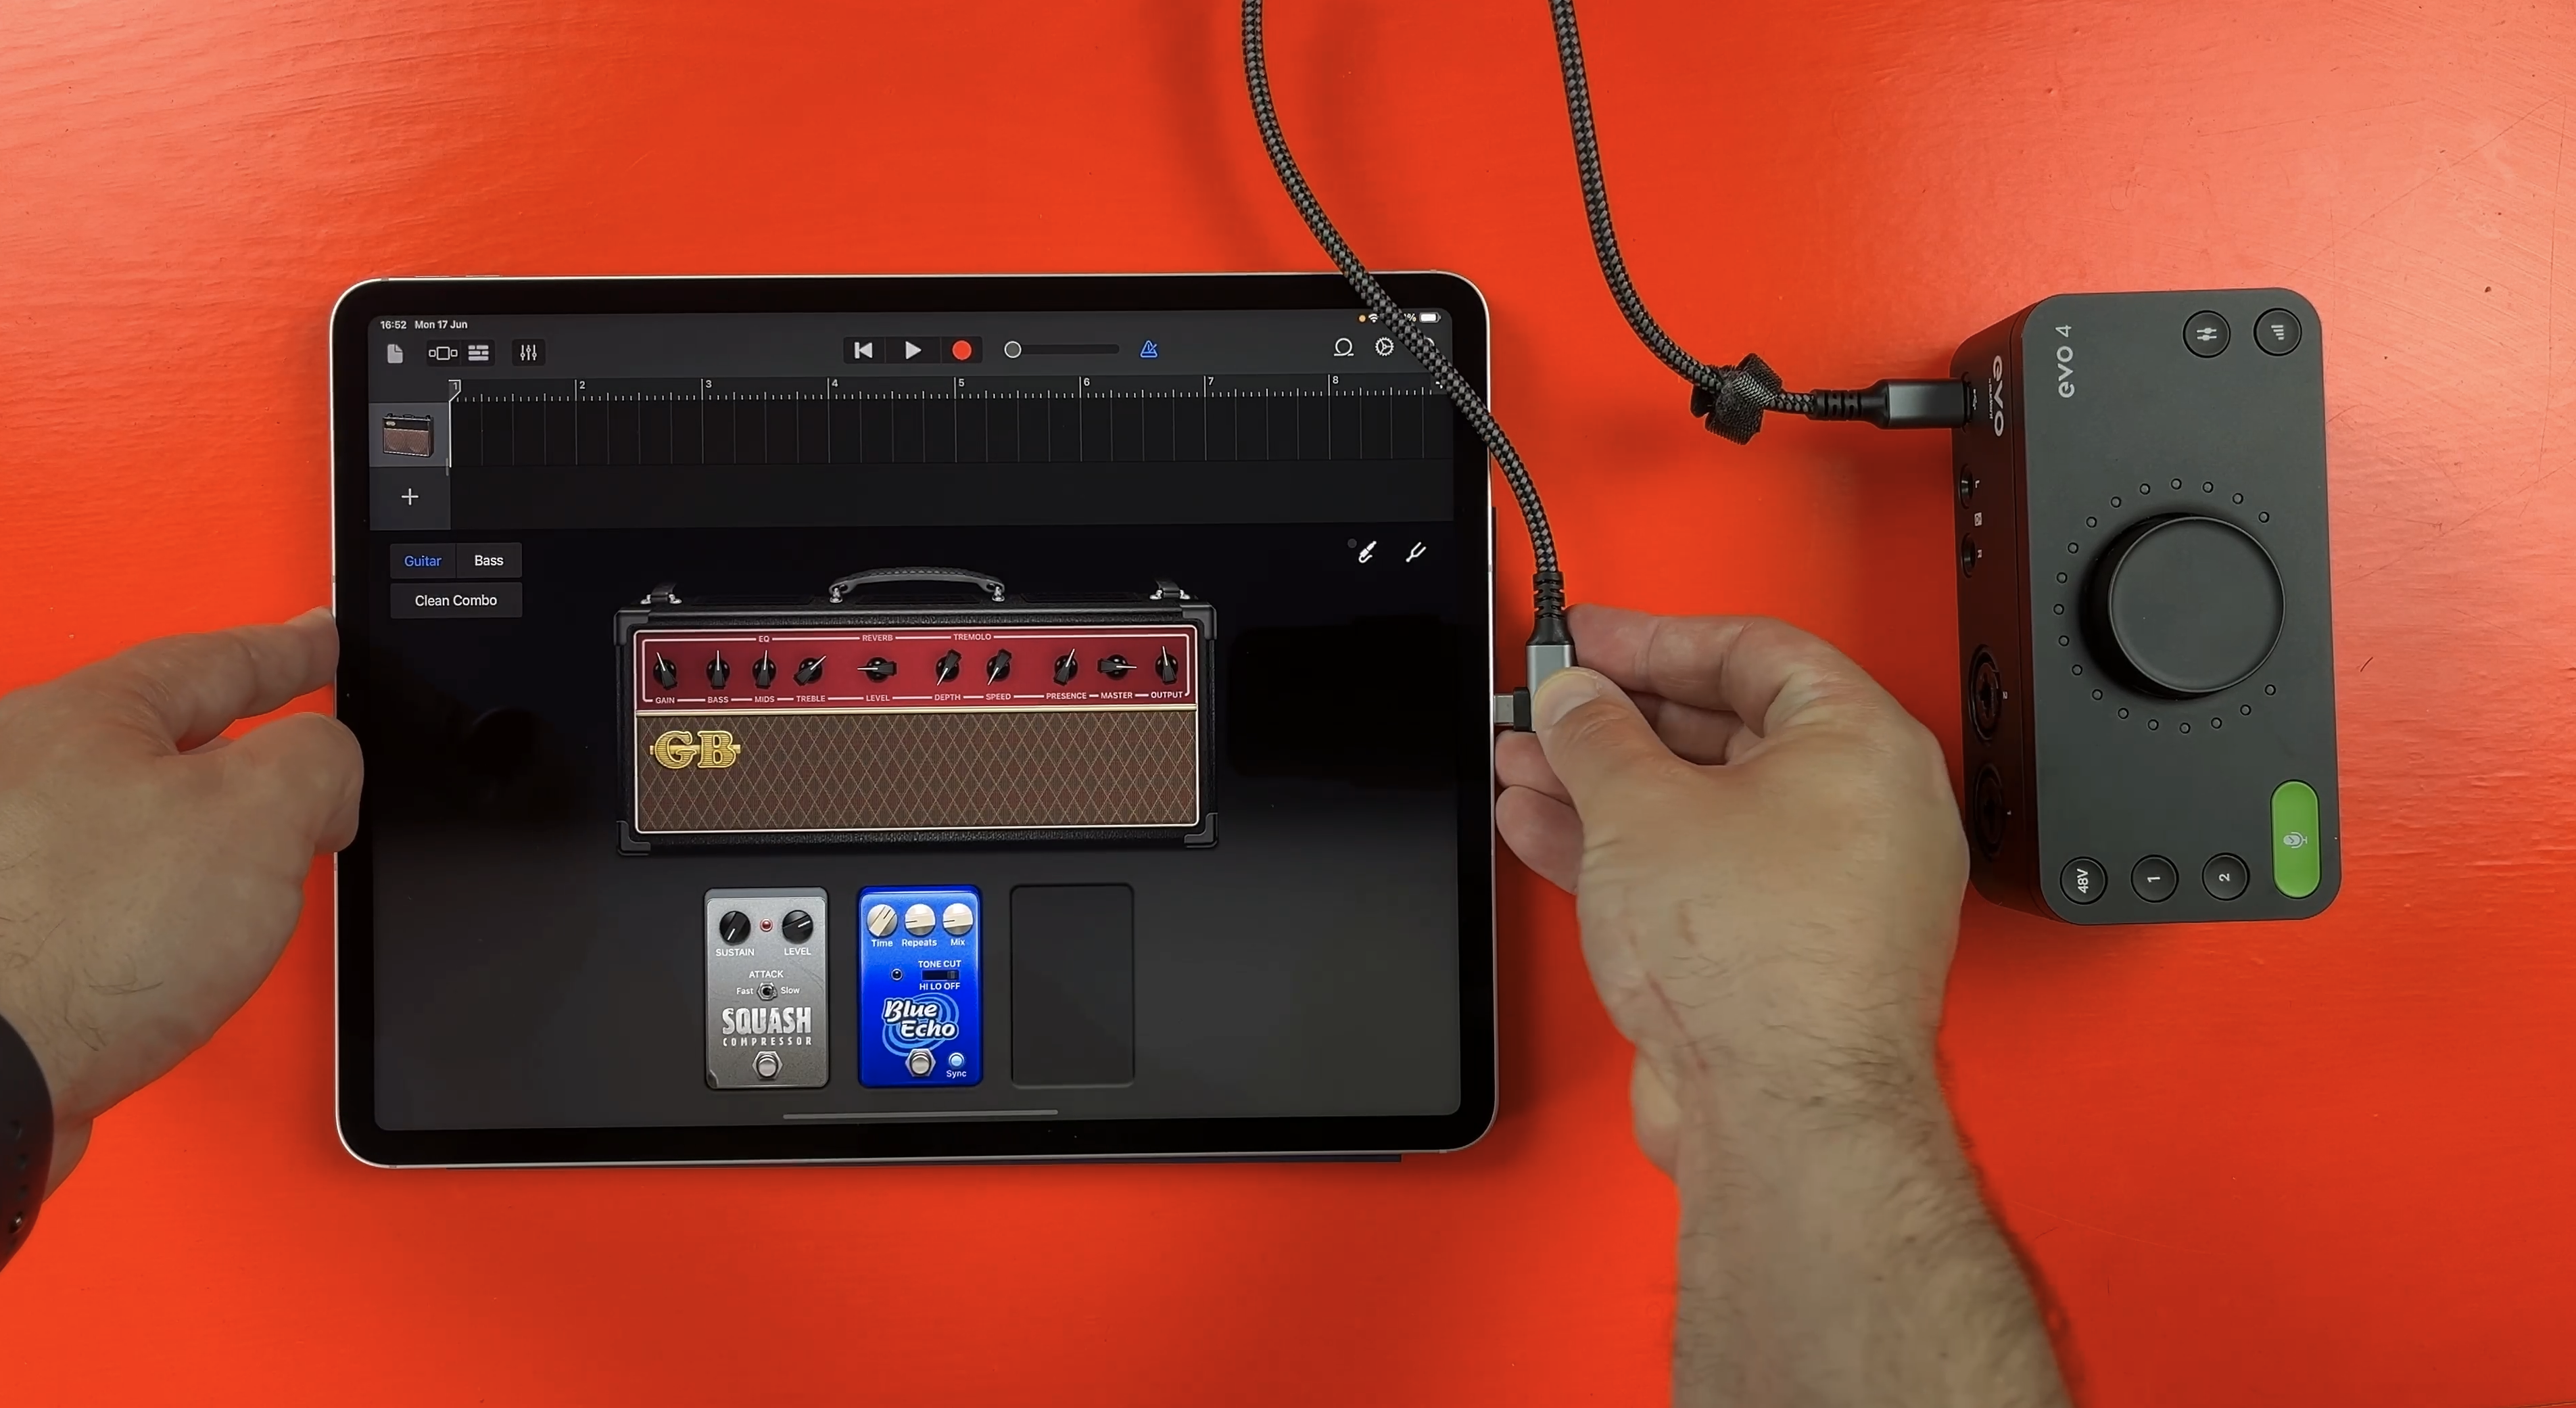
In fact, if you have an audio interface with a USB-C power output, like the Audient Evo 4 for example, you can grab a USB-C to USB-C cable, plug it directly into your iPad and you’ll be off to the races.
If you’d rather use the standard USB-C to USB cable that most manufacturer’s still insist on bundling with most audio interfaces nowadays, you’ll need an adapter of some kind. Unlike Lightning based iPads, you have far more choice when it comes to USB-C adapters and their’s no need to stick to Apple’s official gadgets.
If you want to splash out on your setup, something like this Quiizlab magnetic stand & hub offers multiple USB inputs and pass through charging to keep your iPad’s battery topped up while in use.
If you’d rather something a little more discreet and wallet friendly, this ANKER hub attaches to the side of your iPad and gives you the connectivity you need as well as a built in headphone jack.
However you get your audio interface connected, USB-C port equipped iPads output enough power from that port to run it without any extra juice. Just plug it in and you’re ready to go.
Software Set Up
However you connect your audio interface to your iPad, to record using it in GarageBand, you’ll be using the Audio Recorder or Amp.
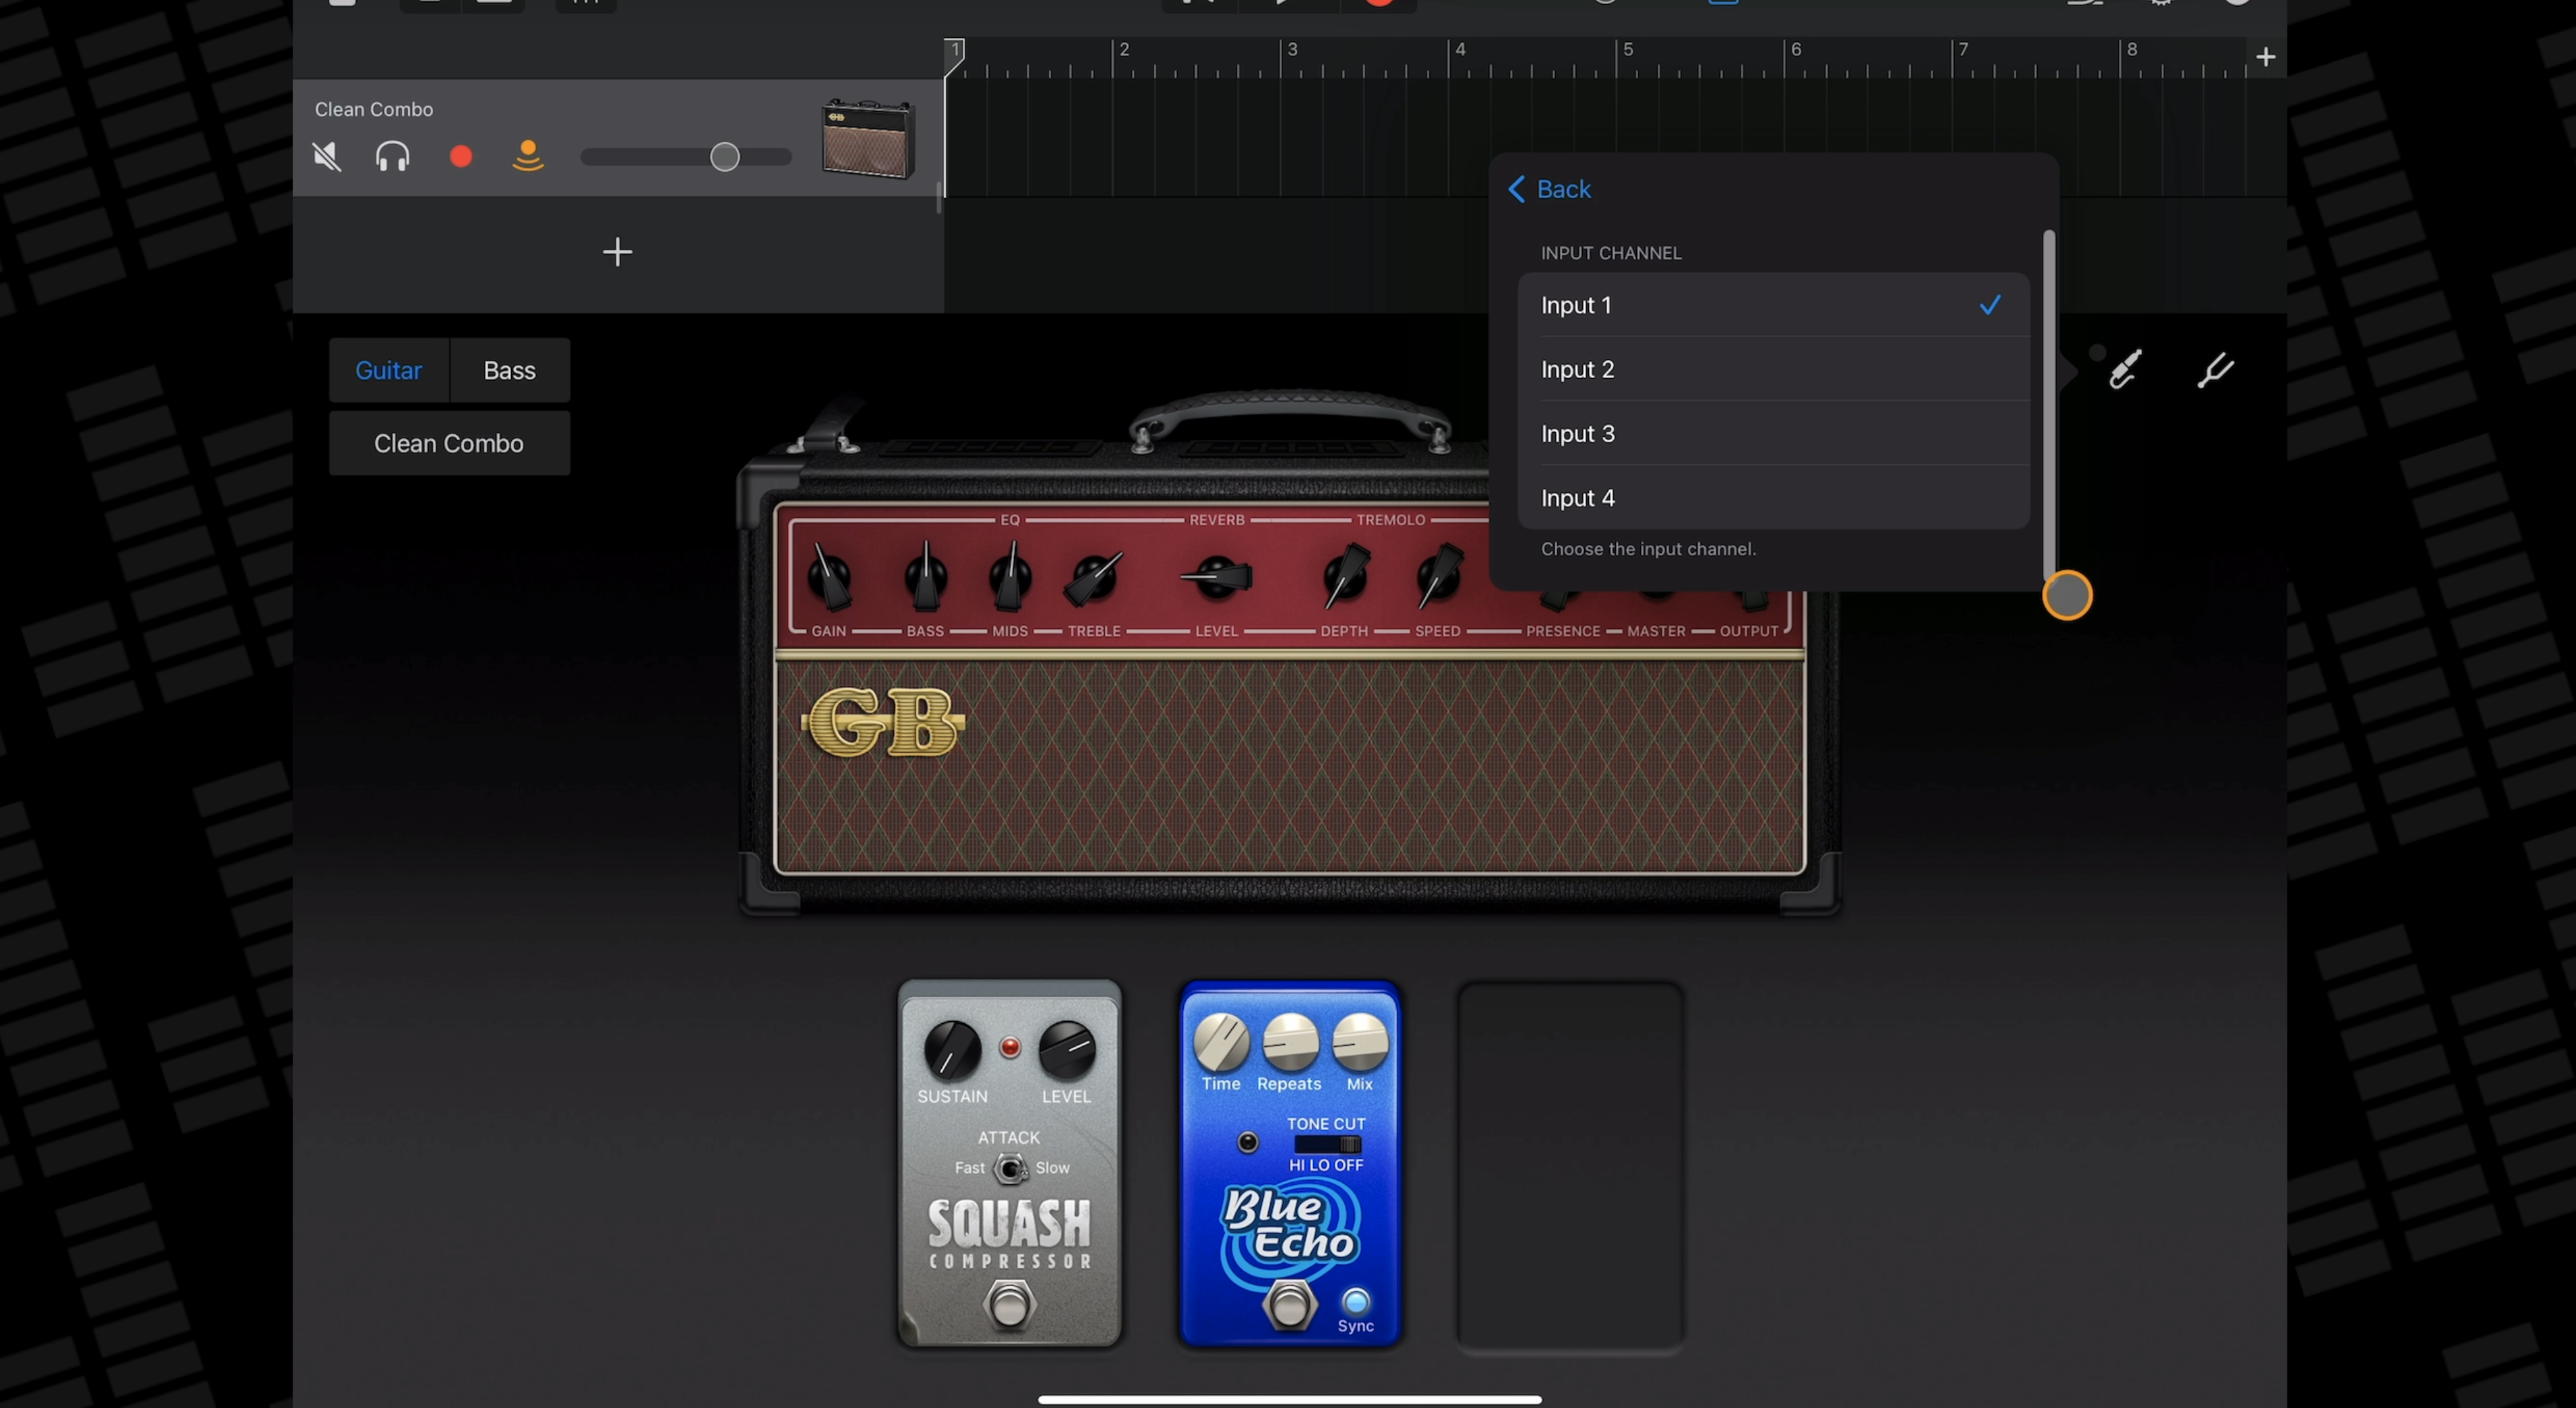
In either the Audio recorder or Amp, tap the input button with your interface attached. In this menu you can adjust input gain, add an inter app audio app, select which of your interfaces channels to record from, turn monitoring on or off and turn the noise gate on or off.