New to GarageBand for iPad but don’t know where to start? Here’s what I think you should be doing first when you download the App.
Watch the video below for a full rundown of what YOU should do first in GarageBand for iPad.
Can’t watch the video? Here’s a run down of all the major points.
Download the GarageBand app
If you’ve yet to install GarageBand on your iPad, here’s a quick run through on how to grab it.
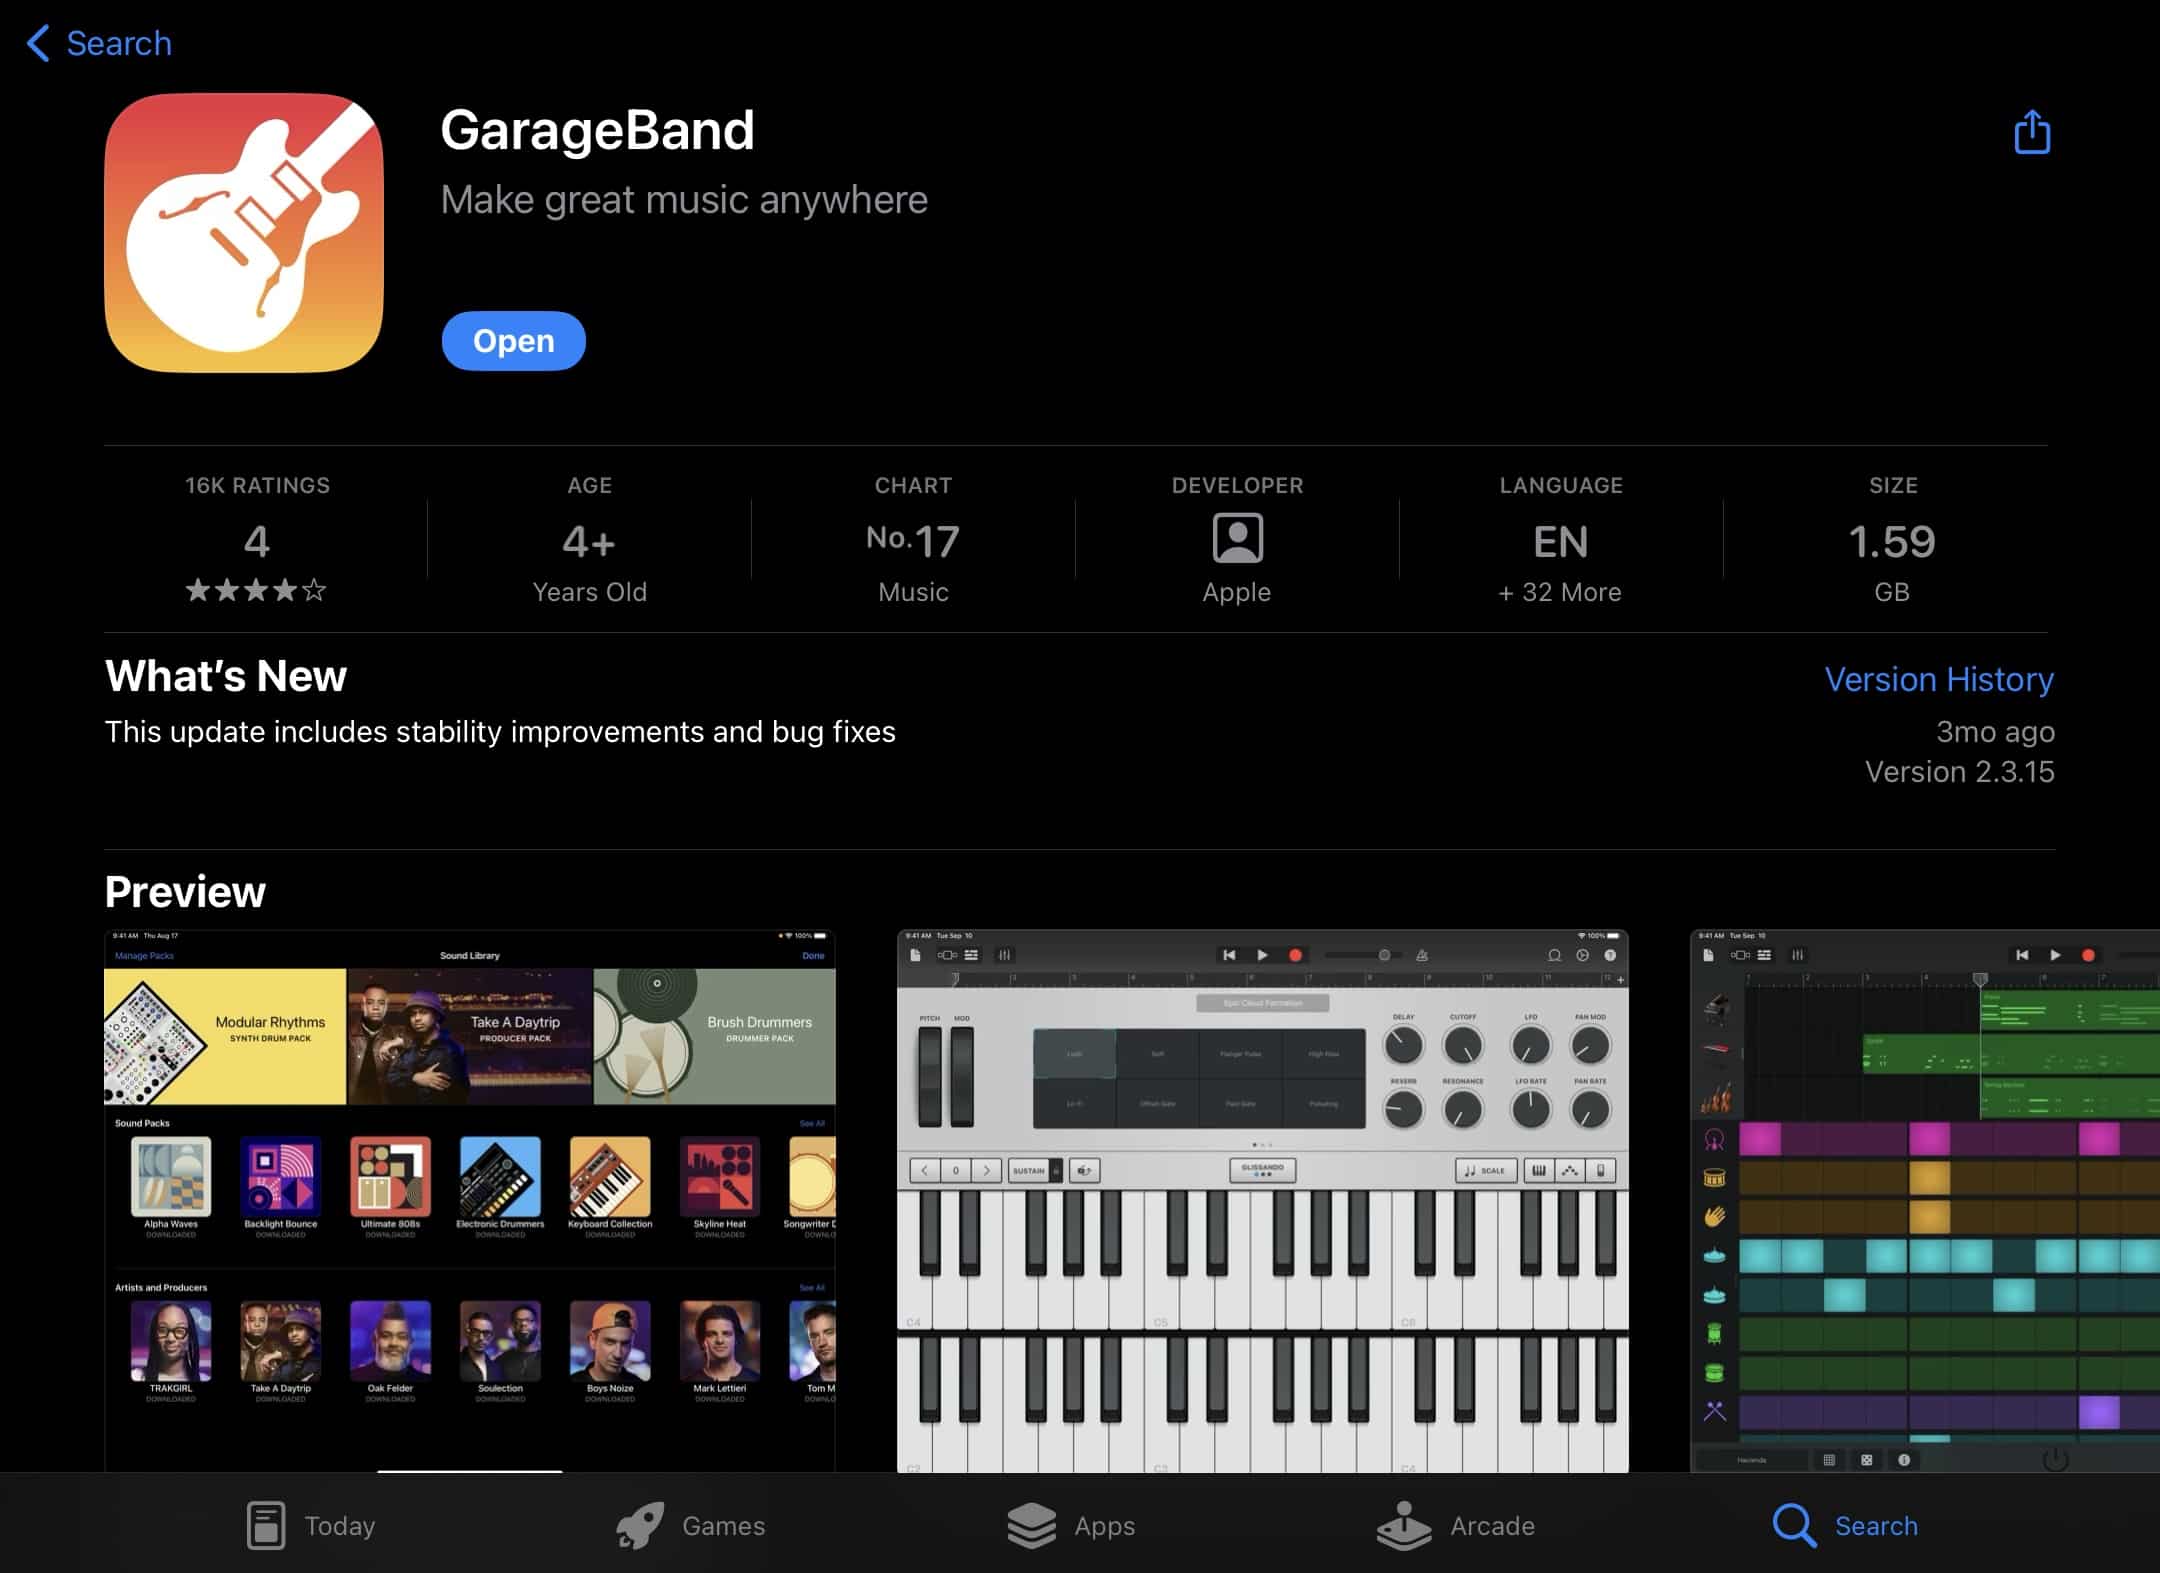
Open the App Store, tap on search, then type in GarageBand.
GarageBand will pop up in the search results. Hit ‘GET’ and the app will start downloading to your device.
Once it’s downloaded, hit ‘OPEN’ and you’ll be taken to the welcome screen. GarageBand will ask for permission to access your device’s microphone (which you’ll likely want to allow). On the next page you’ll be asked if GarageBand can send notifications when new downloadable content is available.
Explore the Sound Browser

The sound browser is where you’ll find all of GarageBand’s Instruments. The Audio Recorder, Guitar Amp, the Sampler, the sound Library and the External Apps function.
Most of Garageband’s Touch Instruments work in the same way. There is a play area where you’ll use on screen keyboards, strings or drums to ‘play’ the instrument. You can change the sound of the instrument using the knobs buttons and other parameters in the controls area.
Adjust Your Project Settings
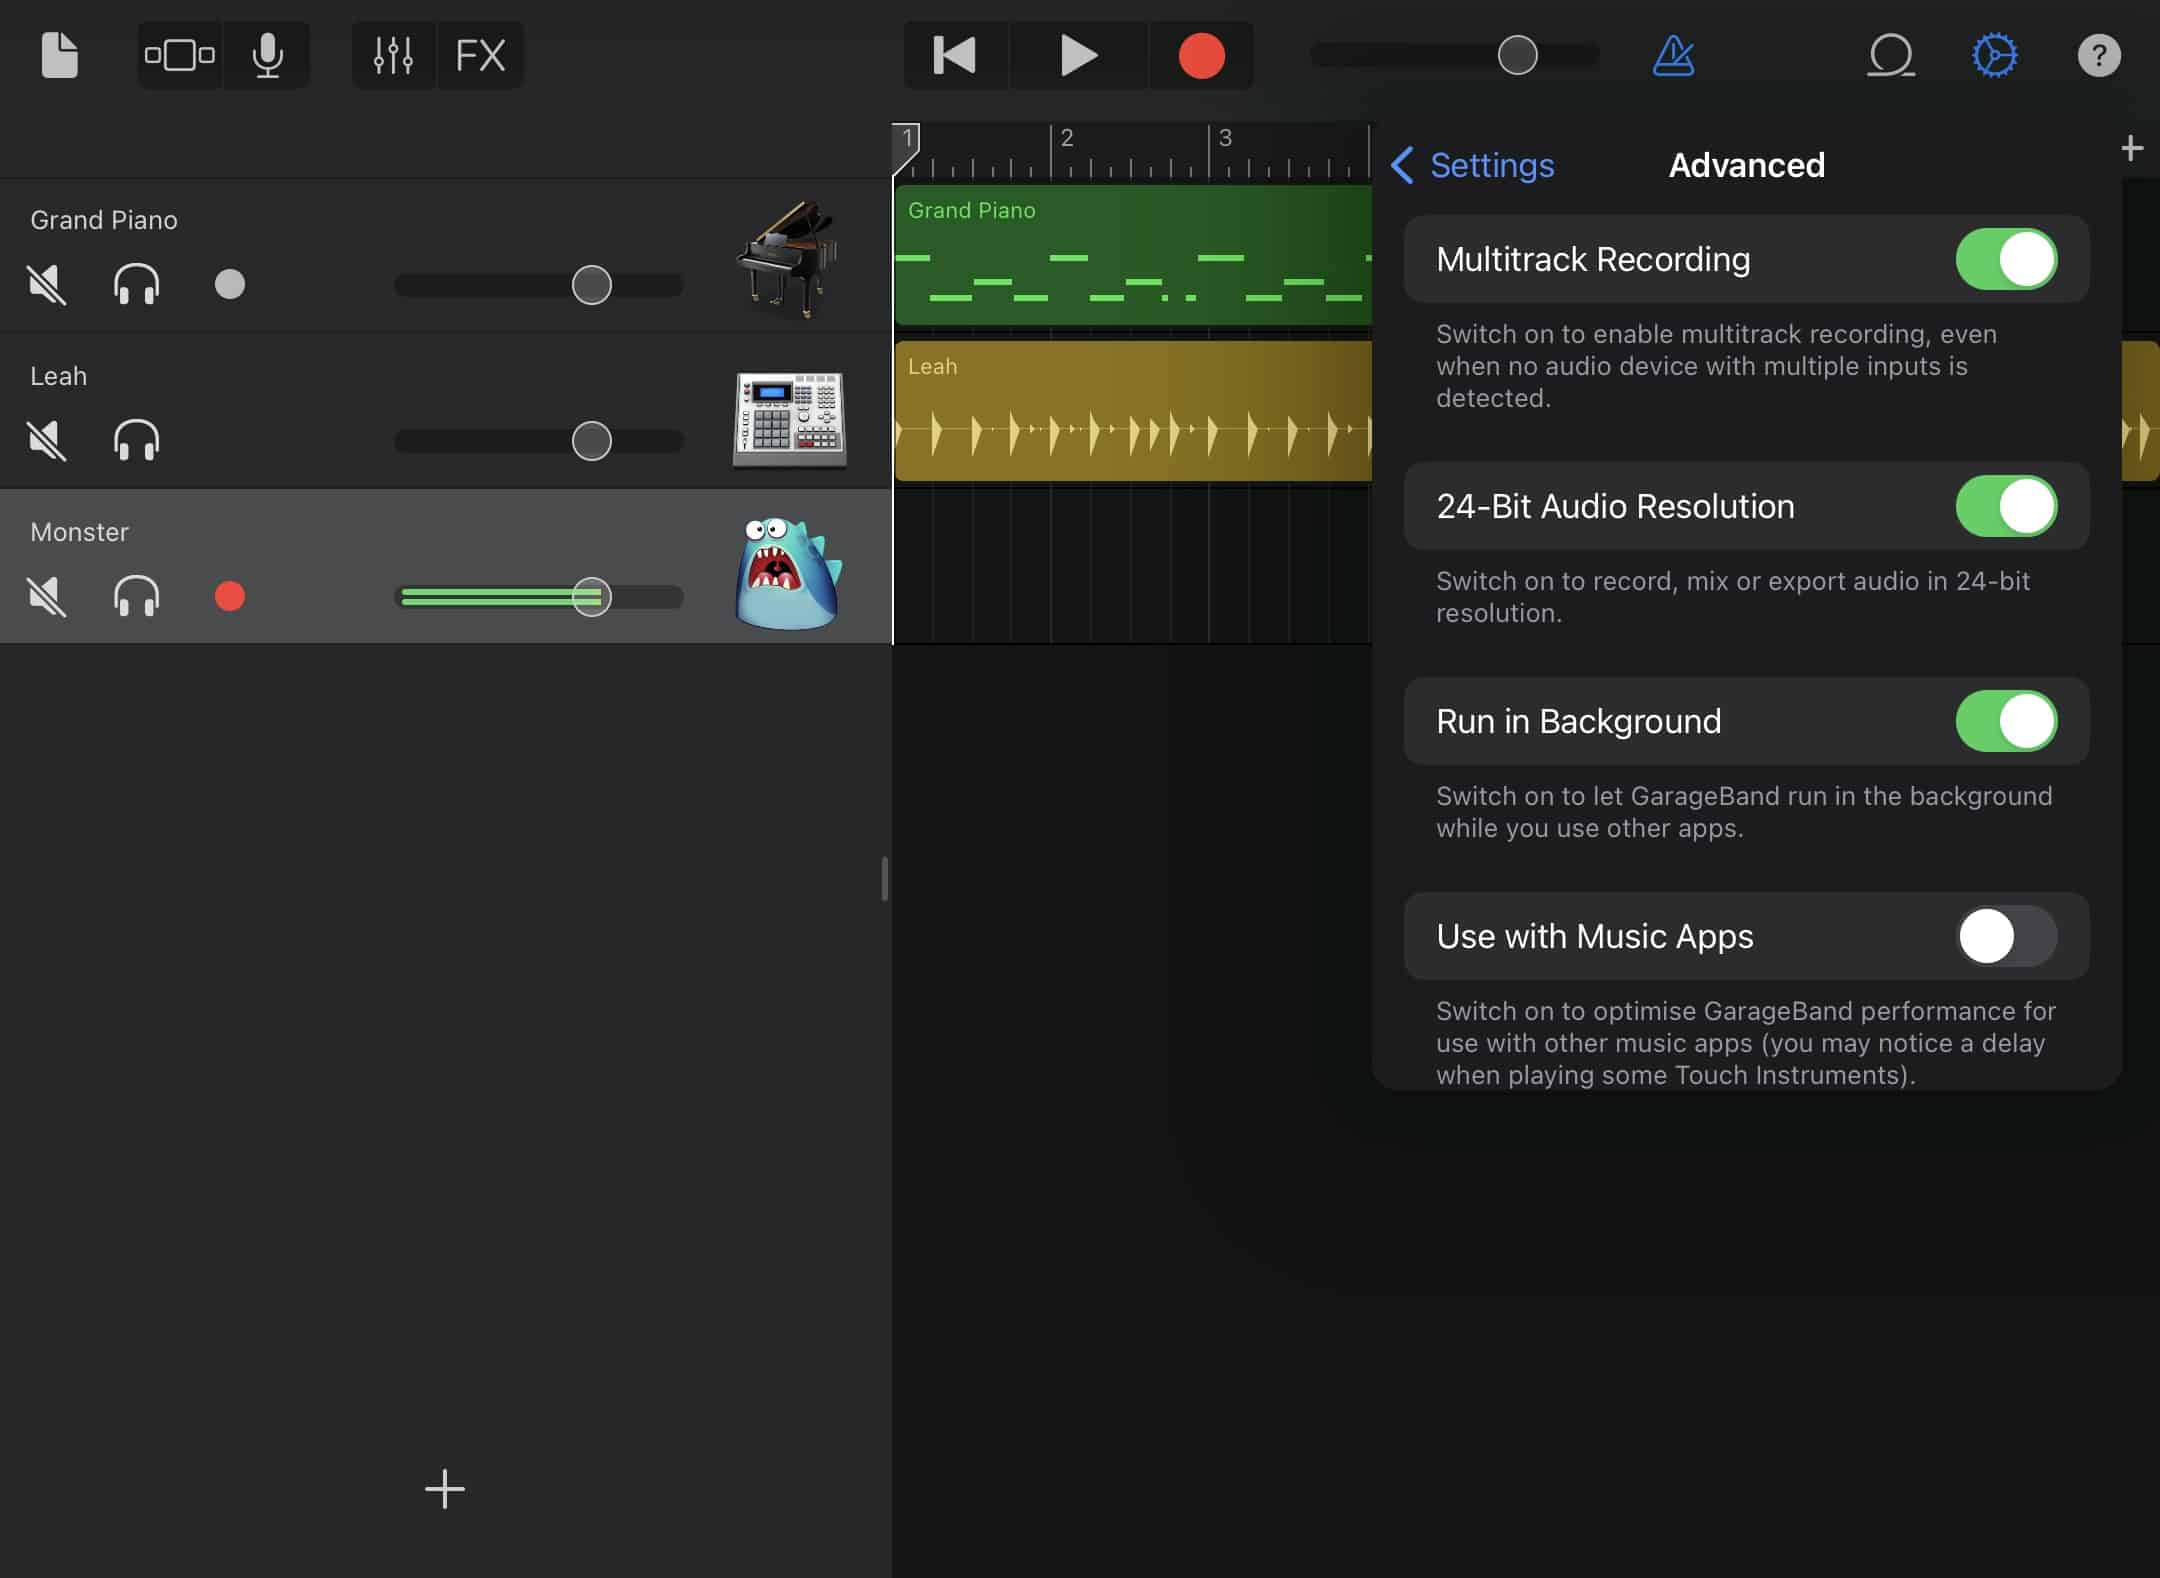
Projects default to a BPM of 120 and the key signature C major. You can change these settings and more by opening GarageBand’s settings.
Other settings worth noting here are the ability to change time signature, metronome and count in options and the option to turn on 24-bit audio resolution.
Record Yourself
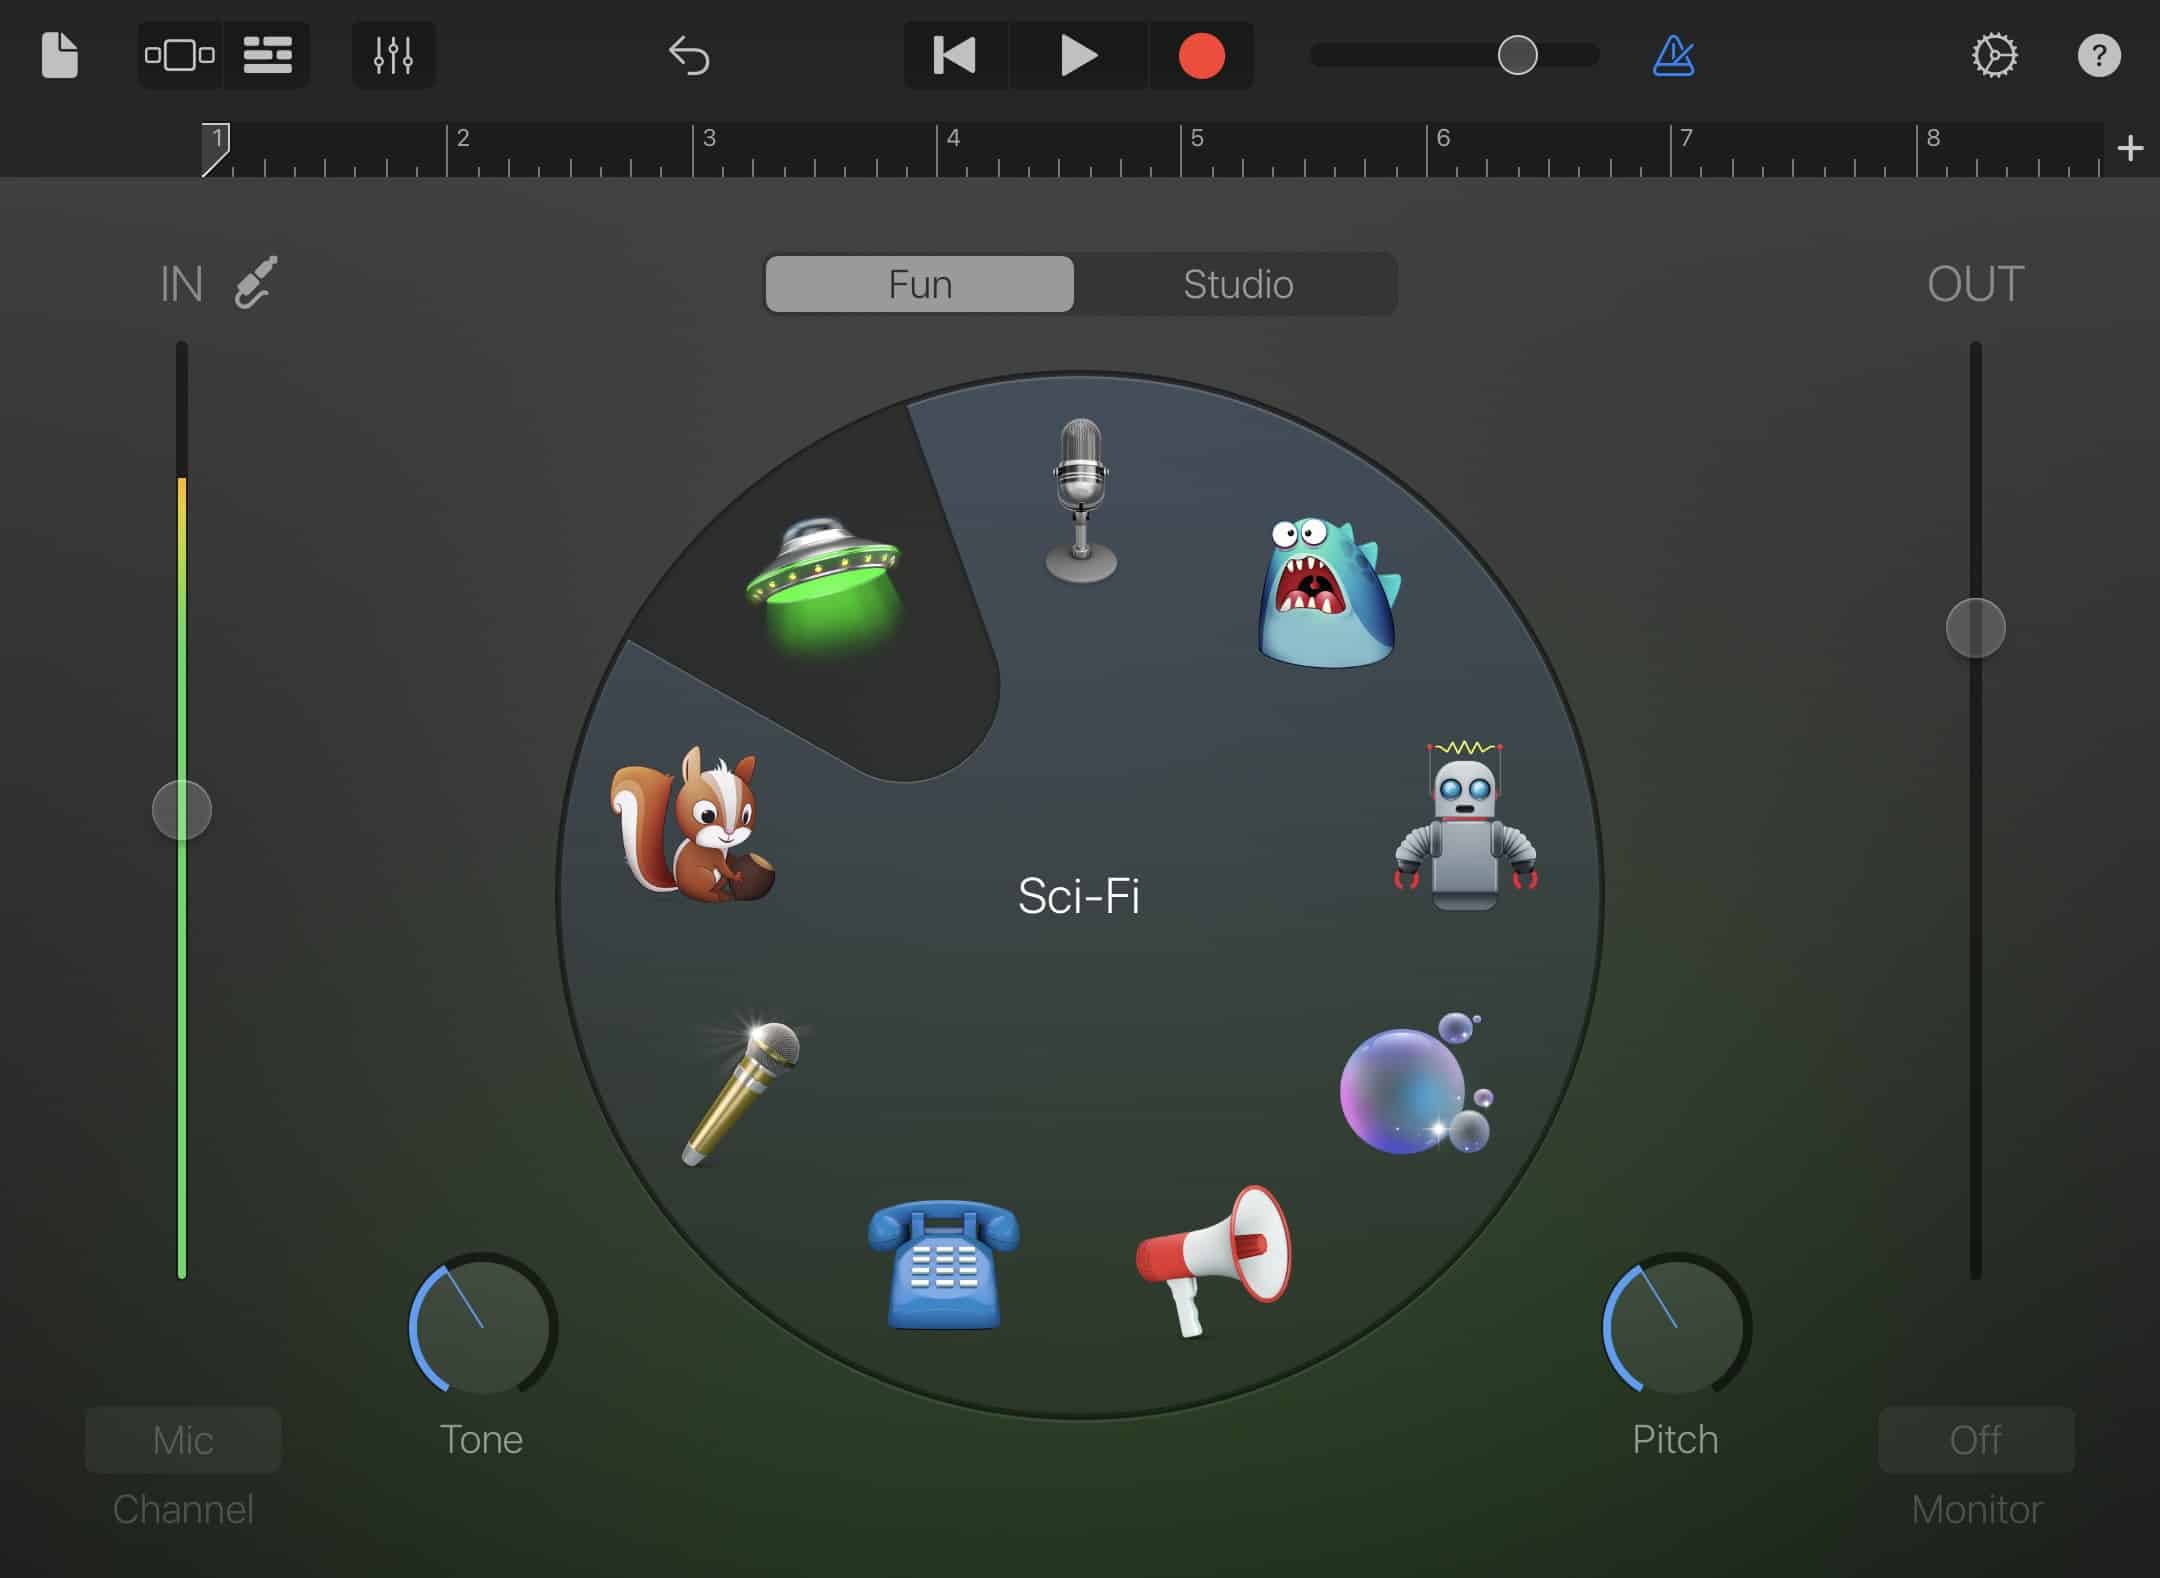
If you want to record real audio (like your own voice or an acoustic instrument like a guitar), you’ll need to use GarageBand’s Audio Recorder.
Capturing your recording is as easy as pointing your iPad towards the sound you want to capture and hitting record.
Once you’re finished recording, you can add some basic effects in the Fun tab, or you can tap on the Studio tab for some more ‘pro’ sounding presets.
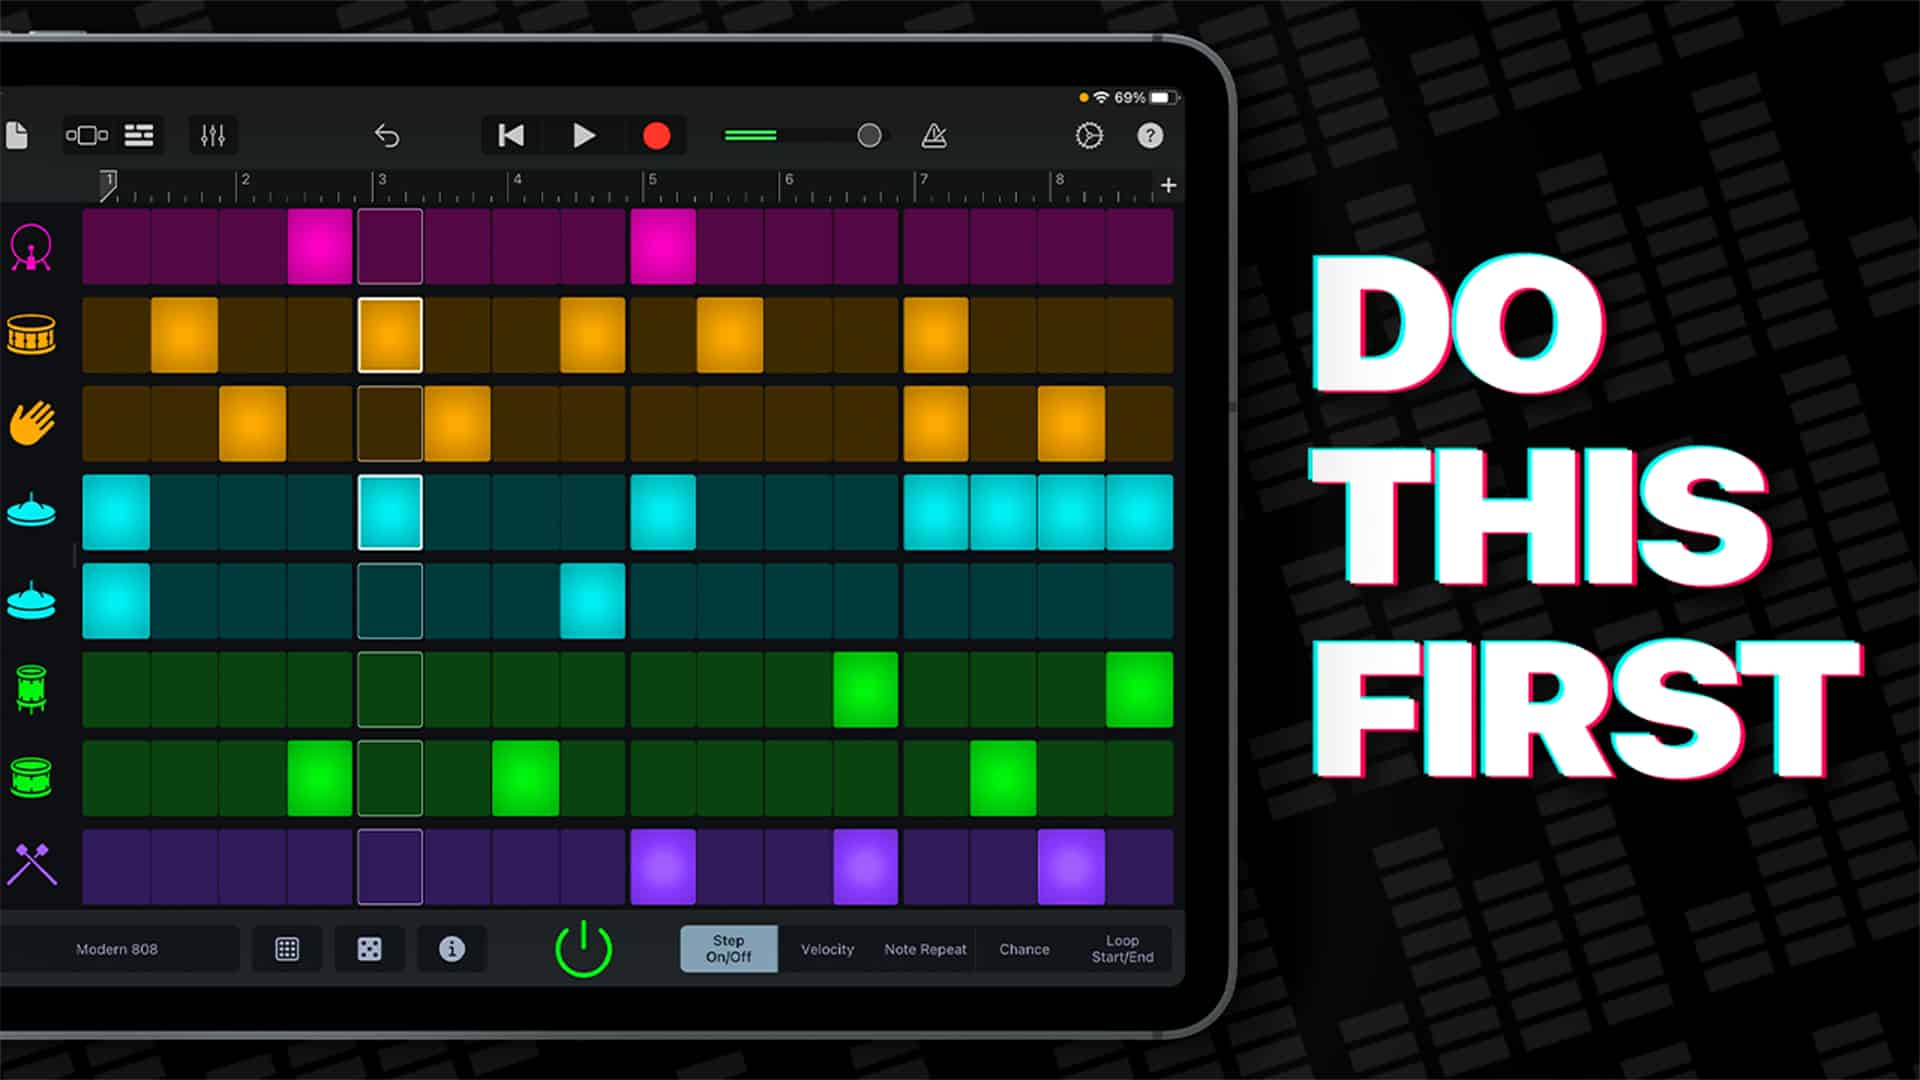
Discover Apple Loops
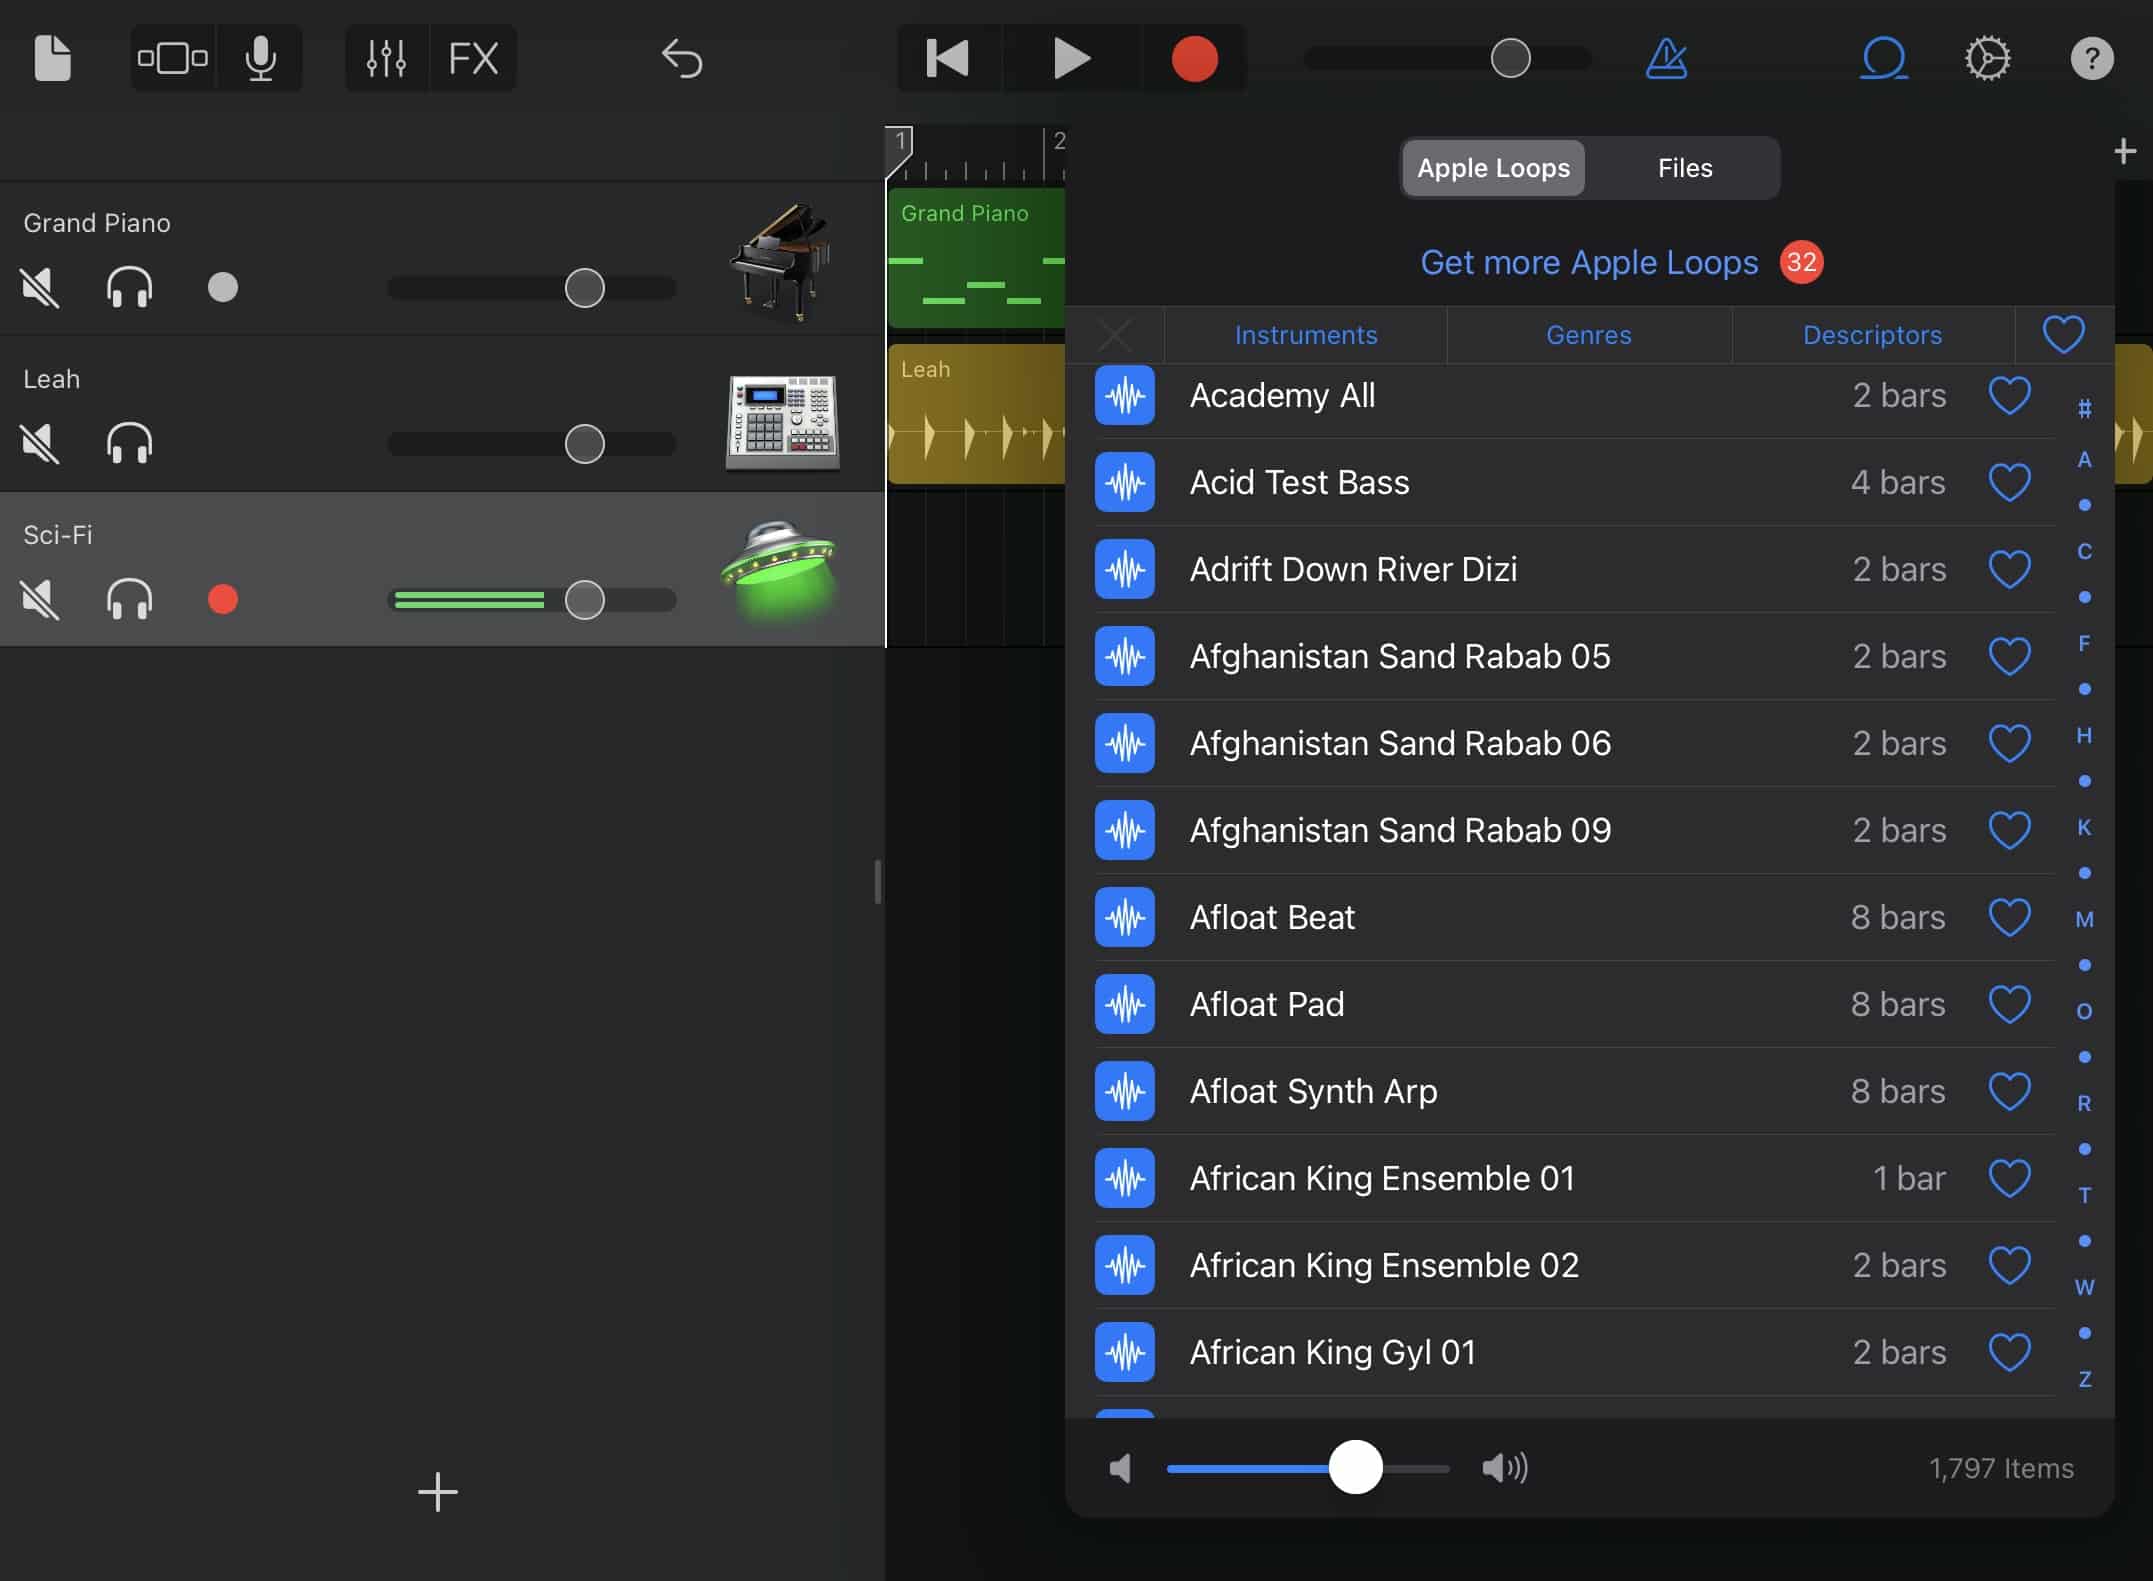
GarageBand includes a set of royalty free Apple made audio and MIDI samples. You can use these to easily add drum beats, bass lines, rhythm parts, synth leads and other sounds to your project.
The Loop Browser allows you to filter loops via instrument, genre and descriptions.
Once you’ve found a loop you like the sound of, adding it to your project is as easy as dragging and dropping it into place.
Add New Sounds
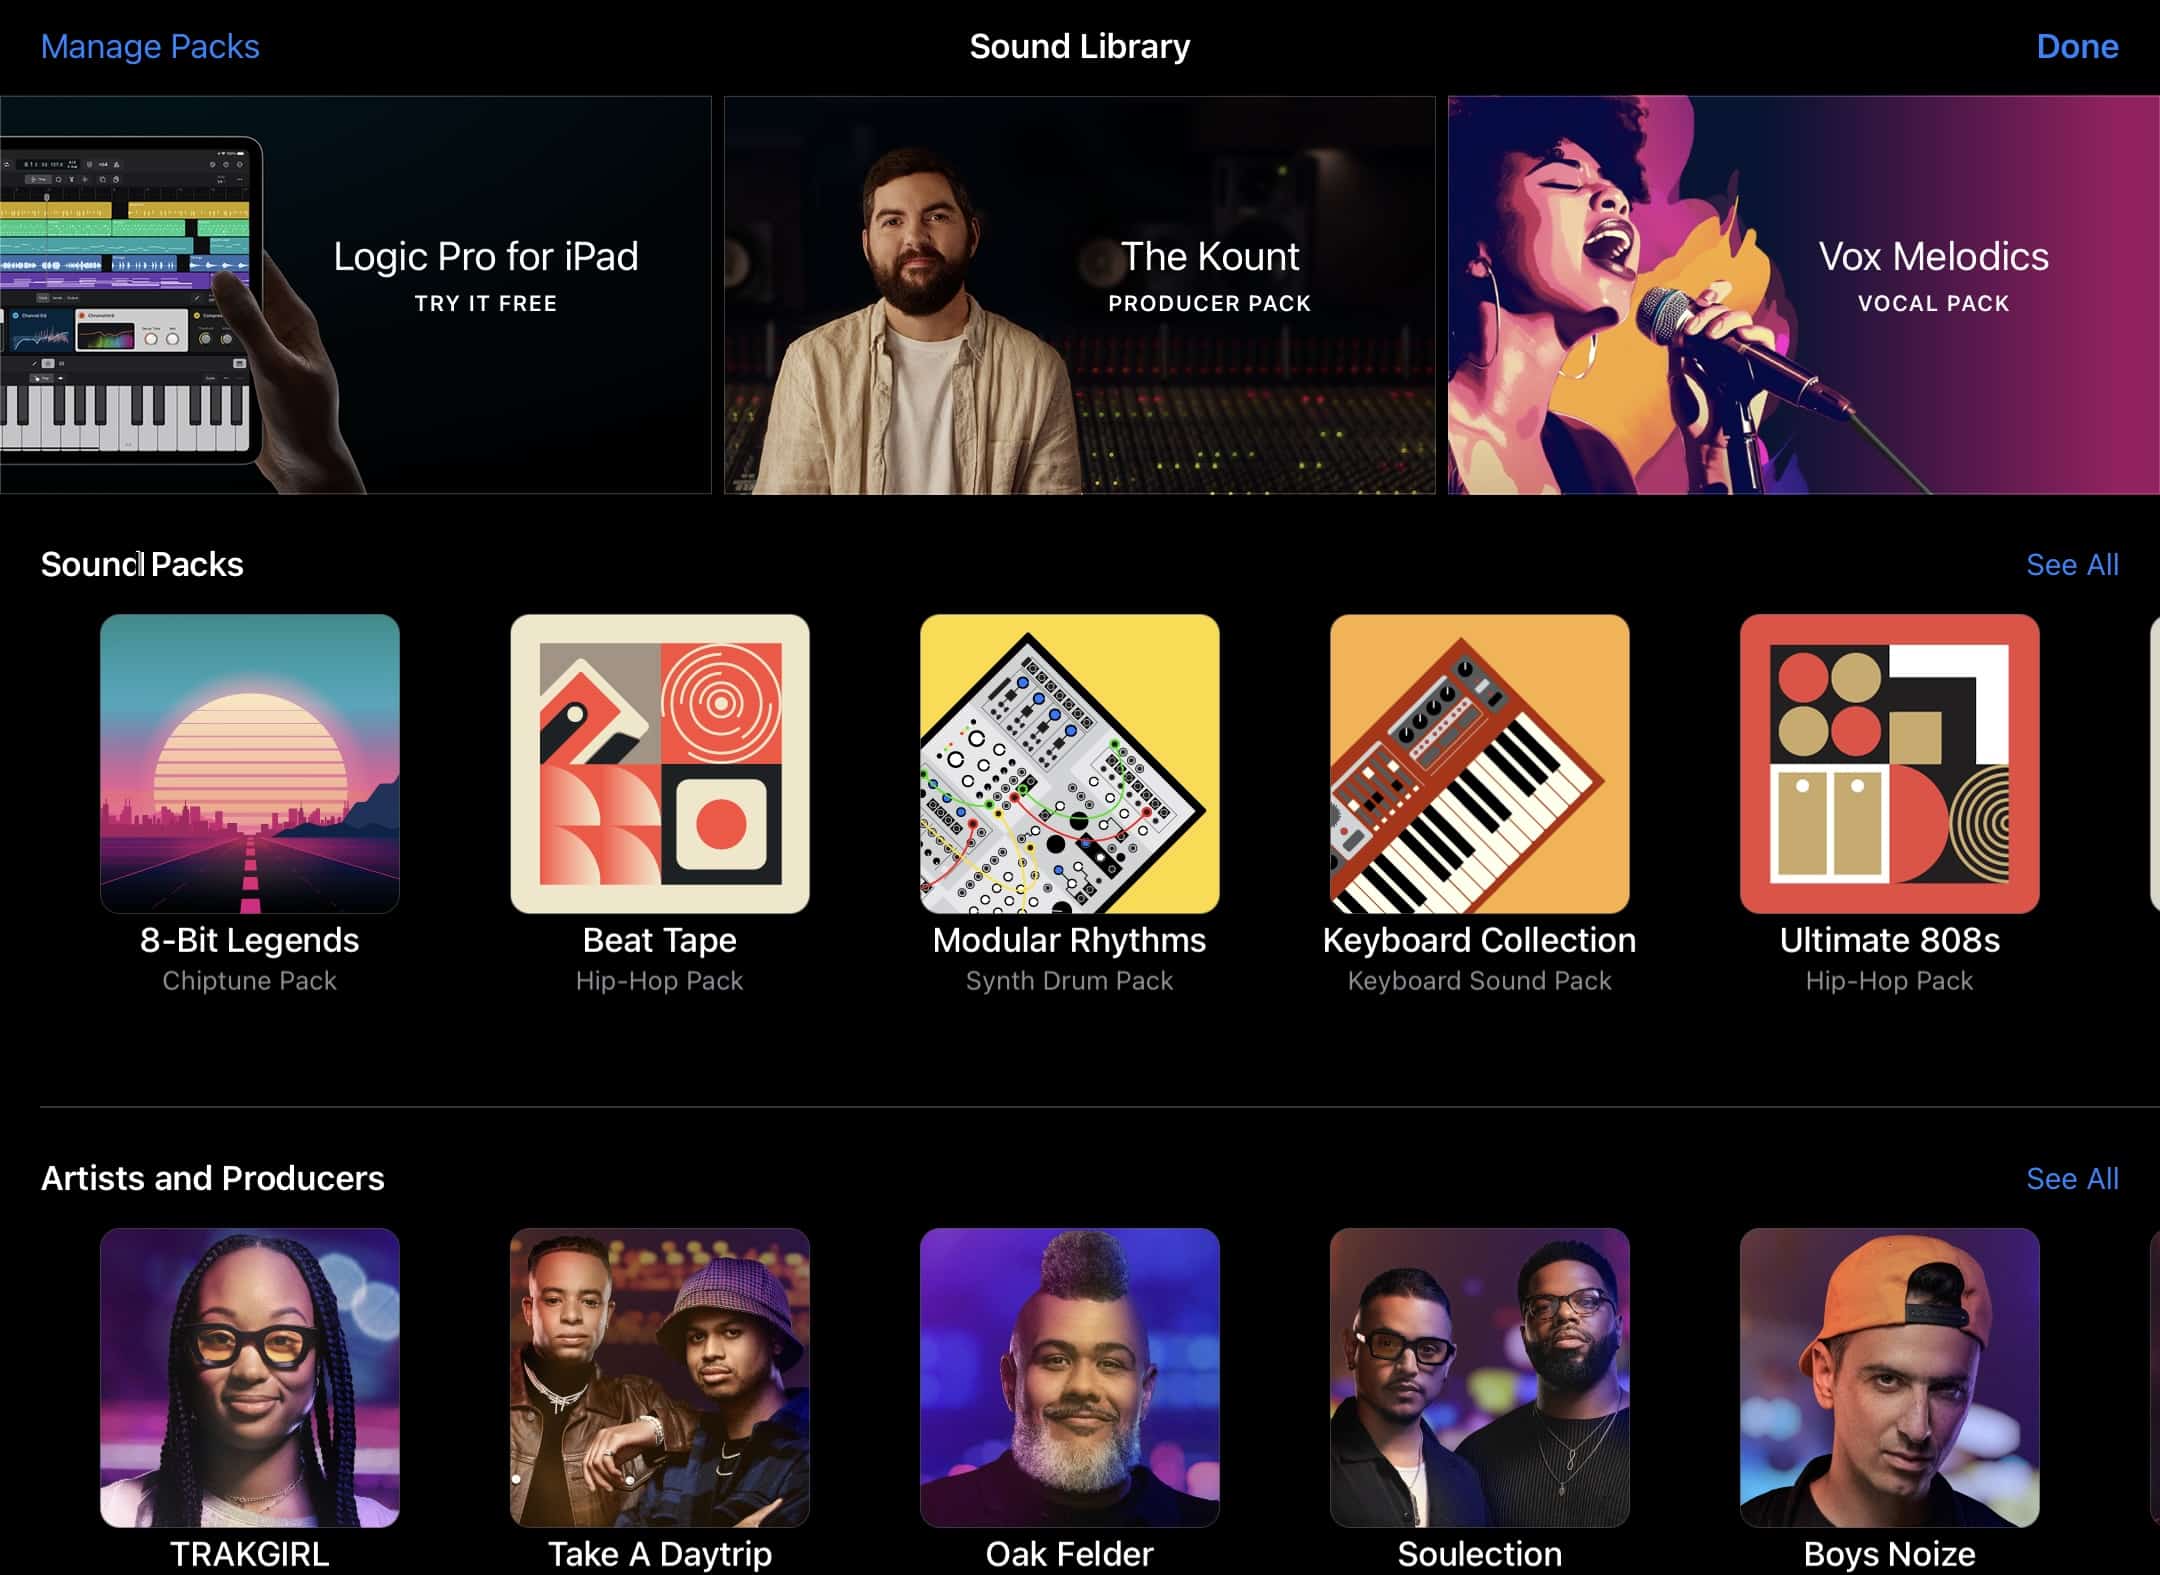
Apple regularly add new instrument patches, loops, drum kits and more to GarageBand in the form of Sound and Producer packs.
At the time of this article there are 29 Sound packs and 9 producer packs available and they are all absolutely free. You can peruse and download these additional packs in GarageBand’s Sound Library.
Use your own samples
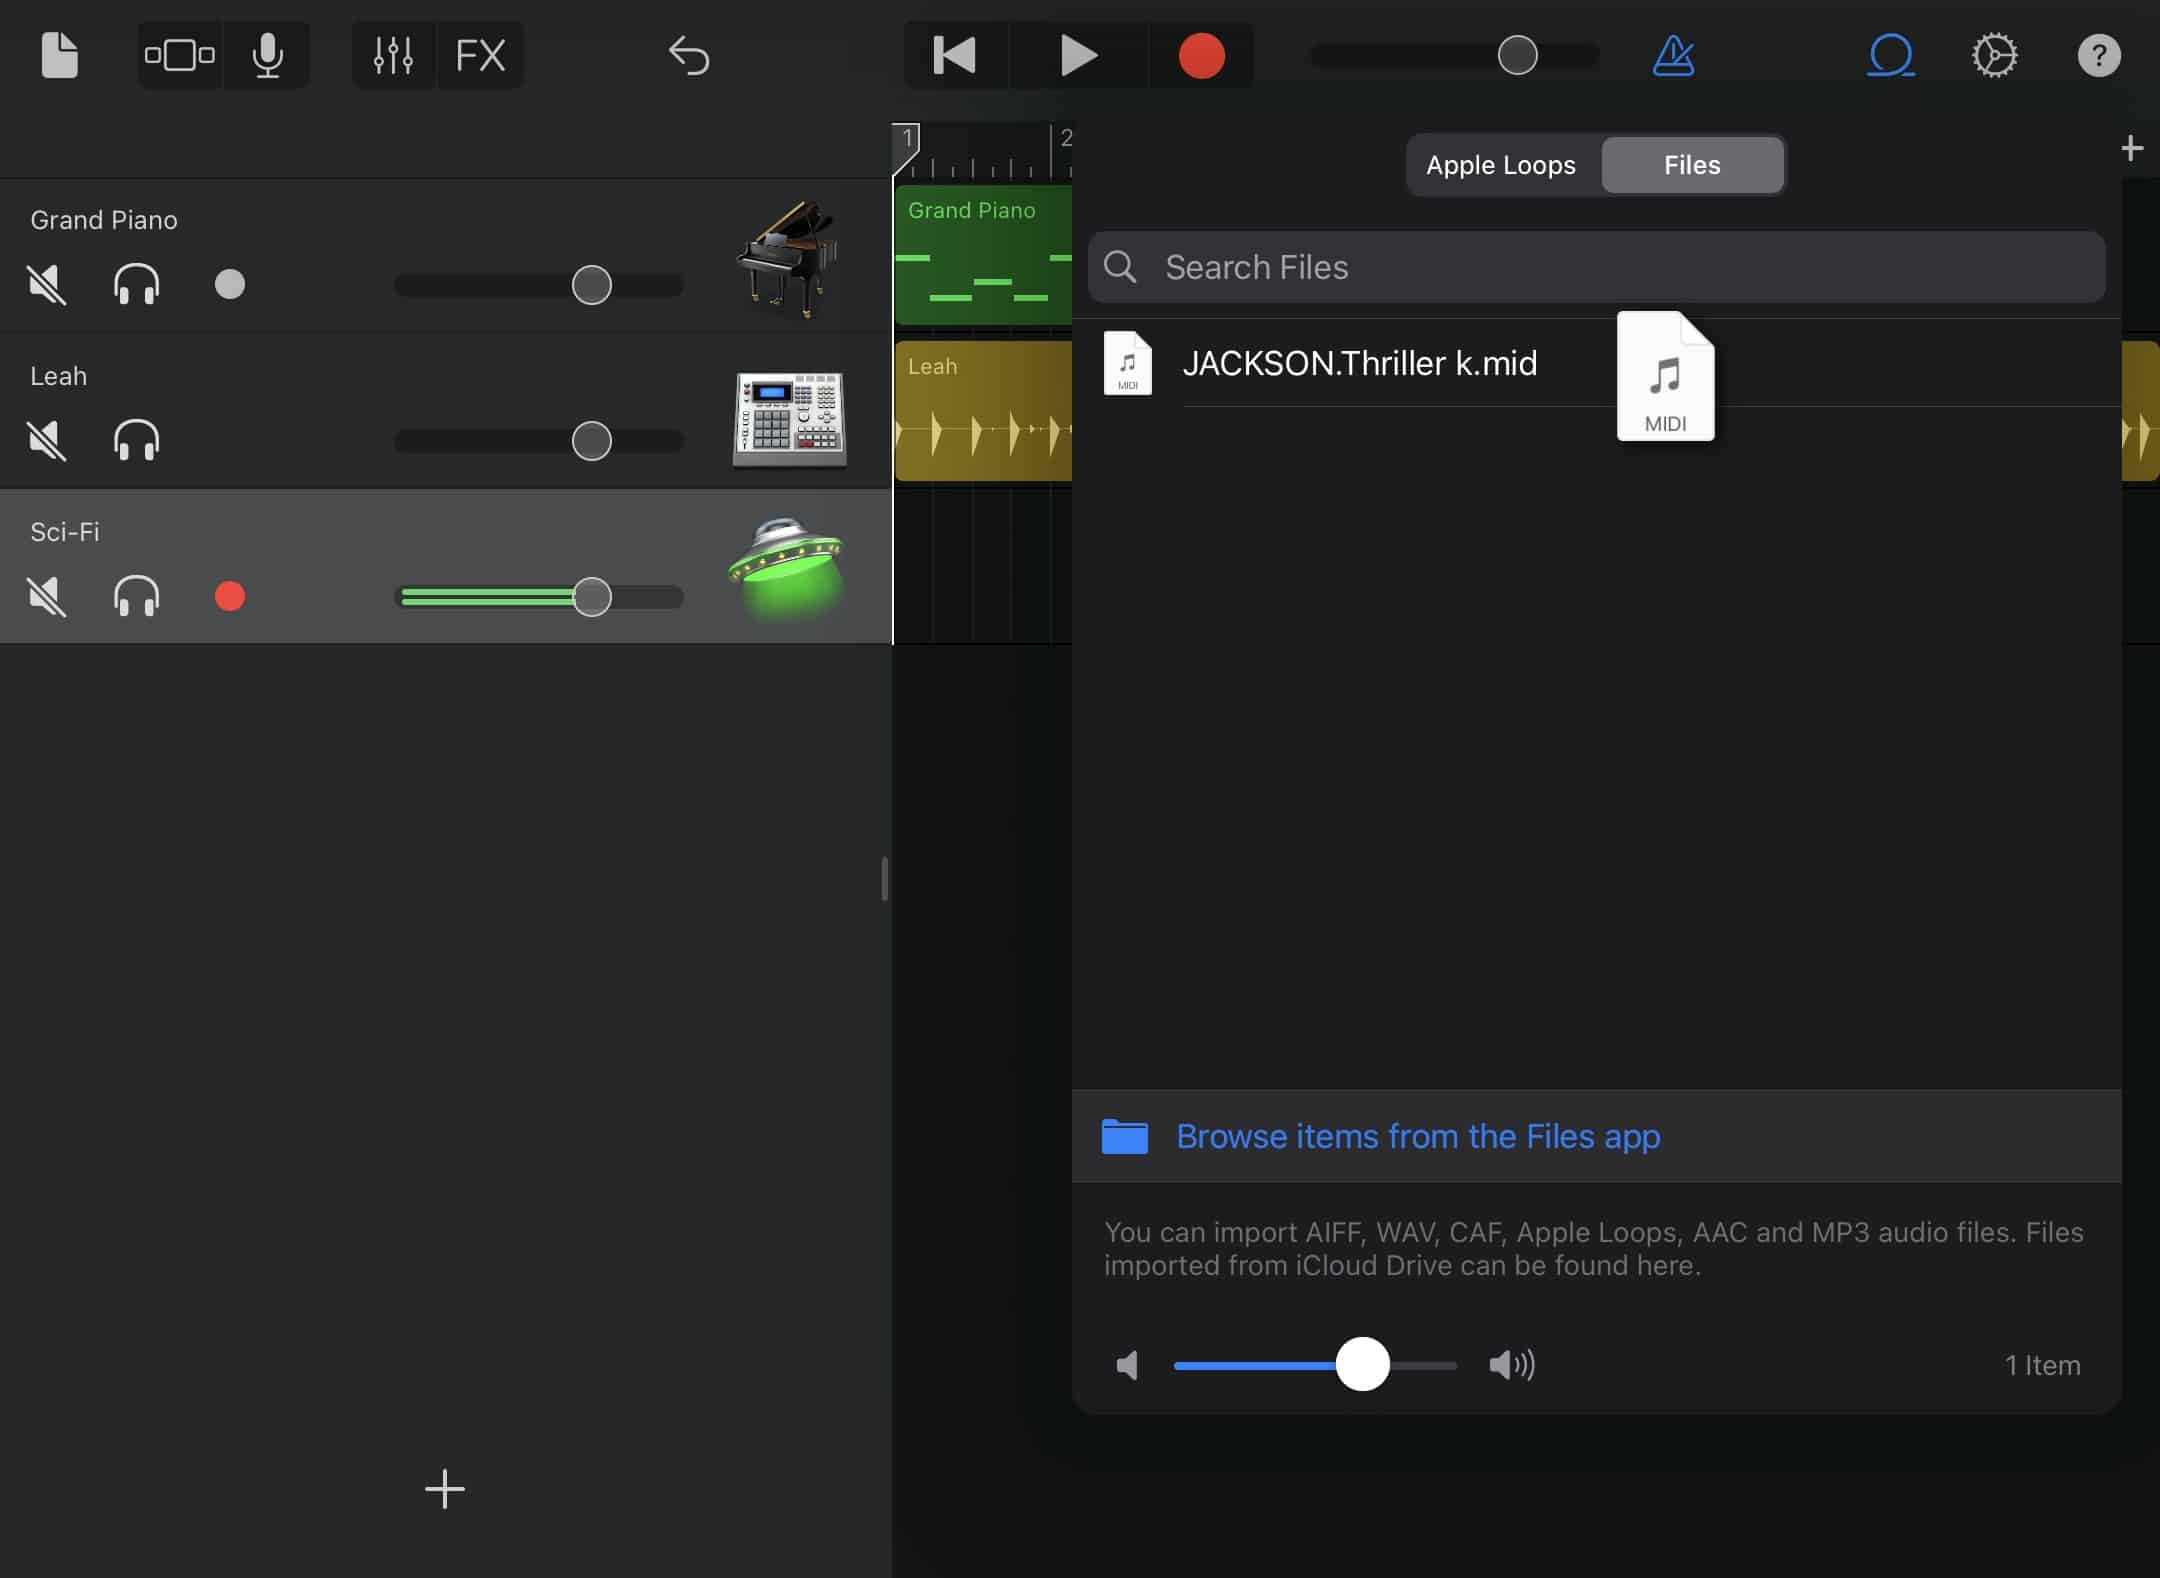
You can bring in your own samples that you have save to your iPad into a GarageBand project too. Back in the Loop Browser, tap on ‘FILES’ then tap on ‘BROWSE ITEMS FROM THE FILES APP’.
Tap on the file you want to bring into garageBand and you’ll see it appear in the files list in the Loop Browser.
From there, simply drag and drop your sample into the project as you would a regular Apple Loop.