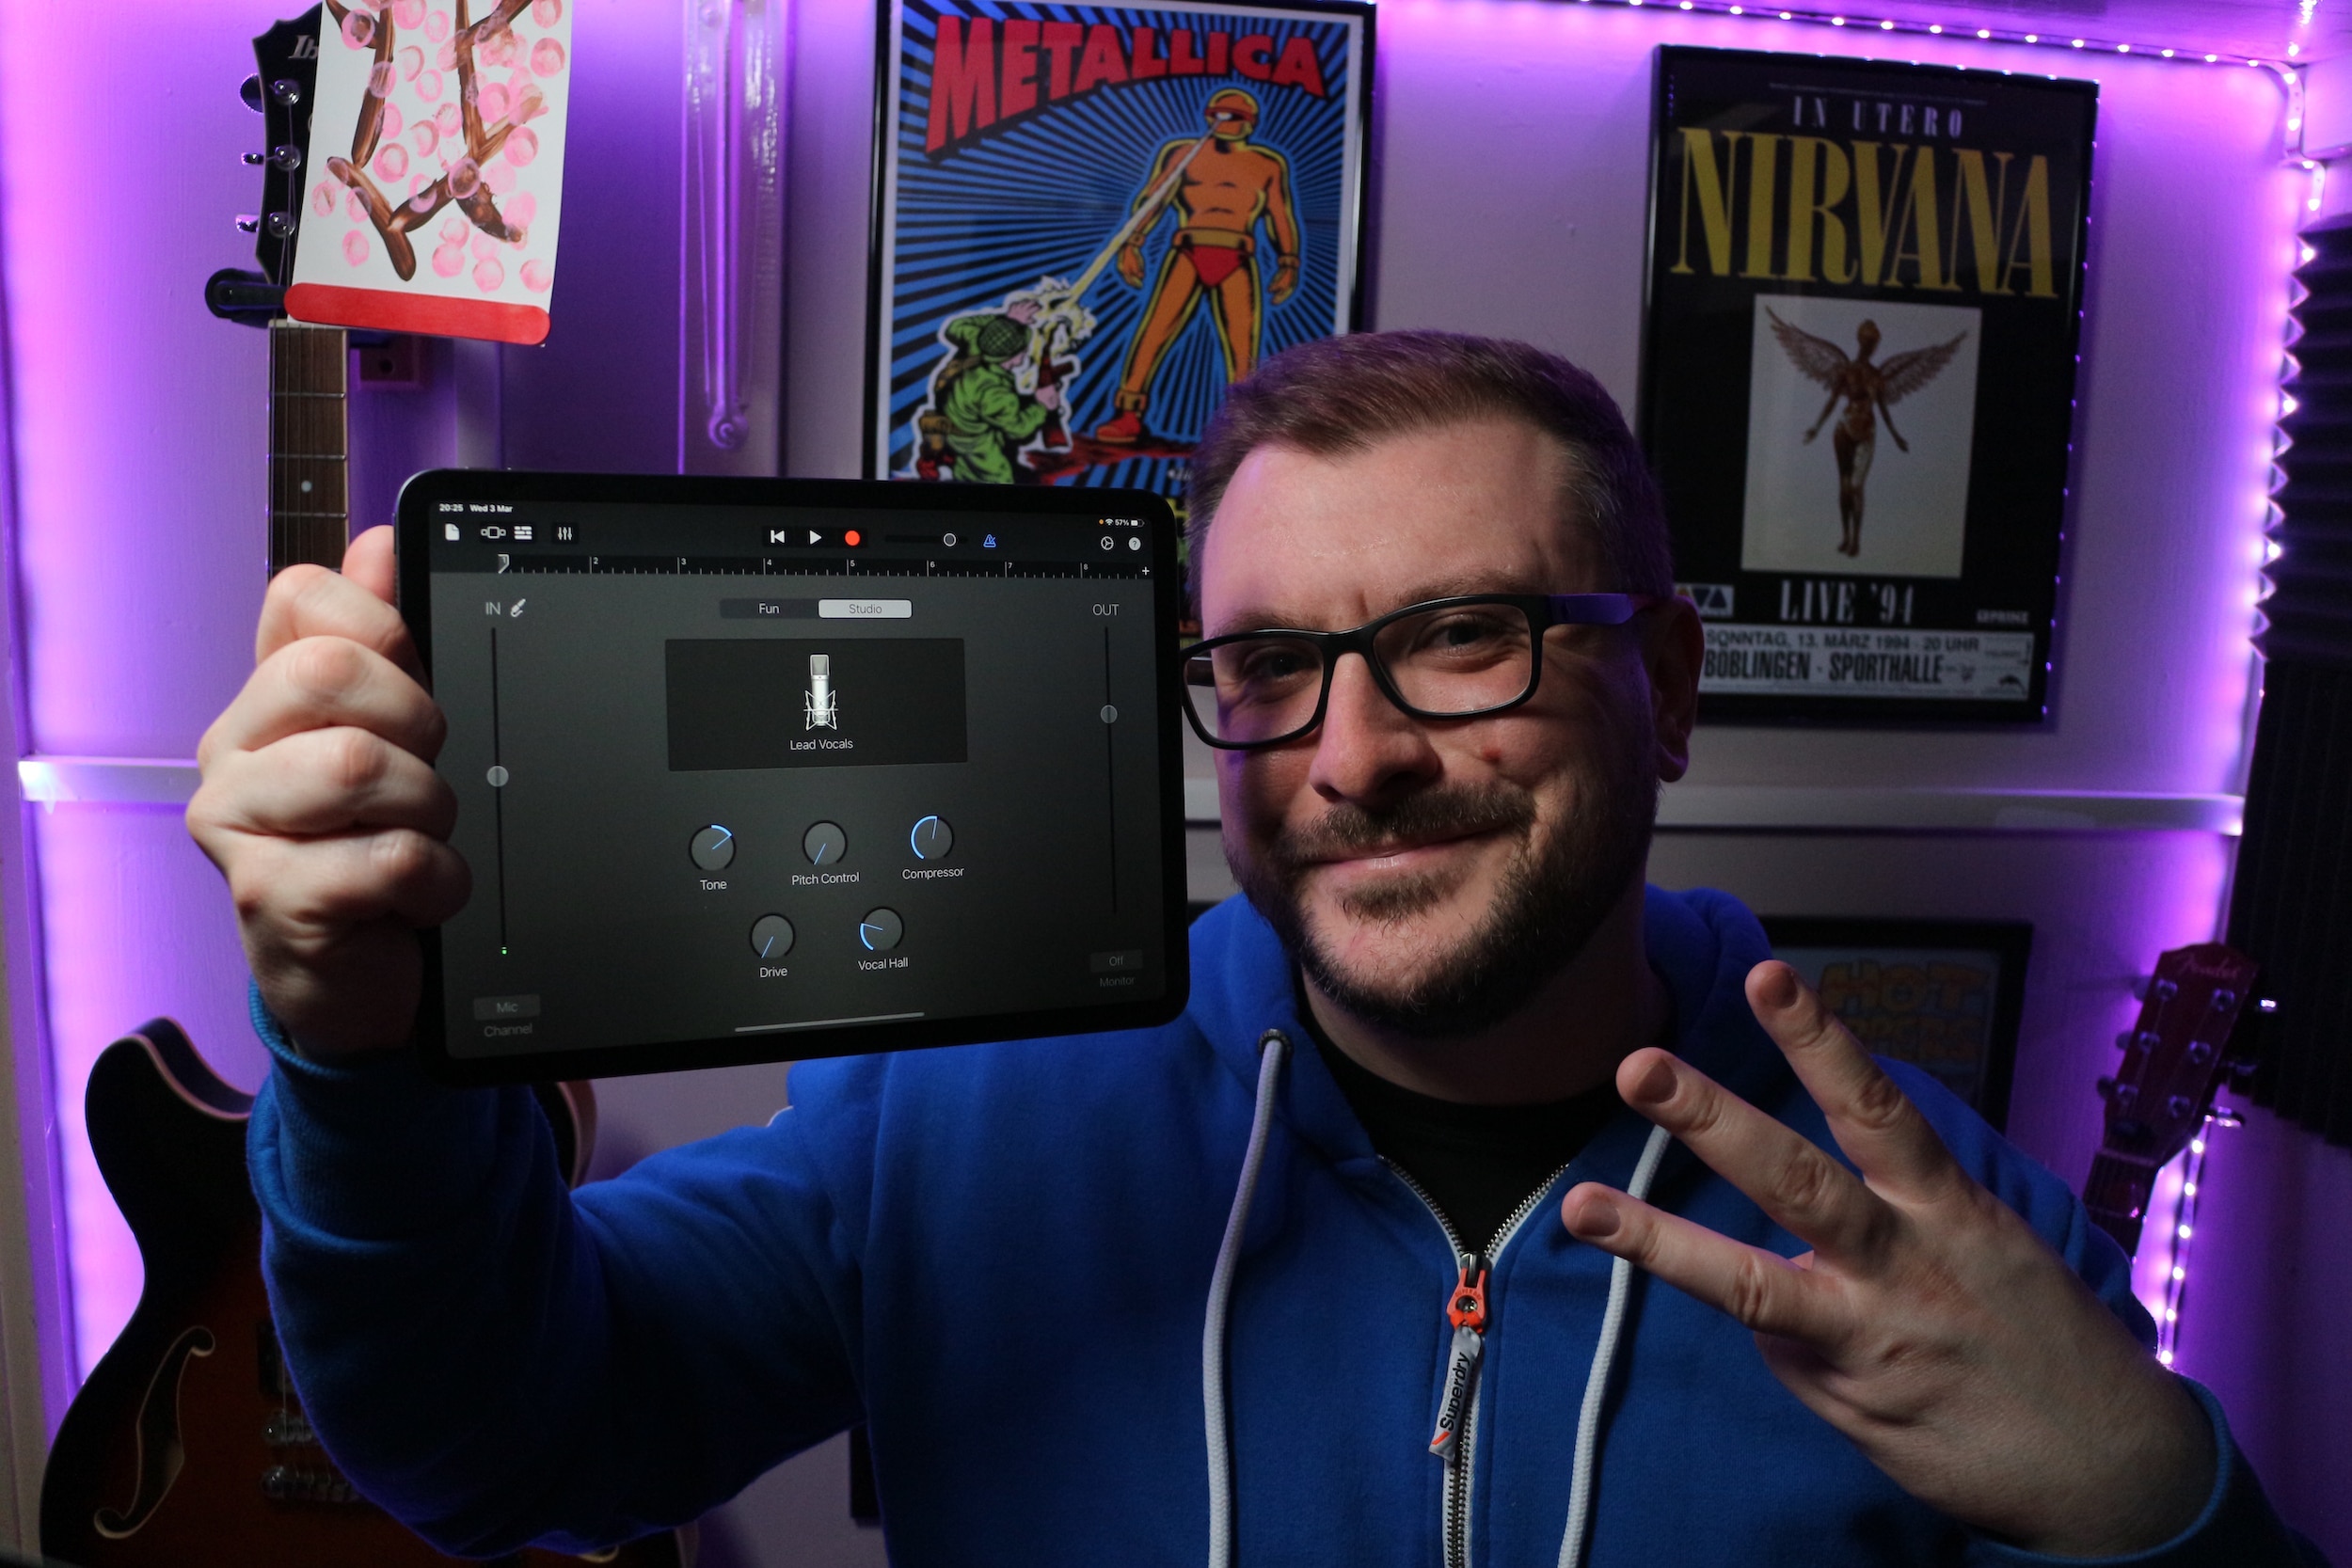
3 Ways to Record in GarageBand
If you want to record yourself into GarageBand on your iPad, there are many options open to you. In this feature i’ll show you 3 ways you can record in GarageBand on your iPad.
BUILT IN MICROPHONES

By far the quickest and easiest way to get audio into GarageBand on you iPad is via the built in microphone.
Every single iPad model has a built in microphone somewhere on its body.
The quality you can get from your iPad’s built in microphone will vary depending on the model. Overall it isn’t going to sound all that professional.
You will lose a lot of frequencies recording this way. That can leave your recordings sounding a wee bit thin especially on the regular iPad models.
Results will be better on Pro models. Apple actually added ’Studio quality’ built in microphones to its latest iPad pro models (the 2020 pro at time of publication). So essentially the newer the model, the better recordings you will get.
USB MICROPHONES
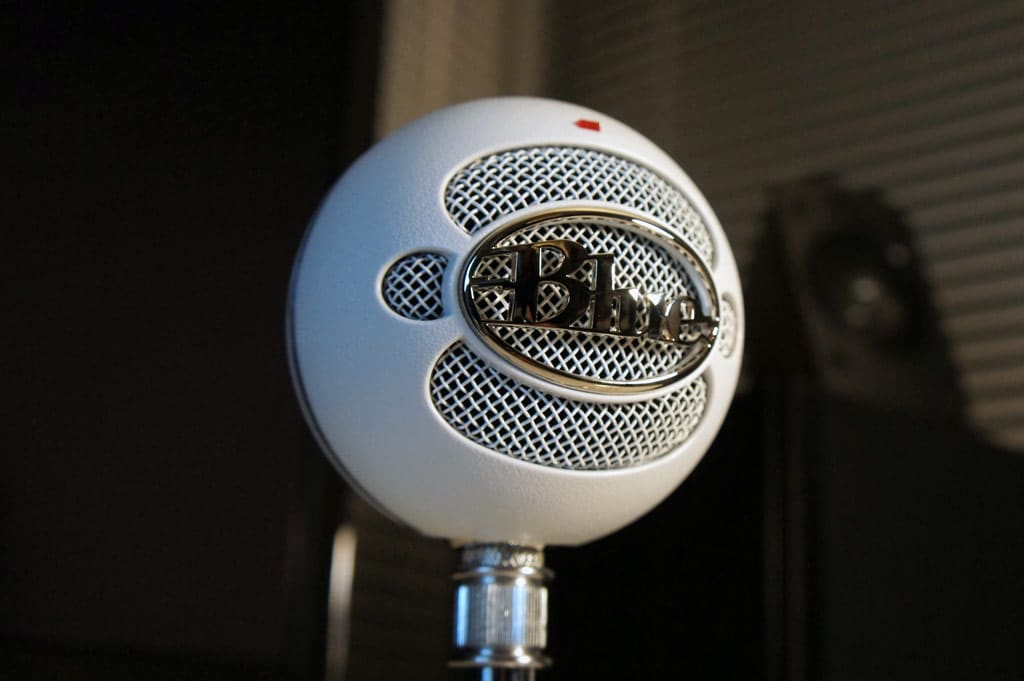
The USB microphone market has exploded in recent years. The rise in popularity of streaming, Youtube and home recording has meant the simplicity of USB Microphone’s plug and play setup is a great solution for many.
You have a lot of choice when it comes to selecting a USB microphone. Brands like Blue, Apogee and Audio Technica all make great microphones. They will give higher quality recordings when compared to your iPad’s built in microphone.
Regardless of what model iPad you have, if you want to hook up a USB microphone you’ll need to embrace that dongle life.
If you’re iPad has a lightning connection, you’ll need Apple’s camera connection kit.
If your iPad has a USBC connection, you’ll need a USB adapter.
XLR MICROPHONE & AUDIO INTERFACE
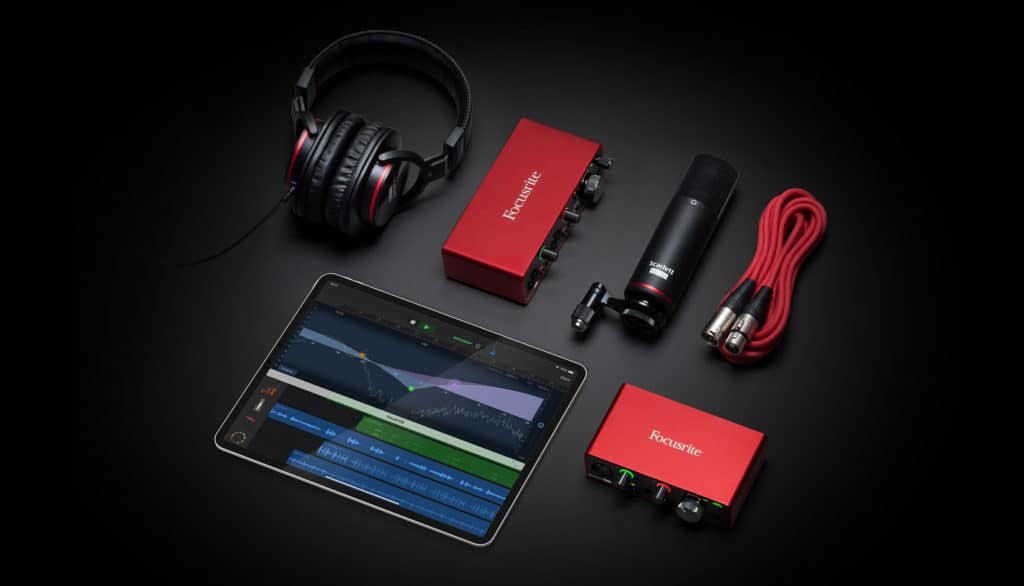
The final way to record your voice in Garageband on your iPad is through an XLR microphone with an Audio interface. By far the best way to get the highest quality vocal recordings, you have a huge amount of choice when it comes to what microphone and interface to go for.
A couple of things to consider here, if you want to record using a condenser microphone, you will need to use an interface that has 48v phantom power (the vast majority do nowadays).
Using phantom power requires more power so again you may run into issues if you have a lightning based iPad, I cover the issue of powering an audio interface with a lightning based iPad in this video if you want to check that out.